How to replace wheel bearings
Get the knowledge on the easiest way to replace your wheel bearings

Wheel bearings have to put up with a quite a lot of stick. Other than whizzing around at speeds of up to 2,000rpm, they have to support the weight of you and your bike, survive fast acceleration and deceleration and endure the British climate. All of which means they ain’t going to last forever. If your bearings are on their way to roller heaven, fear not, as they’re an absolute doddle to change.
Step 1
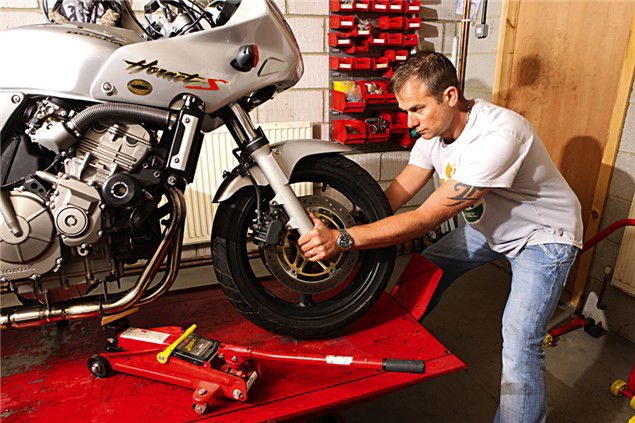
It’s not a bad idea to put your bearings in the freezer overnight. Wheel bearings fit into the wheel by what is known as an ‘interference fit’ or, in layman’s terms, pretty bloody tightly. By putting them in the freezer, the metal will contract, making the bearing easier to install. Now raise the front wheel and remove it. Remove any spacers, clean, and put them safe in the order they were removed to avoid any confusion later on.
Step 2
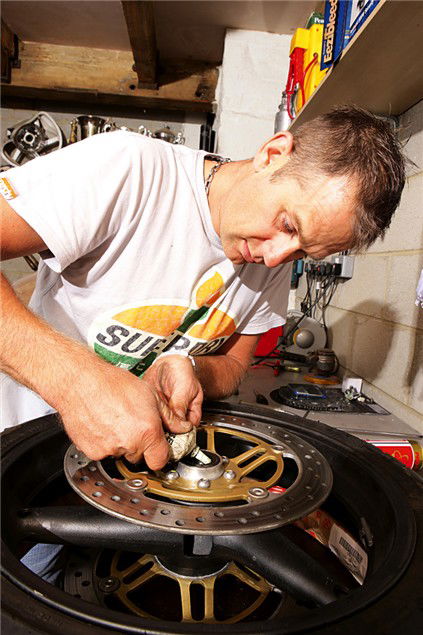
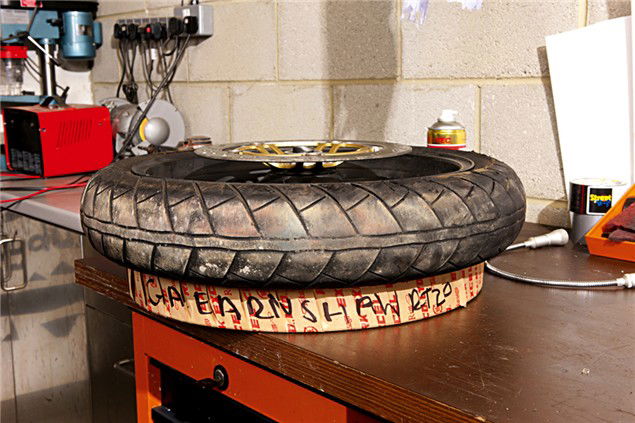
Support the wheel on the bench with an old tyre if possible, or if your garage is as full of tat as mine, a wheel rim from a 1970s Suzuki! Prise the dust seals off evenly, pulling up gently on each side of the seal bit by bit with a screwdriver. You should get new seals with the new bearings, but it’s worth being careful.
Once the seals are out, check the seal and bearing numbers against the ones you’ve got. If you’ve any doubts as to whether they’re correct, don’t fit them!
Step 3
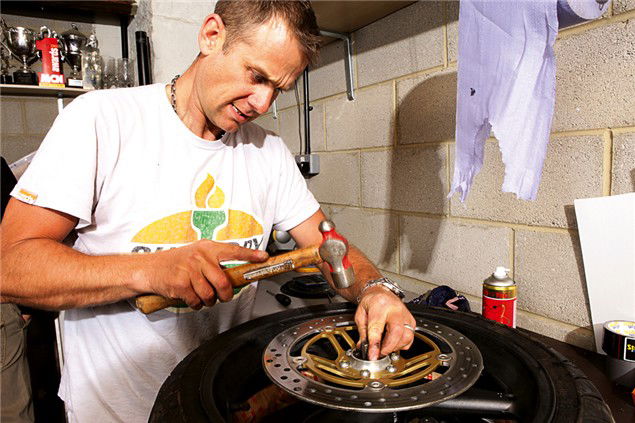
Once you’re happy that you have the correct replacements, you’ll need to drift out the old bearings. Use a long punch and a hammer to tap the bearings out, driving the punch against the outer bearing race, evenly all the way round. You may find that the long inner spacer gets in the way, so you’ll probably need to lever it out of the way bit by bit to gain access.
It can be a little bit fiddly, so patience really is a virtue worth having here! Once the first bearing is out, the spacer tube will slide out making it dead easy to flip the wheel over and knock the other bearing out.
Step 4
With both bearings out, give the hub and bearing spacer tube a really good clean, getting rid of any old grease and muck that’s accumulated over the years. Next you’ll need to find a large socket to act as a drift to knock the new bearing in. Ideally you want the socket to be slightly smaller than the outer race of the bearing – if it’s the same size it’ll more than likely get wedged in the hub.
Grab your wheel bearings from the freezer and, if you’ve got a heat gun or even a hairdryer handy, gently warm the hub up, being careful not to overheat things – just a bit of warmth will help when it comes to easing the bearing in.
Step 5
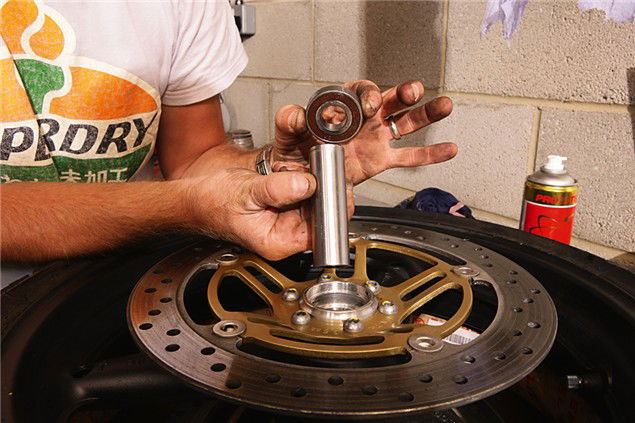
Put the first bearing in place and push it in as far as you can by hand. Using the socket as a drift, tap evenly across the socket to push the bearing into the hub as evenly as possible. You should be able to feel when the bearing is ‘home’ and seated properly as the tone and feel of the hammer striking the socket will change. Turn the wheel over and insert the spacer tube, making sure that it’s sat correctly. Repeat the process and, once seated, make sure the spacer tube is in situ.
Step 6
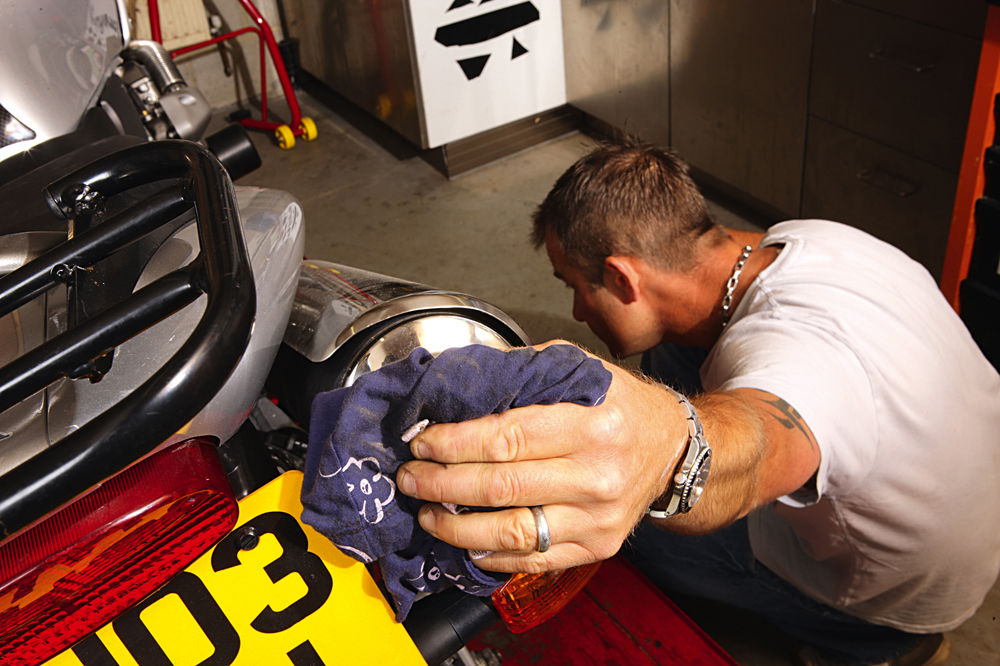
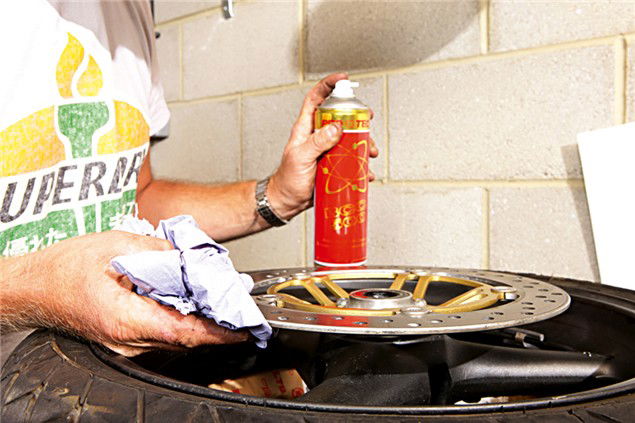
Using the same socket, gently fit the new dust seals into place. Clean off any excess grease from around the seal and hub. Spray a little brake cleaner onto a clean rag and give the wheel a good clean, paying particular attention the brake discs – even the most careful mechanic will have inadvertently got a bit of grease on the discs. Give the front wheel spindle a good clean and lightly smear LM grease along its length before refitting the front wheel. Check the torque setting of the spindle, caliper and pinch bolts and check the wheel for any play and to make sure it spins freely.
Sponsored By

Britain's No.1 Specialist Tools and Machinery Superstores
When it comes to buying tools and machinery, you need to know you're buying from specialists who know what they're talking about.
Machine Mart eat, sleep and breathe tools and machinery, and are constantly updating their range to give you the very best choice and value for money - all backed by expert advice from their friendly and knowledgeable staff. With superstores nationwide, a dedicated mail order department and a 24 hour website offering quality branded items at fiercely competitive prices, they should be your first choice for quality tools and equipment.
