Replace the radiator coolant
Whitham shows you the best way to top up your motorcycle's radiator coolant

���
One of the most overlooked fluids in any bike is the coolant. Most of us are dead fussy when it comes to regular oil changes and keeping our bikes tip-top, but all too often leave mucky coolant in our engines. Over time this can cause corrosion inside the motor, making the cooling system inefficient which ultimately leads to overheating and poor engine performance. It’s neither expensive nor difficult to put right, so get it sorted!
Step 1
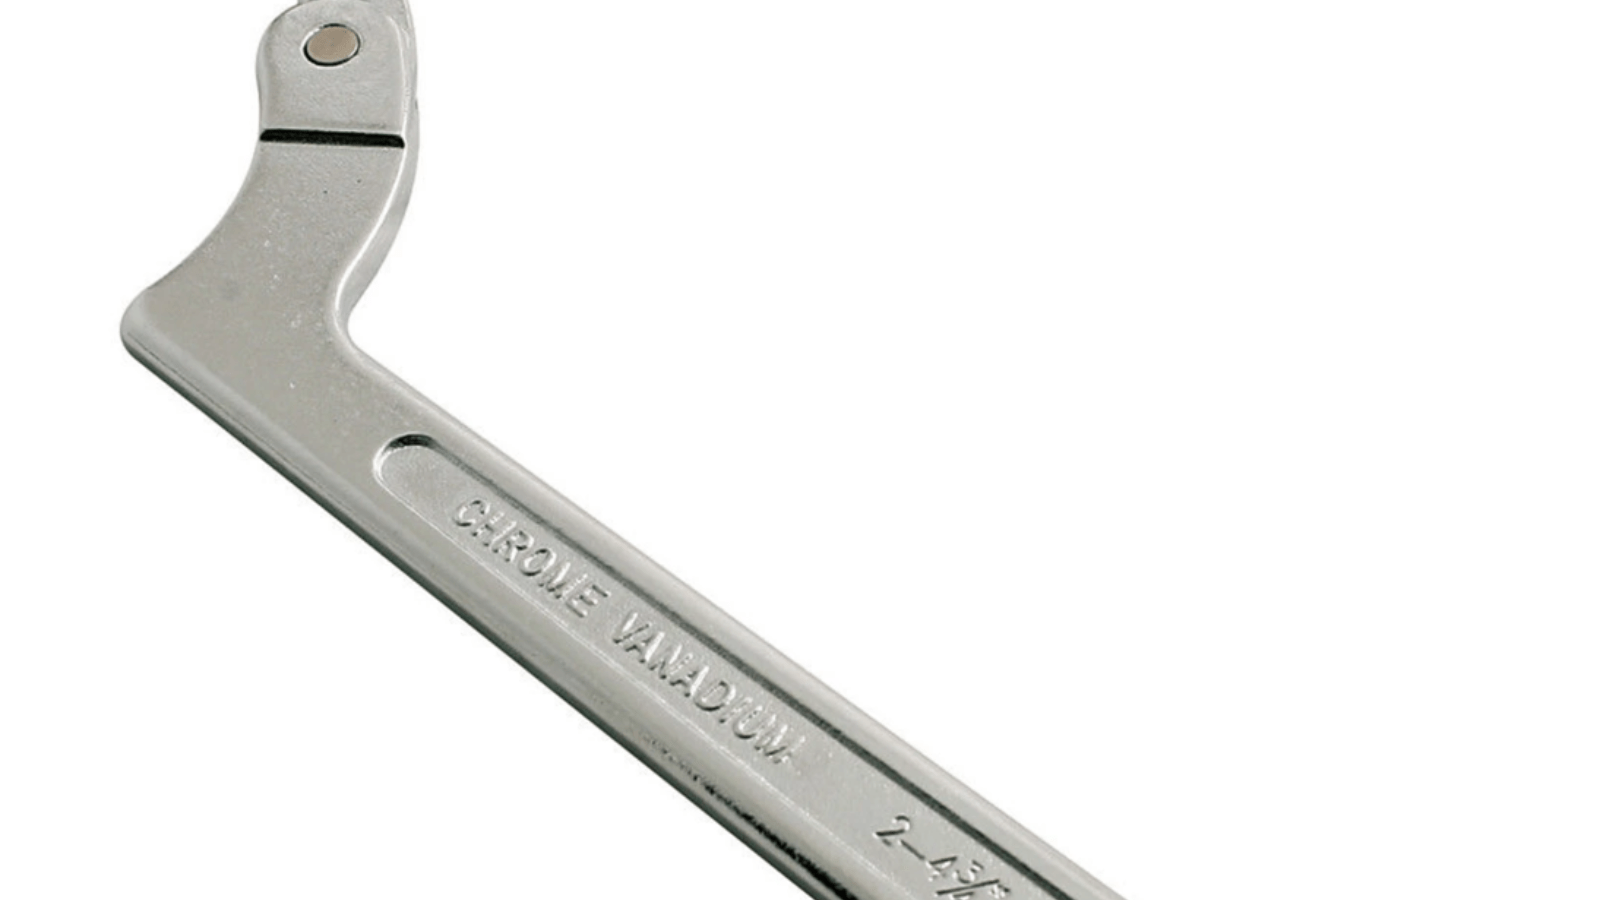
Get the radiator pressure cap off, often not as easy as it sounds. Make sure the engine is cold, and have a look round the cap for any safety devices such as locking screws or clips. Remove and check the coolant level for reference. There’s often a level marker in the radiator header, if not then the coolant should just cover the uppermost cooling fins. If the bike has a header tank, then its cap should be removed.
Step 2
The Hornet we’re working on here is naked so it’s a pretty straightforward job – on faired bikes you’ll at least need to remove the fairing lowers to locate the radiator drain bung if it has one, or the drain bung on the water pump housing. Undo this and drain the coolant out into a large bowl.
Once the coolant has finished draining, position the bowl underneath the radiator and remove the bottom hose. This is the lowest of the larger rubber pipes.
Step 3
Flush the radiator out by putting a hosepipe into the top of the radiator and run tap water through the radiator until it runs clear. In extreme cases of contamination or corrosion, aftermarket treatments are available to add to the coolant for a few days before it’s drained out, but generally a good flush through with a hosepipe is enough.
Push the bottom hose back on to the radiator, tighten the jubilee clip and refit any drain bungs you may have removed, making sure that any fibre sealing washers or rubber O-rings haven’t split.
Step 4
With the bike on its sidestand, so that the filling point is the highest part of the cooling system, fill the radiator slowly with the correct mix of anti-freeze and water. Some folk reckon that using de-ionised water is the best option, but other more scientific types have reason to believe that de-ionised water is unable to dissipate heat as efficiently as normal water.
Whatever, we’ve opted for a premixed coolant as it’s readily available, is a lot less hassle and will protect the engine from the worst the British weather can throw at it as well as inhibiting the formation of corrosion in the cooling system and motor.
Step 5
It’s best to take your time refilling the system to allow any air to return to the top of the radiator inlet. Gently squeezing the top hose helps. Once you’re happy that the coolant level is about right and that there’s little or no air in the system, start the engine and top up the coolant as it drops down. Once the level seems to have settled, put the pressure cap back on. Run the engine until the gauge shows normal operating temperature. No gauge? Wait until the cooling fans cut in.
Step 6
If so far you’ve managed not to flood your garage or scald yourself, then reward yourself with a cuppa. Wait until the engine temperature has dropped to room temperature before carefully removing the pressure cap, and top up as necessary, making sure to check the header tank, too. Give the bike a once over to check for leaks and refit any fairing panels.
After your first couple of rides you may want to check the level. If it’s dropped a little, don’t panic, as it’s usually just small air pockets being filled with coolant. Top up to the level and that’s it, job’s a dream.
��
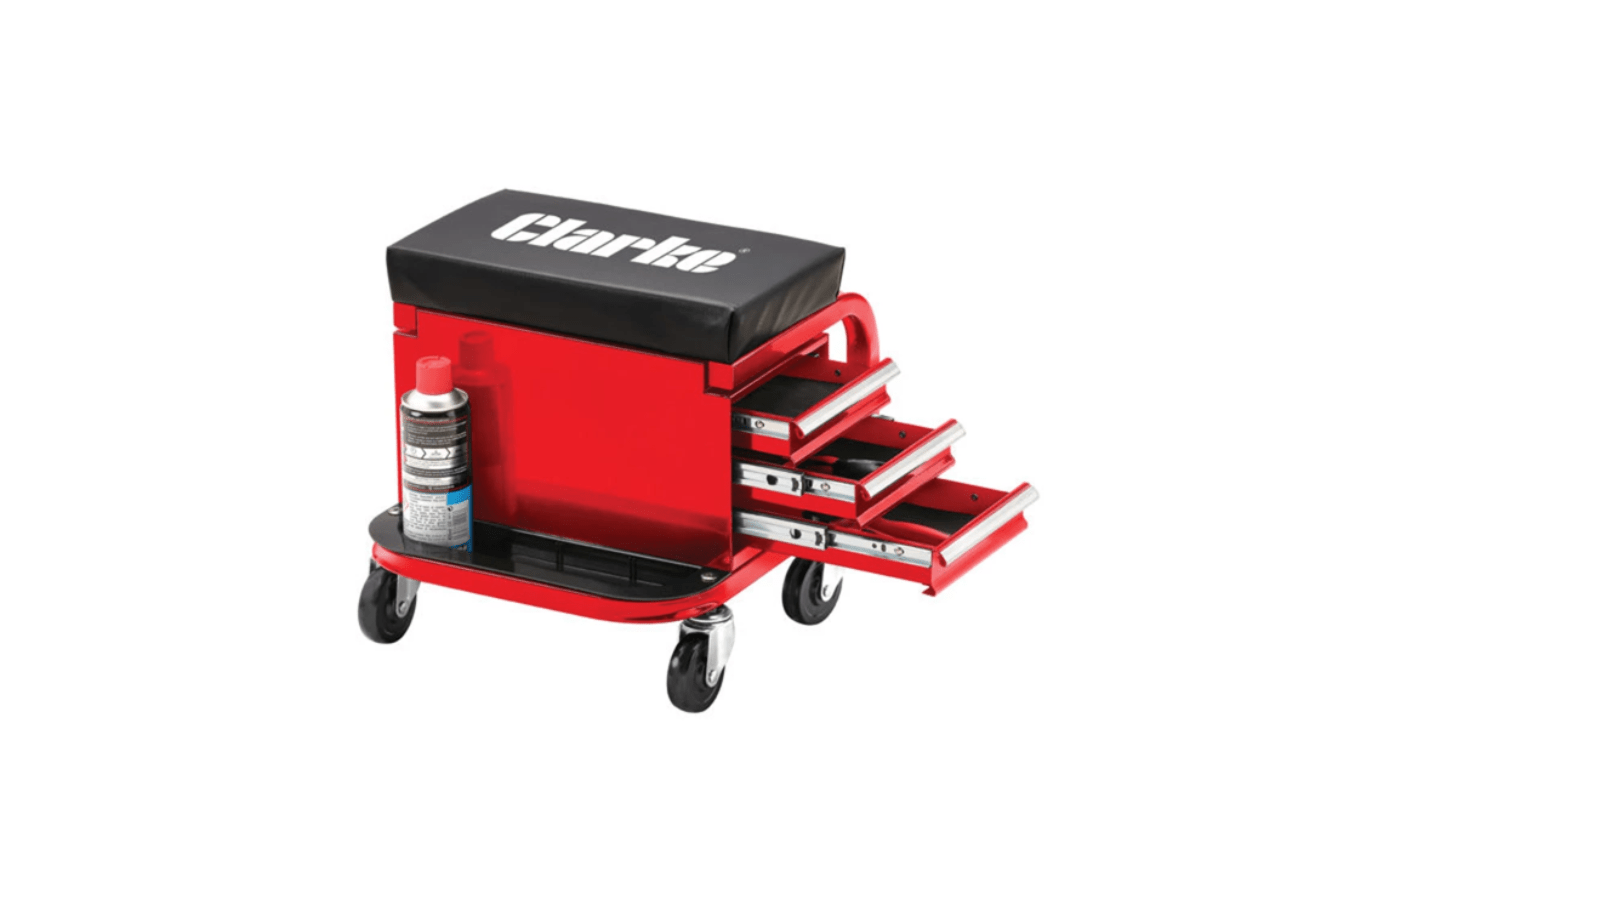
Sponsored By

Britain's No.1 Specialist Tools and Machinery Superstores
When it comes to buying tools and machinery, you need to know you're buying from specialists who know what they're talking about.
Machine Mart eat, sleep and breathe tools and machinery, and are constantly updating their range to give you the very best choice and value for money - all backed by expert advice from their friendly and knowledgeable staff. With superstores nationwide, a dedicated mail order department and a 24 hour website offering quality branded items at fiercely competitive prices, they should be your first choice for quality tools and equipment.


