How-to… clean and grind your engine's valves
Step-by-step guide

Words and pictures: Alan Dowds
THANK the stars you weren't riding bikes in the 1940s (or maybe you were…) Back then, materials were so basic, that things like engine intake and exhaust valves wore out fairly quickly, and 'grinding valves' was a regular maintenance task.
For a four-stroke engine to work well, it’s vital that the poppet valves in the combustion chamber make a solid, gas-tight seal. That's achieved by grinding each valve into its matching seat, so they fit perfectly, with no gaps for gas to leak through.
Nowadays, it's not a regular task on modern engines, but whenever you have a cylinder head apart, you should check the valves and regrind them if the sealing faces aren't completely smooth and clean.
Over the next five pages we’ll show you how.

1. Check the seats
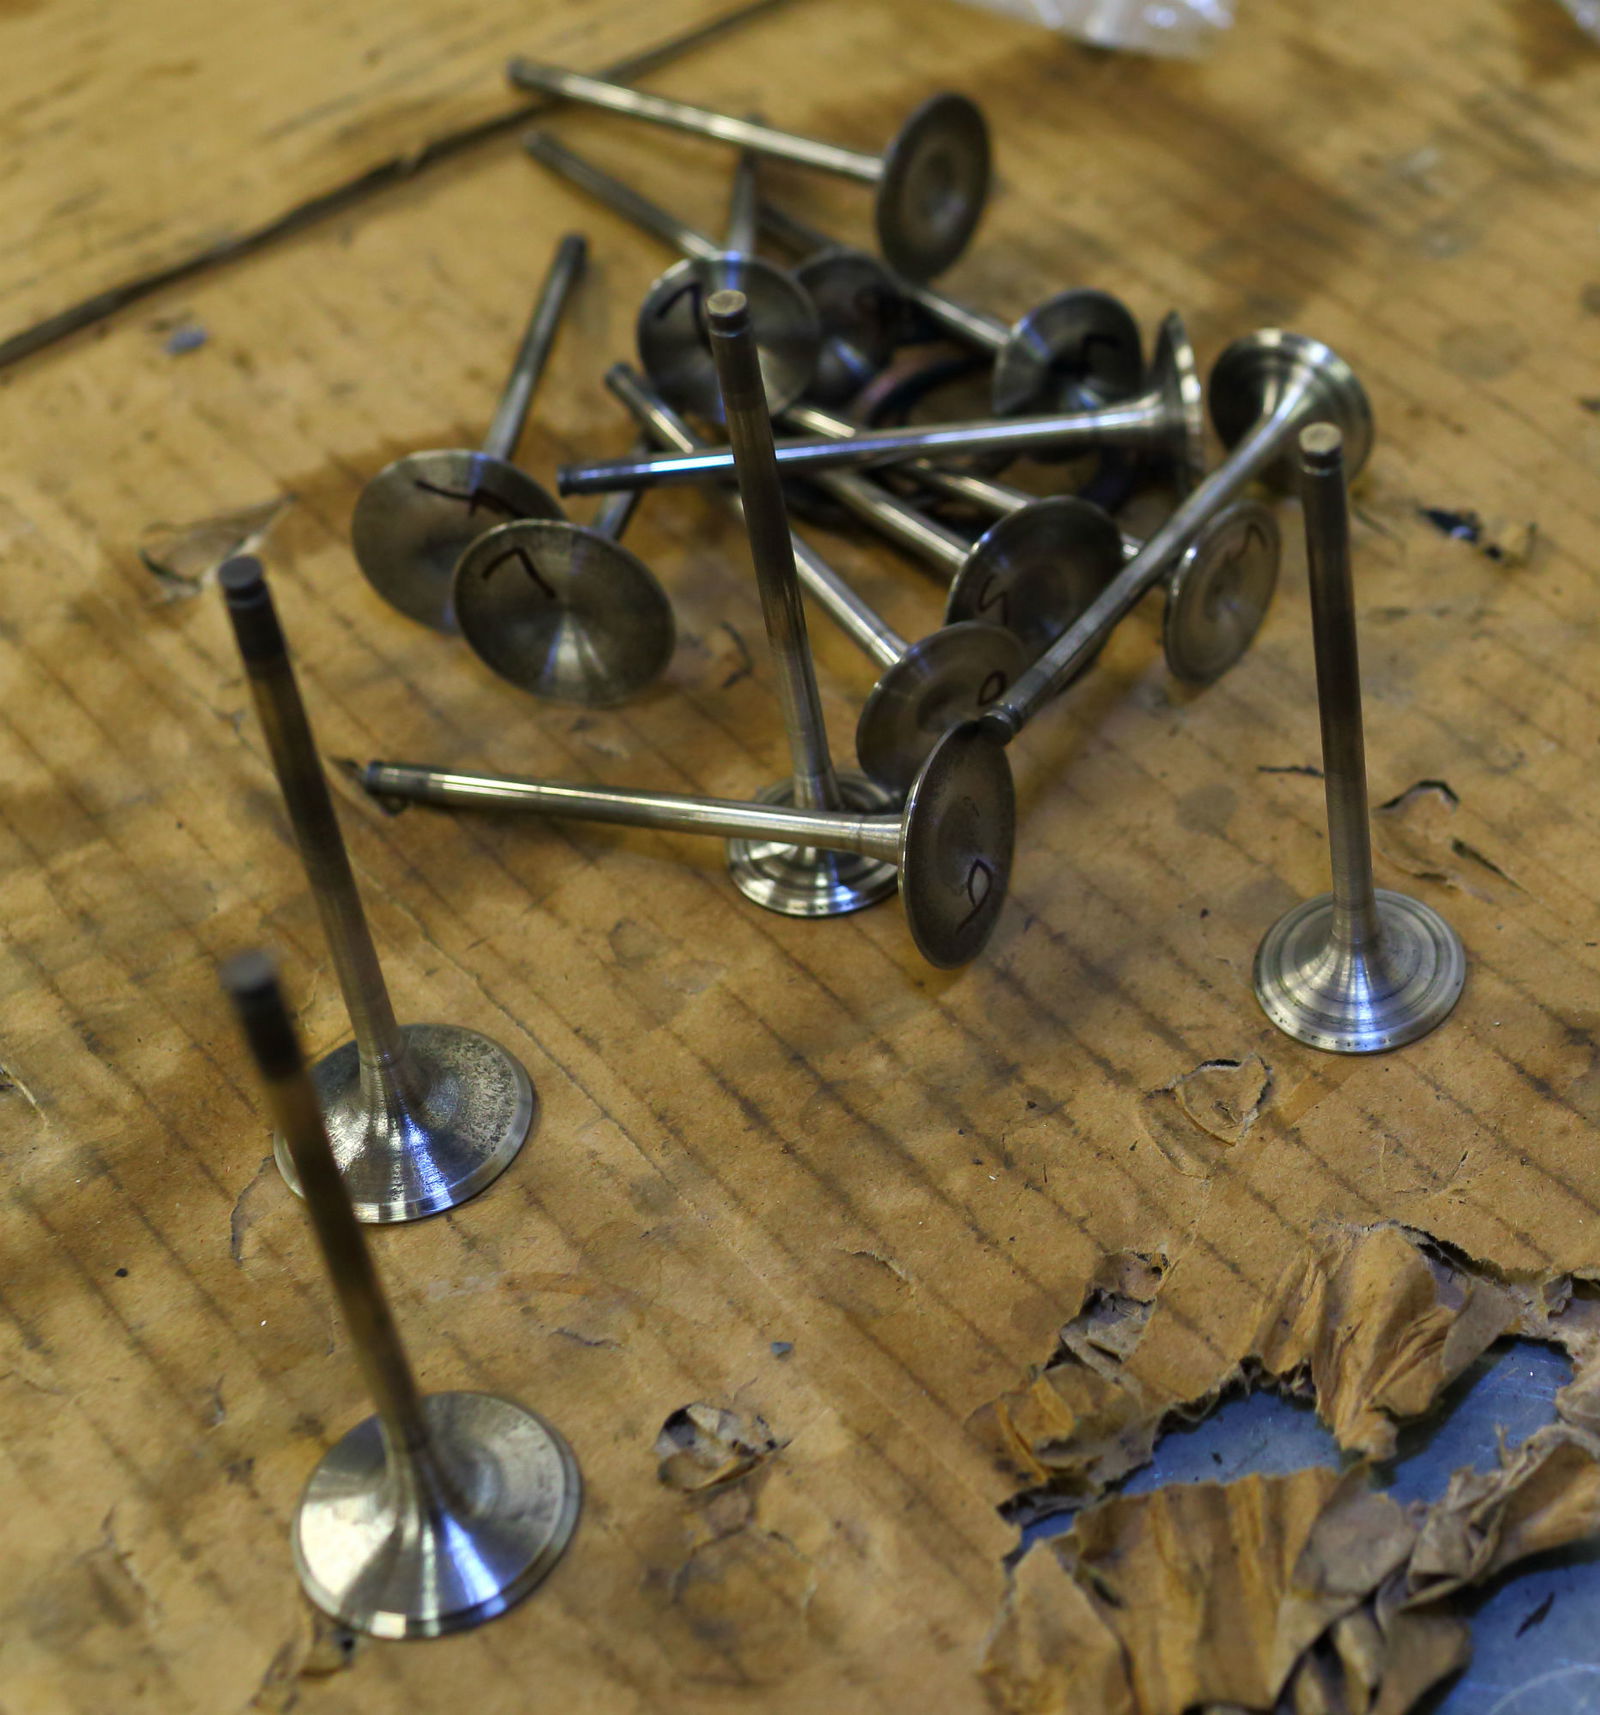
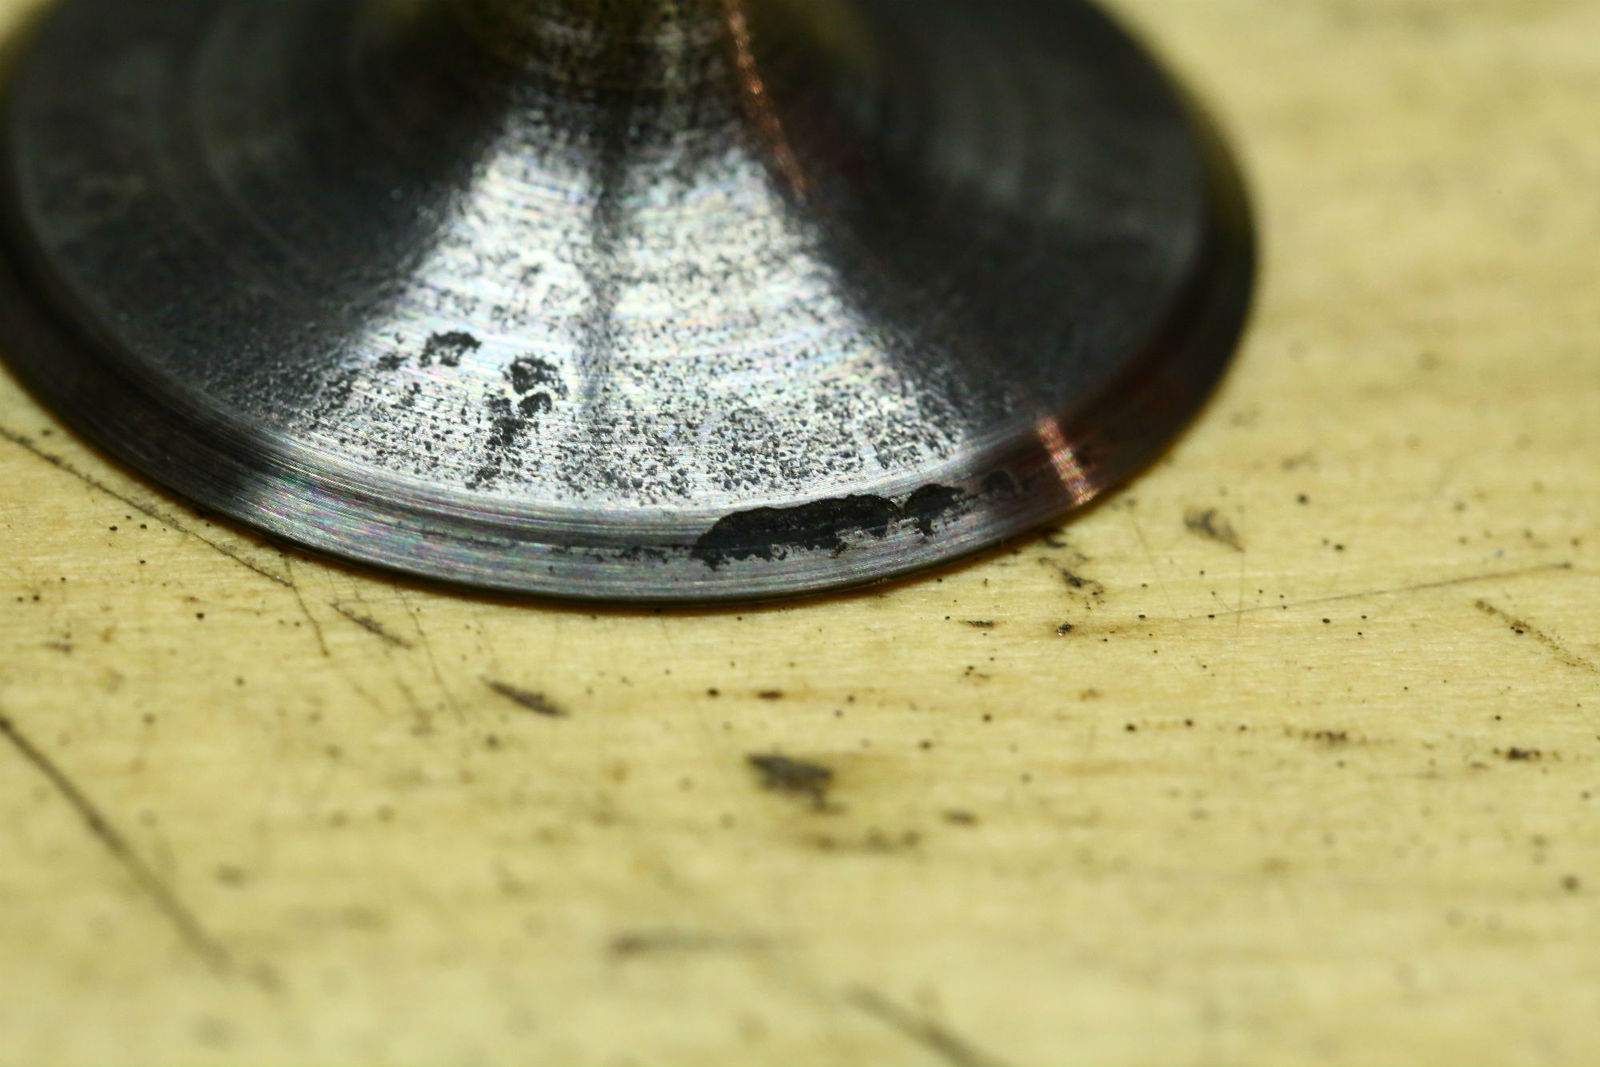
You want to examine both the valves, and the valve seats in the cylinder head. Any serious damage will need a proper professional fix – re-cutting or replacing the seats in the head, or replacing the valves. These Kawasaki valves are just a bit grubby, with a build-up of carbon and some mild pitting from oxidisation. The seats are fine, so we're okay with a moderate regrind.

We're assuming you've given the head and valves an initial clean with a parts washer and solvent to get all the engine oil and crud washed away. Now, we want the carbon deposits off the valve heads. You can do this by hand, with some wet 'n dry paper, or a small scraper, but we stuck these valves into a lathe to speed things up. A few minutes on the lathe with some emery cloth (carefully!) applied had the valve sealing faces pretty clean. You'll know all about safety when using a lathe of course – keep body parts, clothing and long hair well away from the spinning parts…

To grind the valves and head we need some grinding paste. The paste is simple enough – powdered carborundum suspended in a grease base. Buy a small tub and it'll last you a lifetime.
The carborundum is a powerful abrasive, that wears the metal away from the valve and seat, making them perfectly smooth in relation to each other. Apply a little smear of paste to the valve – you don't need too much, and if you leave any residue in the engine, it could cause damage when you start up.
You can use a manual tool – which is literally just a rubber sucker on a stick. Stick the sucker onto the valve face, put the valve into the guide, and push it in till it seats on the head. Then, rub the stick back and forth between your hands, like a Homo Erectus trying to make fire, lifting the valve off every now and then to re-distribute the paste.
Much better is a proper grinding tool though. This fits into a drill, and has a mechanism inside to oscillate the valve back and forward, saving your precious palms.
Work each valve into its seat, until there's a clear, clean, matt grey ring all the way round the valve seating area, on both the valve and the seat. Watch for any pitting – try to clean all of this away, and if you can't (or the ground area starts to get to the edge of the valve itself, you might need to replace the valve and/or the seat. After each valve is done, give it a good clean with some brake cleaner or other solvent, and clean the cylinder head well too.
Once they're all done, we recommend a cup of freshly-ground rich, tasty coffee. You've earned it!

CLICK HERE FOR MORE VISORDOWN HOW-TO GUIDES.


