D.I.Y: Sort electrical problems
For some the thought of tackling the most basic of electrical problems can be daunting

Jump to our 10 step guide for sorting your sparks
These days bikes are fitted with more electrickery than you can shake a stick at and, since many electrical components are sealed units it is usually a case of binning the old one and fitting a replacement rather than attempting a repair. But the same old electrical problems still occur, from blown bulbs, to indicators that flash at double speed to bad earths or dead batteries. All of these problems can usually be sorted in minutes.
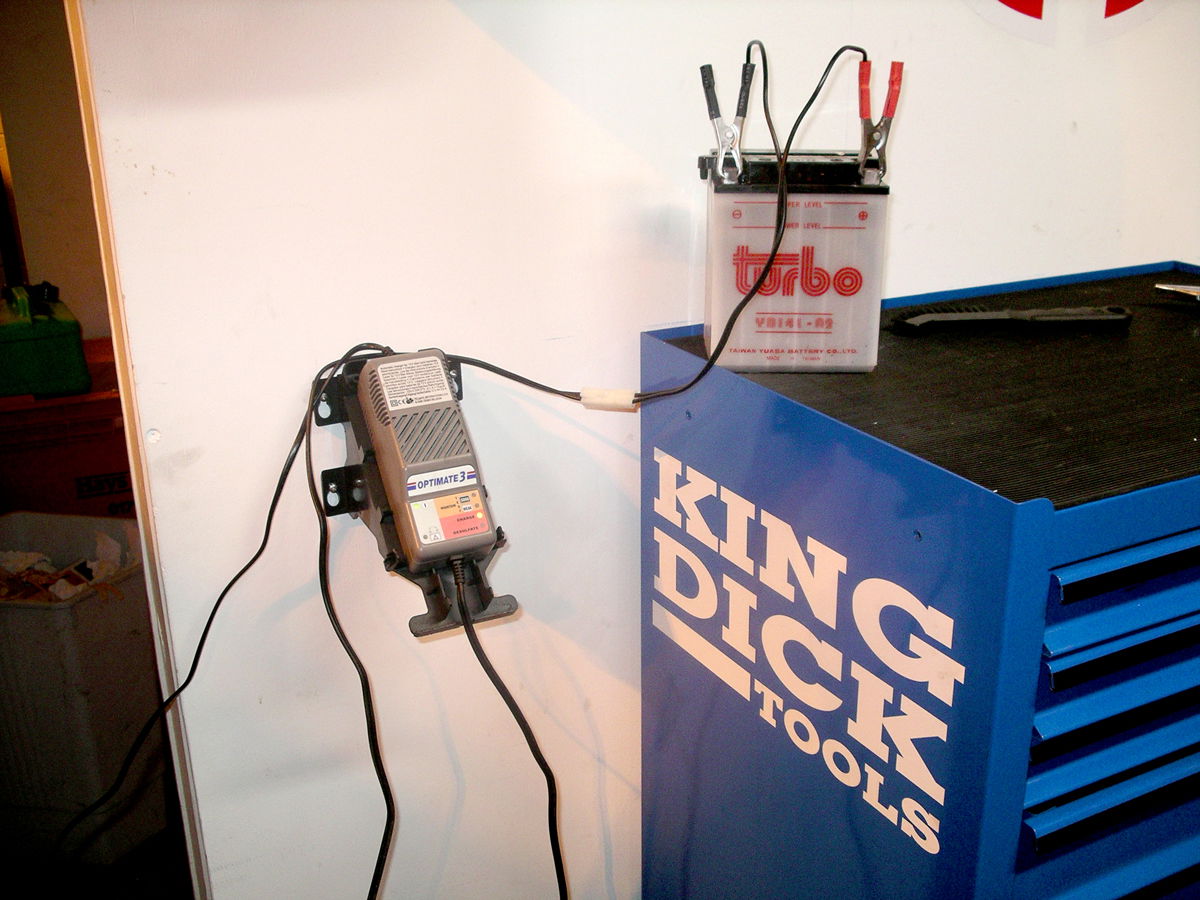
Batteries: the most common electrical problem is a flat battery. Keeping your bike plugged into battery charger, such as an Optimate, is the best way to prolong the battery's life, but it doesn't matter how carefully you look after it, eventually your battery will need replacing. Recognising when it's had its day is simple.
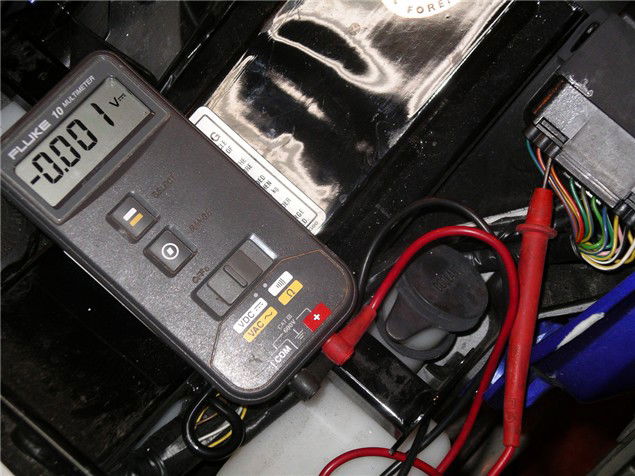
First check the bike is charging the battery properly, for which you'll need a multimeter. Multimeters can be bought from almost any car or motorcycle accessory shop for as little as £10, and can be one of the most valuable tools in your collection.
Set the meter to 'DC volts' and, with the engine running, hold the positive and negative meter probes on the corresponding battery terminals. Open the throttle until the engine is revving at around 3000rpm and note the reading from the multimeter. The system should be charging the battery at between 13.5 and 15 volts. If the meter reading is between these figures but the battery keeps going flat, it has probably reached the end of its life and will need replacing.
If the battery is in good order but still not receiving a charge you'll need to explore further. If, when the bike is revved, the volts increase but struggle to read 13 volts, it usually indicates that too much power is being drained. Accessories such as heated clothing or even a higher-wattage headlight bulb could be the cause. Disconnect or remove suspect items and see if the problem goes away. Most modern machines are fitted with an electrical system capable of supporting a whole host of accessories, but an older bike fitted with hot grips, a couple of spot lights and an up-rated headlight bulb might struggle to cope.
At the other end of the scale a meter reading over 15 volts is an indication that the regulator is faulty. Your local dealer should be able to confirm if this is the case, but if so replacement is usually the only cure.
Bulbs: replacing bulbs should be a fairly straightforward process, but it can get more complicated if the problem runs deeper than the bulb itself. If a light isn't working, check the bulb first. You can use a multimeter for this: set it to 'continuity test' mode and hold one probe on the side of the bulb's metal base and the other on the blob of solder at the bottom of it.
If the filament is in one piece, the multimeter will make a continuous sound will be emitted from the test meter, and you'll have to look elsewhere (following a process of elimination) to get to the bottom of the problem.
The first step is to check the fuse relating to that particular bulb. Almost all modern bikes are fitted with a box containing a number of different coloured blade fuses. On the underside of the fusebox cover there should be a key showing which fuse relates to which electrical circuit, along with the correct ampage for each one. Remove the relevant fuse and check that the wire running through the centre is still in one piece; if not, replace the fuse.
If all is well in the fusebox, have a closer look at the bulb. The soft solder at the base can sometimes wear down so that it no longer makes contact with the plate in the bottom of the bulb holder. Refit the bulb and carefully push it home as far as it will go, then operate the light switch. If the bulb works like this but goes out when you release the pressure, fit a new one.
Bulb bases are made from cheap metal that corrodes easily, interrupting the flow of electrical current. A light rub with fine emery paper, abrasive cloth or steel wool should sort it out.
If the bulb is in good order and still fails to come on, you'll need to check that power is getting to the bulb holder. Set the multimeter to 'DC volts' and, with the correct switch turned on, touch one probe to the centre and the other to the side of the bulb holder.
The multimeter should read 12 volts. If not, then somewhere along the line there's a broken wire or a loose or corroded connection - and you'll have to trace the wiring back to find it.
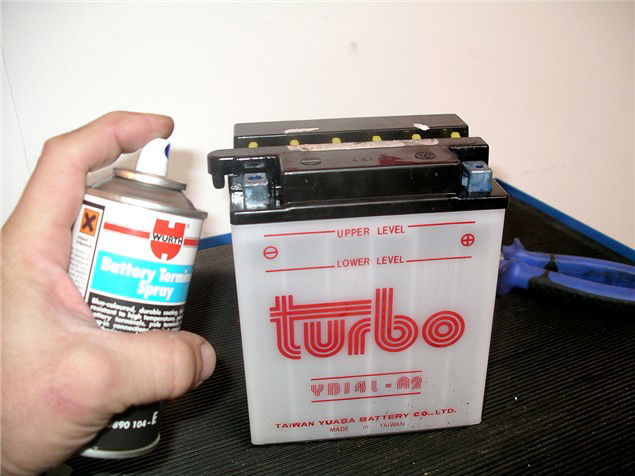
Dodgy wiring: cabling that's exposed to the elements - such as around the rear mudguard - is susceptible to corrosion. If your connectors are furry then disconnect them one by one (so you don't mix them up) and clean both the male and female connectors. Then, before reconnecting, give each end a liberal coating of water dispersant such as Würth 2040, WD40 or Duck Oil.
Broken wires, which can occur where the wiring loom is constantly moving (such as around the headstock) are fairly straightforward to repair. Strip back the insulating tape covering the loom and locate the damaged wire. Cut out any damaged or corroded wire and strip back the insulation on the good bits to reveal about 5mm of bare wire. Choose a suitable connector and feed the bare wire into the connector until it stops. Using a crimping tool, squeeze the connector around the wire until it's secure. Repeat for the other end of the wire and then wrap it with fresh insulation tape. If you're new to this kind of caper it's a good idea to practice with some spare connectors and lengths of wire before starting on the real thing.
Rear brake lights: assuming you've checked the bulb and its associated fuse, the chances are that the switch itself needs adjusting. The majority of rear brake light switches are fitted to the right-hand footrest hanger, or very close to it. The plastic switch will be clipped into a holding plate and have an adjuster nut - this alters the tension on the connecting spring, making the light work earlier or later, depending on which way you turn the adjuster nut. The rear brake pedal should have around 5mm of travel before the brake light comes on. Don't over-adjust or the light will come on when you're not braking.
Indicators: not all bikes are fitted with the same wattage indicator bulbs. If a single indicator lamp blows, the relay will flash the other lamp faster than normal. If you replace the bulb with one of the same wattage the system will return to normal. But, if you put in a bulb of higher or lower wattage, the relay will continue to flash the indicator faster than is acceptable or even legal. This can be a problem when fitting LED mini indicators. The solution, if replacing both front and rear indicators, is to replace the relay with one that can handle a wider range of wattages. Even if you're just adding one pair of mini indicators front or rear, you must match the wattage of all four bulbs for correct flashing.
Finally, the majority of electrical problems in winter are caused by corrosion or short circuits arising from connectors or components constantly getting wet. It's worth spending some time armed with a can of electrical silicone spray, coating as many connector blocks as possible. I'd also recommend removing the handlebar switch clusters, splitting the switches and spraying a generous amount of lube inside the switchgear before refitting the screws.
Sponsored By

Britain's No.1 Specialist Tools and Machinery Superstores
When it comes to buying tools and machinery, you need to know you're buying from specialists who know what they're talking about.
Machine Mart eat, sleep and breathe tools and machinery, and are constantly updating their range to give you the very best choice and value for money - all backed by expert advice from their friendly and knowledgeable staff. With superstores nationwide, a dedicated mail order department and a 24 hour website offering quality branded items at fiercely competitive prices, they should be your first choice for quality tools and equipment.


