10 steps for crash assessment
From scratched bar ends to a snapped frame, if you've crashed your bike you'll want to know what's broken. Here's how to spot it

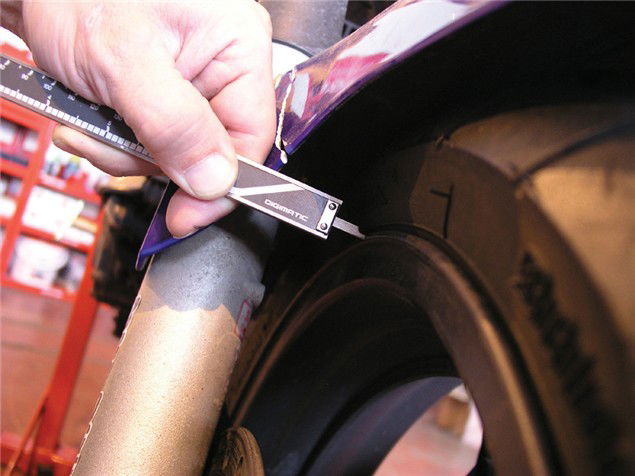
1 Use a Vernier gauge - or 'very near' gauge, as wry workshop types refer to them, to measure disc and rim runout. A small amount of runout - 2mm for discs, 4mm for wheels - should be okay, more isn't.
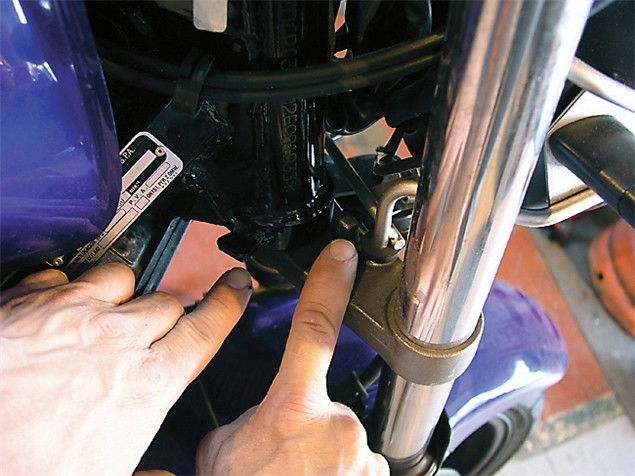
2 Check lockstops for damage. If the front end has received an impact from either side, these could be cracked or even broken off. Alloy welders may be able to fix them.
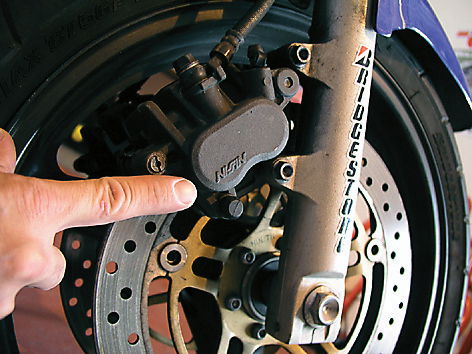
3 Inspect calipers for signs of impact. Sliding pin calipers like these may be irreparably damaged. Check opposed piston calipers for damage to their mountings.
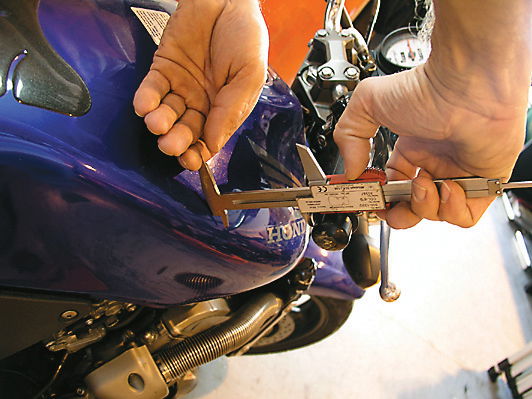
4 Turn the bars onto right lock and measure the distance from bar end to tank, then turn to left lock and repeat. If the measu-rements are different, something's out of kilter.
5 If the right-hand bar end has been down make sure it isn't affecting throttle action. Now's the time to get those purple anodised items you've been lusting after. Every cloud etc...
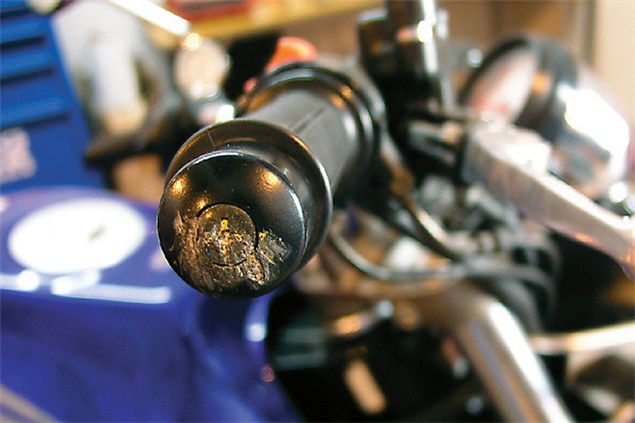
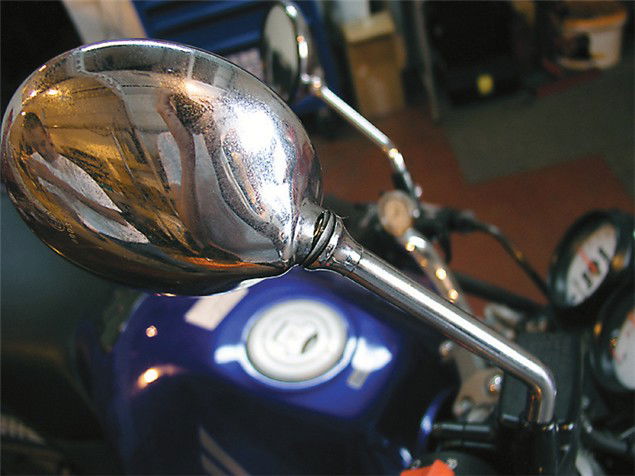
6 It's stuff like this you might not notice at first glance. Many pattern parts are available, including mirrors, handlebars and levers, and can save cash over genuine items.
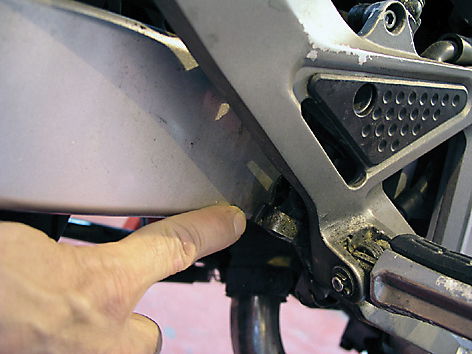
7 If the footrests have taken an impact (which they usually do) make sure the hangers aren't pushed back into the frame or swingarm where they can score deep gouges.
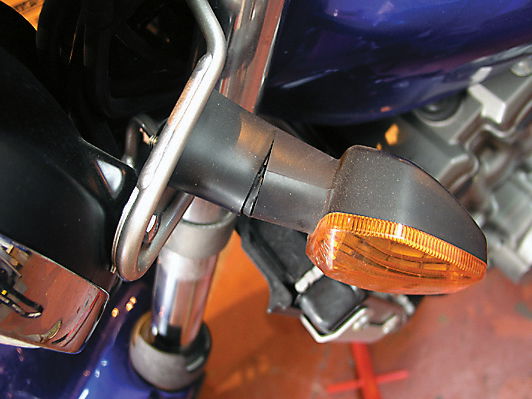
8 Big bendy indicators are actually pretty good at absorbing energy in low-speed or no-speed falls. Replace with originals or decent pattern items, not shite dinky carbon rubbish.
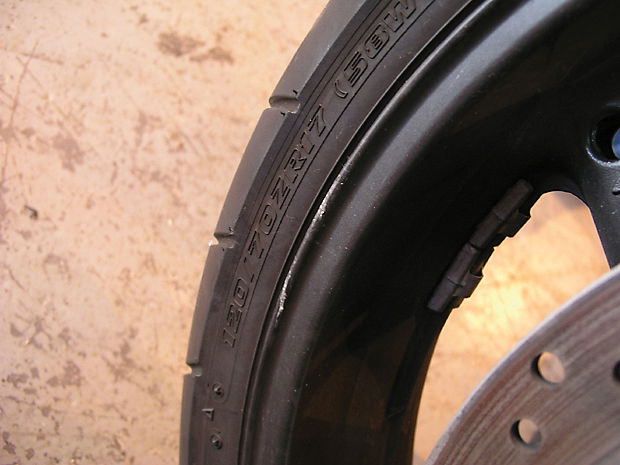
9 Wheel rims can be scratched or even bent in impacts with kerbs or the like. This, above, amounts to no more than cosmetic damage. It could have been worse.
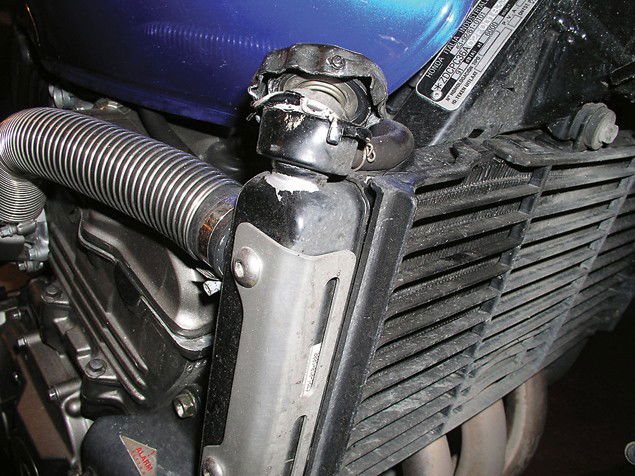
10 Here's a knackered radiator. Small holes in the core can be fixed, but crash damage like this is terminal. New ones cost a packet, too. Oh dear.
Sponsored By

Britain's No.1 Specialist Tools and Machinery Superstores
When it comes to buying tools and machinery, you need to know you're buying from specialists who know what they're talking about.
Machine Mart eat, sleep and breathe tools and machinery, and are constantly updating their range to give you the very best choice and value for money - all backed by expert advice from their friendly and knowledgeable staff. With superstores nationwide, a dedicated mail order department and a 24 hour website offering quality branded items at fiercely competitive prices, they should be your first choice for quality tools and equipment.
