How to clean and care for your motorcycle leathers
After your bike and your lid, your leathers are the next most vital piece of kit. Here’s how to keep them looking and performing as they should
.jpeg?width=1920&format=webp&aspect_ratio=16:9)
RIDING motorcycles is a physically demanding exercise that uses every major muscle group and your brain. One study even claims is as physically demanding as an hour in the gym. All this work means sweat, and the sweaty kit isn’t pleasant. So how do you clean your motorcycle leathers?
crop.jpg?width=1920&format=webp)
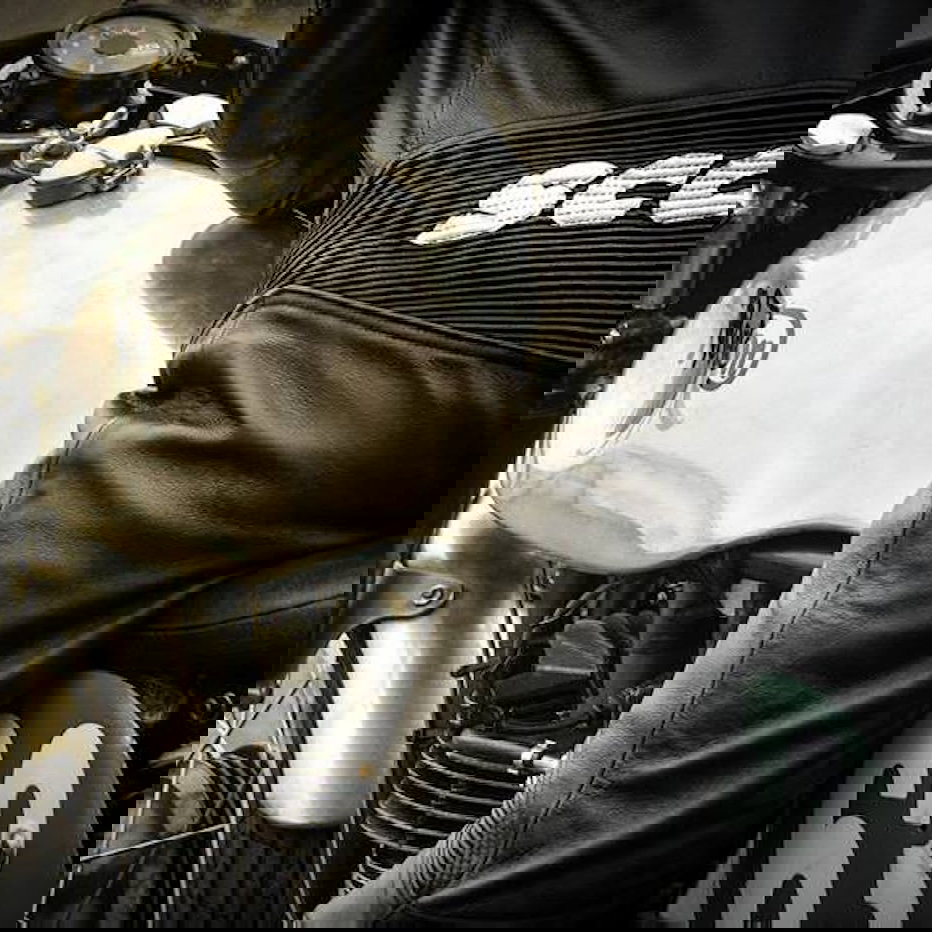
How to clean motorcycle leathers
While the article and pictures focus on a leather race suit from Spidi, the same method can be used for 2-piece suits, jackets, and gloves. After a winter of track launches and the occasional road ride in the UK, these leathers aren't really in bad shape, a few bug splats, and rubber marks from riding on the track, but other than that, they're pretty good. Just because your leathers aren't totally minging, it doesn't mean you shouldn't give them a clean, try and carry out the job once or twice a year regardless.
.jpeg?width=1920&format=webp)
Step one – remove and wash the lining
Most leathers now include a removeable air-mesh lining suit that makes getting into and out of your leathers a much easier task. If that’s the case, whip it out and pop it in the washing machine following the manufacturers washing guidelines.
Most lining suits are anti-microbial, meaning that as long as they are left to air-dry, they shouldn’t get too stinky. Should you need to though, get these in the wash and then turn your attention to the leathers.
.jpeg?width=1920&format=webp)
Step two – get off the worst of the grime and bugs
Bugs, exhaust fumes and rubber (especially if you ride on track) can all find their way onto your leathers and potentially damage the upper protective layer of the suit. It’s a thin polyurethane skin over the outside of the leather and helps to stop water, dirt, and oil getting into the leather fibre. If this layer becomes too damaged, a bug left on the suit too long or from a small scuff to the suit, the internal fibre of the leather hide can be broken down and the protection of the suit impeded.
For this, I’m giving the leathers a quick wipe with a specific leather cleaning wipe. I’m not going too crazy, as this is just to get the top layers or grime off the leather and to remove any bugs that aren’t fully baked on to the surface of the suit.
.jpeg?width=1920&format=webp)
The wipes are really handy as they mean you can’t over administer the cleaning agent on the leather, meaning the perforations on the chest and the zips can’t become clogged with gunk.
Work your way around each panel of the leathers and methodically move from one to the next. Try not to press to hard and if there are any stubborn sports don’t worry too much as we’ll come back to them in a minute.
.jpeg?width=1920&format=webp)
Pay particular attention to the stitching around the shoulder and knee slider, they are both areas that protrude beyond the fairing and take a fair old battering from the elements.
Once the initial clean is done, let the suit hang up for about 30-minutes and give it time to dry out. The next step is going to be using dedicated cleaning and conditioning product, you don’t want that to mix or contaminate the moist residue already on the suit.
.jpeg?width=1920&format=webp)
Step 3 – clean
The next step is to thoroughly clean and condition the suit with a dedicated leather cleaning agent and leather food if you can get some. For this you’ll need a microfibre cloth or similar and an hour or so of free time to do it properly.
.jpeg?width=1920&format=webp)
Apply a grape-sized blob of the product you are using to the cloth and begin cleaning the leather moving your cloth in a circular motion. You shouldn’t be applying too much pressure with your hand, instead, work an area for around five seconds before moving on to the next part of the panel. Like Step 2, work your way around each panel and in a methodical manner to ensure you don’t miss any.
It’s really important to go for a less-is-more approach to this, as over-egging the pudding could leave traces of cleaning product within the stitching of the kit. This could, over time and with the right conditions, allow the stitching and the leather to rot.
Take care when cleaning the perforated section of your leathers too. Where the hole is punched in the leather there is a chance for the product to get into the unprotected part of the hide. Keep it minimal and work the area until the excess cleaning product has been absorbed by the leather.
.jpeg?width=1920&format=webp)
Step – 4 condition
Leather food or balsam, like this Renapur Leather Balsam, is a great way of keeping your kit in tip-top condition. It’s applied after cleaning and when the suite has aired for a little while. It not only polishes the leather to look good, it nourishes it, helps to waterproof it and can restore the softness of the leather.
It’s not cheap, at around £12 a 200ml tub, and almost doubles the time it takes to clean your suit, but in the long run, it’s well worthwhile having.
.jpeg?width=1920&format=webp)
Step 5 – let the leather dry out naturally
Once this has been completed and all the panels of the kit are as clean as they can be, hang the suit up somewhere that is big enough to allow air to circulate around it. The back of a bedroom door is ideal but really, it’s anywhere they aren’t going to sit too close to a wall or other garment. You want the leather to dry out naturally and take in the leather food.
How not to clean motorcycle leathers...
We’ve heard of and read of some really dubious articles online on the subject of cleaning motorcycle leathers. Here are the three weirdest and why should avoid them!
The washing machine method
Adding your leathers to the wash and chucking in some detergent is wrong on so many levels; the detergent will almost always be too harsh, and the spinning motion of the machine will pull the stitching and break up the fibres in the leather hide.
Jet washing
Yes, we’ve heard of people doing it but please, regardless of how mucky they are, don’t resort to using a jet washer. The high-pressure spray will ruin and, in some cases, rip the stitching apart. It could also force the water through the leather’s protective upper layer and cause the hide to swell.
Household cleaners and soaps
Cleaning your kit with the cleaning products under your sink and a bucket of water is another common but risky method. Instead, spend a few quid on some leather care products or a dedicated leather cleaner like this one from Motul.
Leather cleaning dos and don’ts
Do
- Use specific leather cleaning products
- Use a small amount at a time
- Take care around zips, vents and stitching
- Allow to dry out before adding the next product
- Use a light amount of pressure
- Take your time
Don’t
- Use harsh chemical cleaners not made for leather
- Use mechanical devices like rotating brushes or washing machines
- Overload the leather with cleaner
- Clog the stitching with product
- Scrub the living daylights out of it!
Sponsored By

Britain's No.1 Specialist Tools and Machinery Superstores
When it comes to buying tools and machinery, you need to know you're buying from specialists who know what they're talking about.
Machine Mart eat, sleep and breathe tools and machinery, and are constantly updating their range to give you the very best choice and value for money - all backed by expert advice from their friendly and knowledgeable staff. With superstores nationwide, a dedicated mail order department and a 24 hour website offering quality branded items at fiercely competitive prices, they should be your first choice for quality tools and equipment.
Search for Products
In This Article
.JPG?width=1920&format=webp)


Simon (AKA Toad) has been working within the motorcycle industry for more than twelve years, and a member of the motorcyclist family since birth. Growing up around British-built single and twins, it was inevitable that a life on two wheels was on the cards, from a very early age!