How-to... remove your wheels
It doesn't need to be difficult

Okay, it’s a simple job if you're experienced on the spanners. But if you're staring out, it might seem like a massive, scary task. Removing your own wheels will save you cash on otherwise straightforward tasks – getting new tyres fitted being the biggie. Take your loose wheels to the tyre shop in the car and they'll often fit your new tyres for free. Getting them fitted to a bike can cost up to an hour's labour: pricey nowadays.
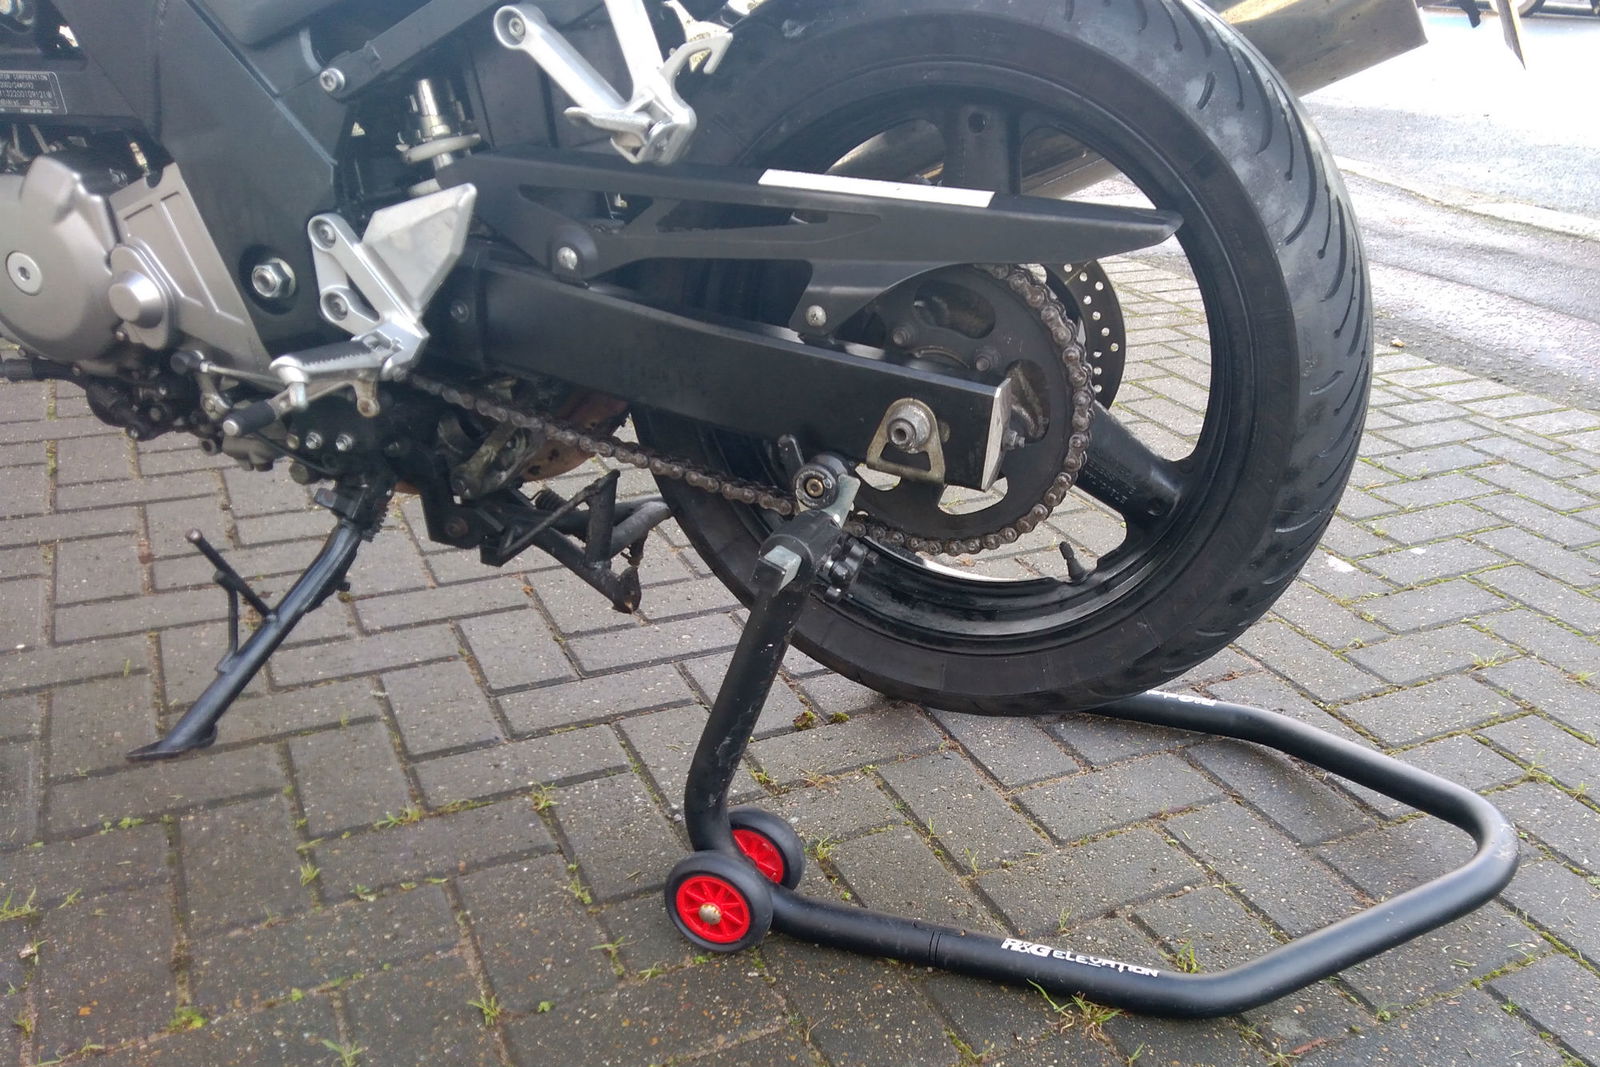
You'll need to buy some kit, paddock stands being the main thing (assuming your bike doesn’t have a centre stand). But the tools and stands will make a load of other jobs easier – new brake pads, chain adjustment/replacement, oil changes etc etc. So, look on it as an investment for the future!

1. Prep
Make sure you have plenty of room to work: tidy up the garage, and if you're working outside, check the weather forecast to make sure you'll be spannering in the dry.
Sort out the tools you'll need: socket or spanners to fit the front and rear axles, (and often a giant hex bit for the front axle), Allen bits or sockets for the caliper mounting bolts, axle clamp bolts on the front forks, chain adjusters at the rear. You may need to loosen the front mudguard to get enough clearance to get the front wheel out too. A torque wrench is a good idea for these big fasteners too: we don't want anything coming loose round here.
Get the paddock stands ready – but before you put the bike on them, it's worth loosening the axle nuts. They'll be tight, and it's sometimes better to take the initial torque off when the bike is on the ground, rather than on the (usually less stable) paddock stands. Remember to loosen any axle clamp bolts first (normally on the front fork bottoms), and remove any split pins or R-clips on the spindles.
With the front and rear axle nuts loosened, lift the bike onto your stands. If you have a centre stand, put the bike on this, and use a small jack or front paddock stand to lift up the front wheel. Putting the centre stand on a thick piece of wood or a paving slab can give more ground clearance to get wheels out from under mudguards.
Front wheel is easy: remove the caliper mount bolts, then work both calipers out from the disc, and hang them from the bottom yoke with a bungee or bit of string to take the strain off the hoses. Loosen and remove the axle nut, then, while supporting the weight of the wheel, carefully slide the axle out. You might need a bit of tapping from a soft-faced mallet, then a drift (a ½-inch socket extension bar is often good) to push the axle right through if it's tight. Be careful not to damage the threads on the axle though.
Once the axle is out, the wheel should come free: watch for spacers (or speedo drive on older bikes), and note which side is which. To make sure, put the axle back in, with the spacers in the right order. If there's not enough room to get the wheel out because of the mudguard, loosen its mount bolts, and remove or pivot it up out the way.
The rear is usually a little trickier because of the chain, sprocket carrier, and caliper brackets. Take your time and you'll be fine though. First, loosen the chain adjusters and push the wheel forward, so you have plenty of slack in the chain. Then, look at the rear brake caliper. Removing the caliper altogether often helps, but on some bikes, it's possible to leave the caliper on the mount bracket. For the first time, unbolt the caliper, lift it off the disc, and hang it off the pillion pegs with a bungee or string.
Remove the axle nut and drive the axle out with your soft-faced mallet and drift again. Unhook the chain from the sprocket and lay it over the swingarm out of the way. Watch for spacers again, and carefully wangle the wheel out. The brake caliper bracket might fall, or might be held in place – just look for where any spacers come from and keep them in the right order.
A single-sided rear arm is a godsend here: just one (huge) nut holds the wheel onto the stub axle, so you don't need to worry about chain adjusters, brake caliper mounts or spacers.
Refitting the wheels is a simple reversal of the process – in theory. In practice, especially with rear wheels, it's often a bit of a bugger, with spacers falling out, caliper brackets not lining up, and sprocket carriers getting jammed. Be patient, get a helper if you can, and try sitting the wheel on a piece of wood to support its weight while you line up all the spacers/axle/brake caliper mount. Practice will help of course…
Finally, make sure you tighten up all the fasteners to the right torque: axle nuts, clamp bolts, caliper mounts and mudguard screws, and refit/replace any R-clips, split pins, or locking nuts.

 Alan Dowds.JPG?width=1600)