D.I.Y: Wheel Removal
Cheap mail order tyres are all very well, but the cost of getting them fitted can offset the saving. By taking loose wheels to your local dealer you can slash the labour charge and be quids in. Here's how to get 'em out


Click here for 10 easy steps on how to remove your wheels
Apologies if we're teaching some of you to suck eggs here, but here we're going to look at wheel removal and refitting. Sounds like a simple job, but there are some important things to bear in mind if all is to go smoothly.
The most common reason for whipping out both wheels is to get new tyres fitted. Taking loose wheels to your dealer when it's tyre replacement time can cut the cost of fitting considerably.
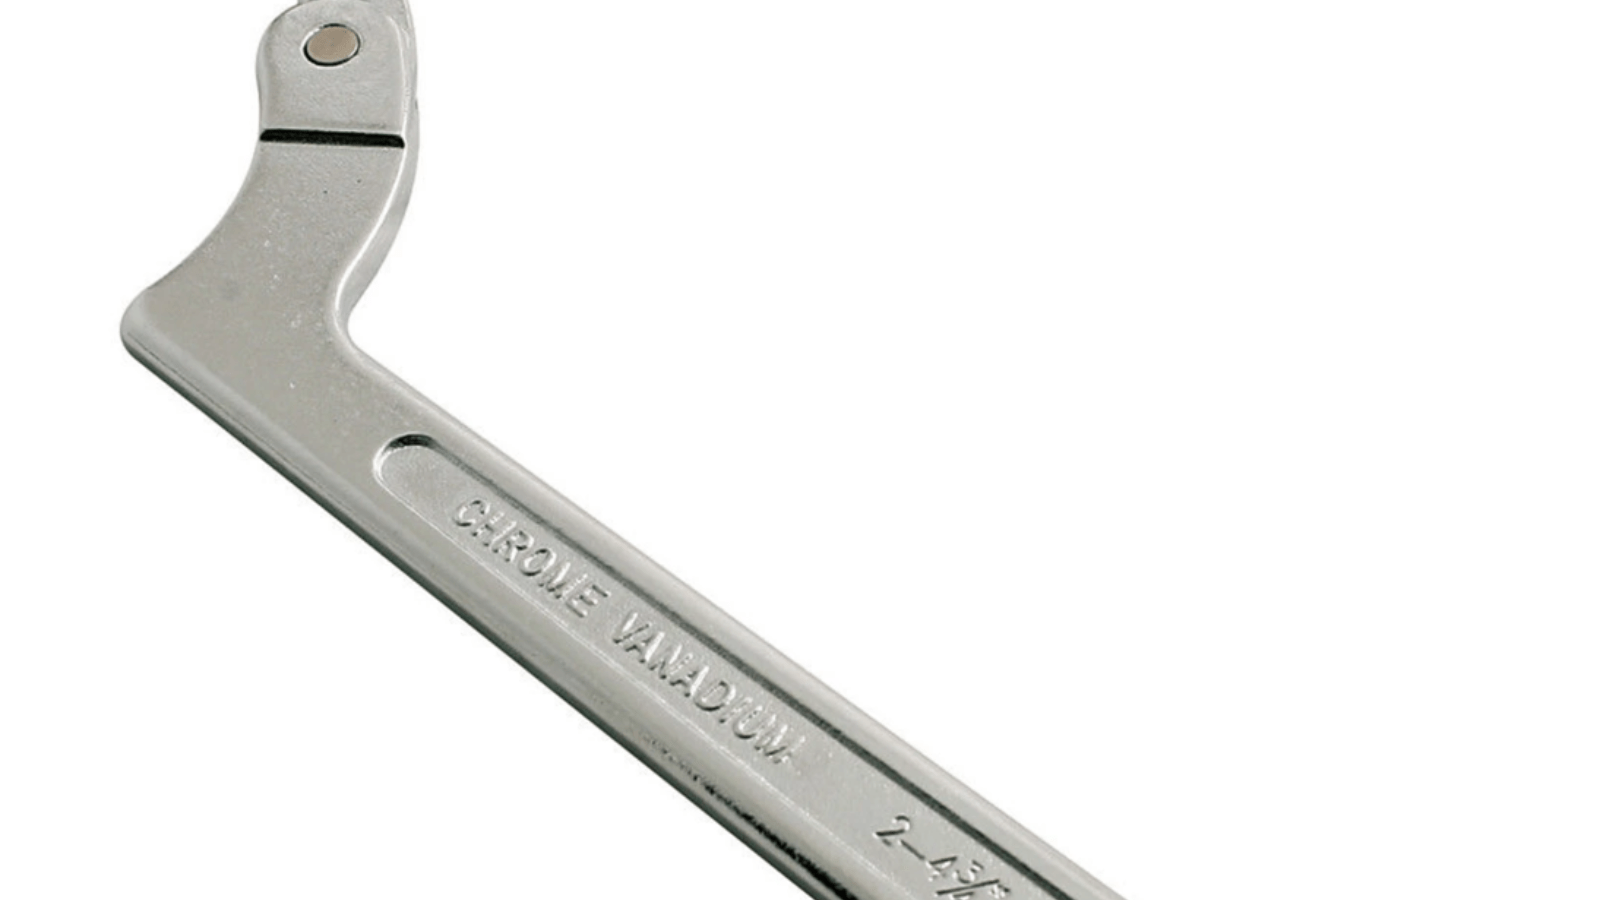
As ever, you'll need to make sure you've got all the tools to hand before starting work. Many sports bikes' front wheel spindles need a large hex bit - up to 24mm on some bikes - to undo them (Motrax sell a 'Spindle Key' for £9.99 which fits most bikes, have a look at www.motrax.co.uk). You'll also need a fairly large socket to undo the rear wheel spindle nut (and maybe a special tool if you've got a single-sided swingarm Ducati or Triumph), something to undo the front calipers, a torque wrench (in an ideal world) and a spot of grease.
First thing to do is loosen off the front spindle pinch bolts (if you have them), the spindles themselves and the caliper bolts BEFORE putting the machine up on its stand(s). You don't want to be heaving with all your might on an over-tight spindle nut while your bike is perched up on paddock stands. In the case of Tim's long-term R6 pictured here the front pinch bolts had to be removed completely so the front paddock stand's locating lugs fitted in the recess in the fork bottoms.
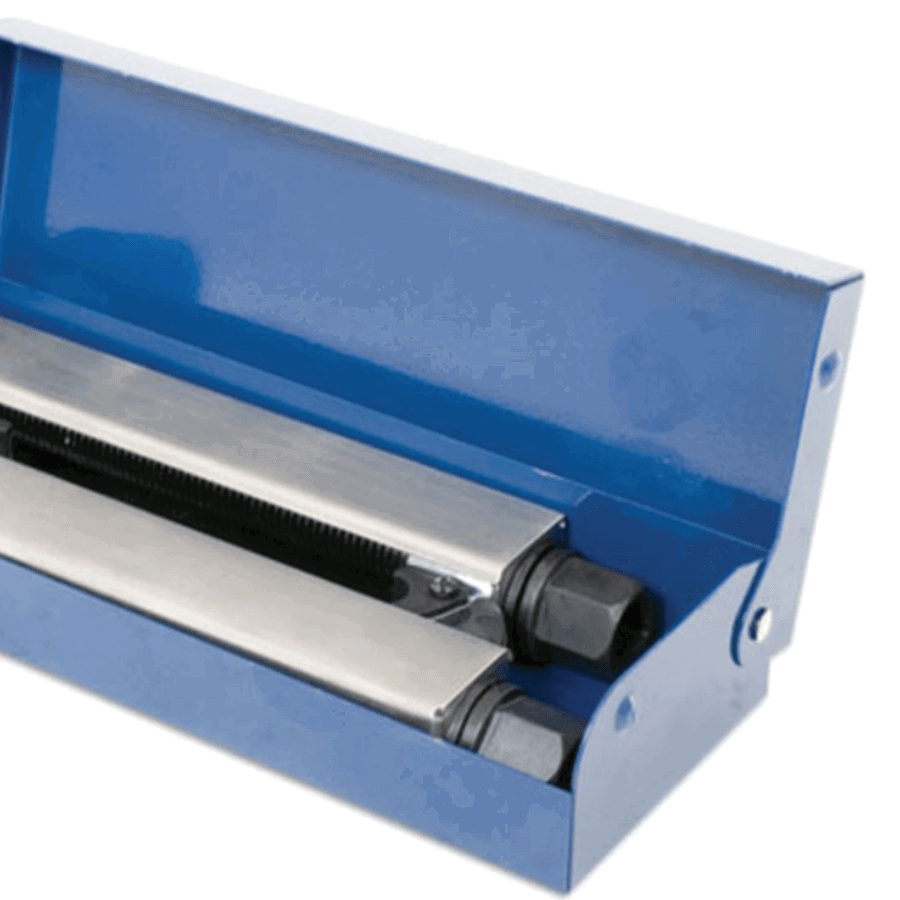
Next get your bike supported so both wheels can be removed without the rest of the machine toppling on you or innocent bystanders. If your bike has a centrestand this is pretty easy; if you own something modern and sporty-ish chances are all you'll have is a sidestand, so you'll need to sort yourself out with front and rear paddock stands. Don't baulk at the initial expense - a rear one is pretty essential anyway for chain maintenance if nothing else, while front and rear stands together will save money in the long run for jobs such as this and other, more exciting, projects.
If your bike has a centrestand it'll need supporting under the engine before removing the front wheel to prevent the bike falling forward . A car jack, block of wood and some rags (to protect bodywork) are ideal.
Starting at the front end withdraw the brake caliper bolts and pull the calipers away from the discs. Don't leave them dangling by their brake lines, instead suspend them from the handlebars by a bungee strap. Next knock the wheel spindle a short way through, using a rubber mallet - not a metal hammer - so enough of it is protruding to grasp it with one hand.
Don't go any further for a moment. Now position yourself in front of the bike, grasp the wheel at the top with one hand and pull the spindle all the way through with the other, supporting the wheel's weight as you do. Remove the spacers and speedo drive (if applicable) and arrange them in the order they came out. It's easy to forget what goes where when it comes to putting it all back together.
Moving to the rear, undo and remove the rear spindle nut (loosened earlier, remember?). Kneel behind the bike, positioned so one knee is supporting the wheel, one hand is holding it and the other poised with a rubber mallet. Take the strain and give the spindle a knock. With your knee supporting the wheel the spindle should move smoothly through. If you don't support the wheel properly the spindle will probably get stuck on its journey through the hub and things can get awkward.
With the spindle through and clear, lift the wheel slightly and push it as far forward as it will go. Still supporting it, unhook the now-slack chain from the rear sprocket and hook it over the end of the swingarm (shaft drive owners can take a breather here). Pull the wheel backwards and clear of the swingarm, manoeuvring its disc clear of the caliper and its mounting bracket.
Remove the spacers from the hub and sprocket carrier, and remove the cush drive rubbers from the hub, then refit the spindle through the swingarm, supporting the chain and with all the spacers in place for safe keeping. And that's your wheels out.
Time to put them back in. Refitting is pretty much a reversal of removal. Make sure you know what's going where before you start, and ensure the spacers are free of any muck they may have picked up. Have a look at the spindle. It should have a thin film of grease on it and be corrosion free. If there are rust spots anywhere, remove with wet and dry paper, then lightly grease it - a lithium-based grease such as Castrol's LM is ideal.
Refit the cush drive rubbers into the hub, and spray a small amount of WD-40, Duck Oil or similar onto them before pushing the sprocket carrier back into place - making sure you've remembered to refit the sprocket carrier spacer.
Refit the remaining outer spacers in the hub (if your bike's relatively new they should hold themselves in place. If your bike is older with a bit of wear in the seals around the spacers, you may find they keep falling out. Just persevere). Refit the chain adjuster blocks in the swingarm (if applicable) making sure they're the right way round. There should be marks on them where the adjuster bolts press against the blocks.
Position the wheel in the swingarm, resting it on the ground and as far forward as it will go. Lift it and hook the chain around the sprocket, then pull the wheel back, lift and support it on your knee before gently knocking the spindle back through. Push the wheel forward so the chain adjuster bolts are tight against the blocks, then refit the spindle nut and do up finger tight. Now reach round with one hand and take up the slack in the chain while tightening the spindle nut with the correct tool with the other hand. Don't fully torque it up just yet - wait until the bike is off the stands.
Turn the wheel and make sure it rotates fully. If not, you may have missed out a spacer somewhere. Retrace your steps and sort the problem.
Back at the front, it's a similar story. Clean up the spindle, refit the spacers in the right order, offer up the wheel, support it and knock the spindle through from the correct side, again using a rubber mallet - please don't whack away at it with a lump hammer.
Tighten the spindle nut and the pinch bolts up (although not completely), then refit the calipers. Take the bike off both stands (front first) and fully tighten all the bolts, ideally to the manufacturer's specified torque settings. Pump both brake lever and pedal to restore brake pressure (the pads will probably have been pushed back in the calipers during wheel removal/refitting). And that's about it. Job done.


Sponsored By

Britain's No.1 Specialist Tools and Machinery Superstores
When it comes to buying tools and machinery, you need to know you're buying from specialists who know what they're talking about.
Machine Mart eat, sleep and breathe tools and machinery, and are constantly updating their range to give you the very best choice and value for money - all backed by expert advice from their friendly and knowledgeable staff. With superstores nationwide, a dedicated mail order department and a 24 hour website offering quality branded items at fiercely competitive prices, they should be your first choice for quality tools and equipment.


