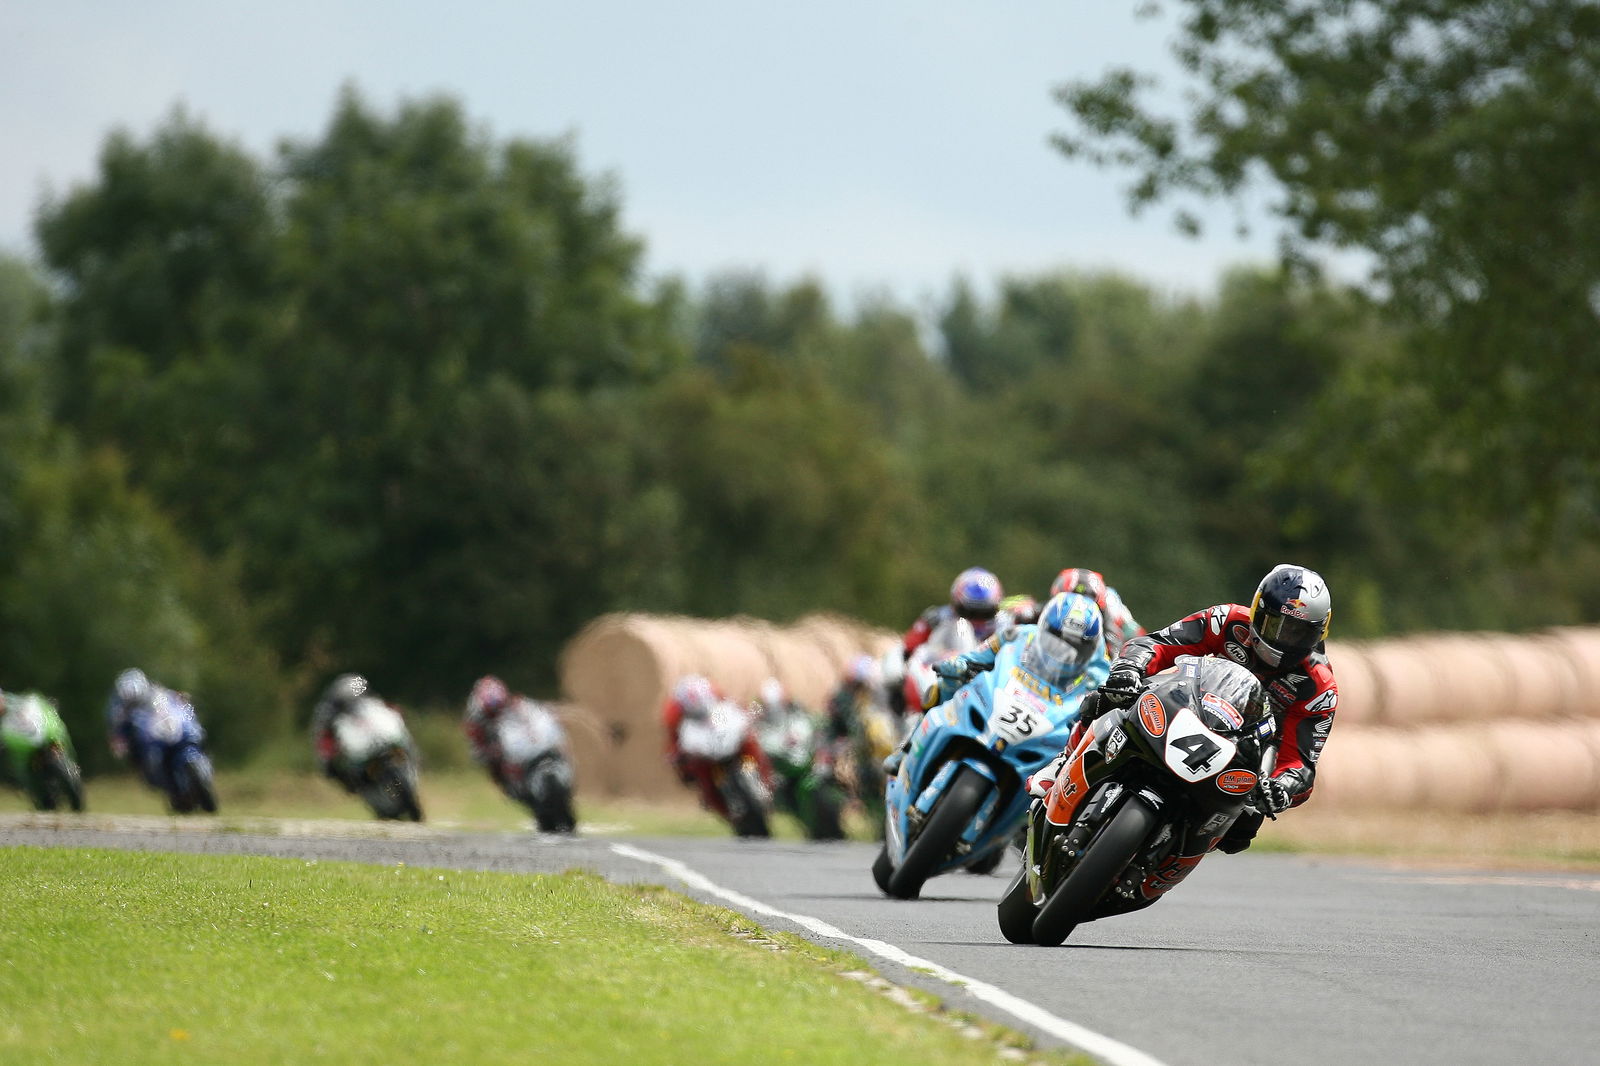
Motorcycle Trackday Guide: Brands Hatch Indy Circuit
Racing legend Niall Mackenzie walks you through a motorcycle trackday lap of the popular Brands Hatch Indy circuit

THE Brands Hatch Indy Circuit has played host to some exciting battles in the British Superbike championship, its short 1.198 miles length lending itself to some tight races, and making it a perfect place for motorcycle trackdays.
Typically the season opener for the BSB series, the shorter layout of the two on offer at the Kent-based circuit sits entirely within a natural amphitheatre offering spectators views of almost all of the track.
The Brands Hatch Indy Circuit is one of the best, if not the best, race circuits in the UK offering track day thrills such as diving through Paddock Hill bend and ending the lap with the ultra-fast curved Brabham straight that makes up the start/finish.
How to ride the Brands Hatch Indy Circuit on a motorcycle trackday
Paddock Hill Bend to Druids Bend
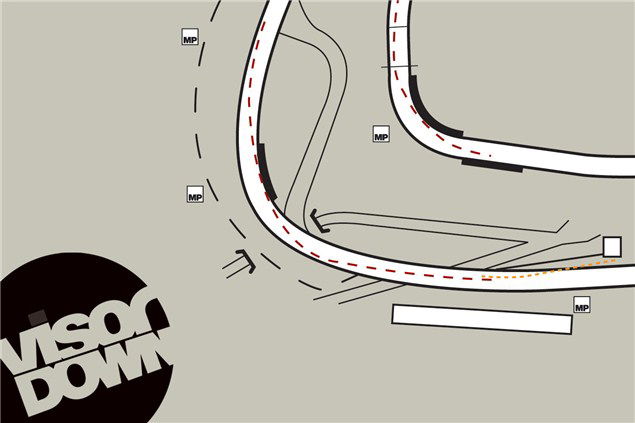
Paddock Hill bend to Druids
With standard road gearing on my Yamaha R6 I’ll be in fifth gear over the start/finish line as I head into Paddock Hill bend. Unless your bike is geared specifically, there’s no point bothering with sixth here. The track rises up and this is where you begin braking while shifting down to third gear.
Focus on the marshal’s post straight in front of you, which means you can brake harder and later since the bike is upright longer. At first, this gives the impression that you’ll miss the apex but, releasing the brake, keep a closed throttle and the inside of the turn comes back nicely.
Druids Bend to Graham Hill Bend
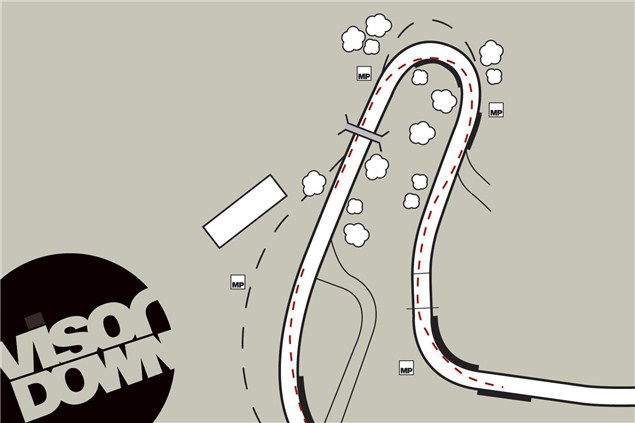
Druids to Graham Hill bend
The good bit is, because you’ve turned-in late, the bike is more upright. Now you can get on the gas earlier and accelerate harder and more safely down the steep drop, before heading up to the slowest corner on the track, the right-hander of Druids.
On a good lap of the Brands Hatch Indy Circuit, I will brake past the 200 metre board, then shift down to second gear, again turning-in quite late but getting off the brake as the track flattens out. Use most of the track on the exit and hold second gear as you head diagonally across to the right and down to Graham Hill bend.
Graham Hill Bend to Surtees
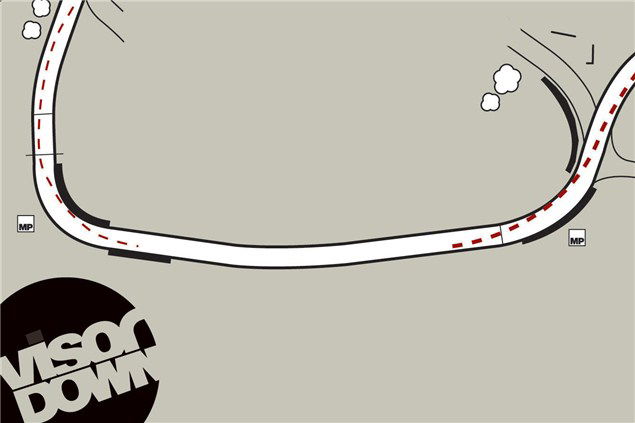
Graham Hill bend to Surtees
Graham Hill bend is a tricky left-hander as it tightens up and it’s off-camber. Sacrificing some entry speed gives a better line through the corner, which allows you to pick the bike up and accelerate safely to a late exit point on the kerb.
It can be highside city coming out of this one so no big handfuls of throttle. It’s then up one gear along this short straight then back down again before braking hard (be careful over the bump when the front suspension is loaded) into Surtees.
Since I’m heading for the left-hand kerb, I’m already pushing my body to the right of the bike in readiness for the long right of McLaren.
McLaren to Brabham Straight
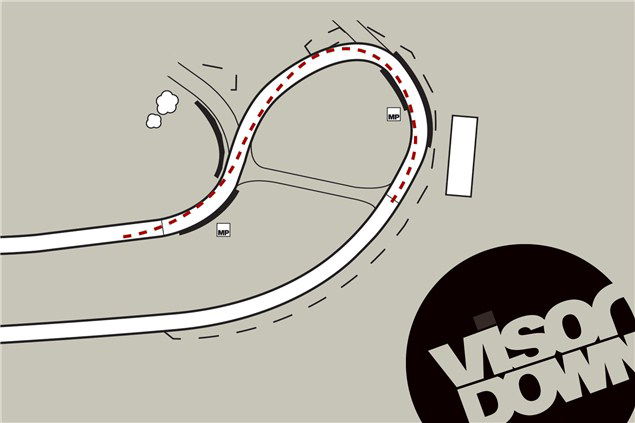
McLaren to Brabham Straight
Clipping both kerbs and running over the concrete next to the second kerb is the most efficient way through this fast section. After the concrete, give the throttle one final squirt before braking towards the left of the track.
Initiate your turn towards the right-hand apex while still on the brakes, releasing them as the track gets bumpy.
It’s easy to low-side here so I wait until I’ve passed the slight crest before opening the throttle gradually and making a long sweep towards the outside of the track and back to the final apex at the pitlane barrier. Make sure you clip the apex here bang on the money – if you don’t you’ll run hopelessly wide, lose loads of time and almost as many positions.
There also tends to be a lot of crashes on the exit but be smooth with the throttle and you’ll get plenty of warning before things go pear-shaped, trust me.
