D.I.Y: Pre-MoT check
It's a waste of time and money to fail an MoT on something you could have sorted yourself. Avoid it happening with a pre-MoT once-over


Right Class, today we're going to run through what an MoT tester will do at test time. Why? Because many potential failures can be rectified with a new bulb, a squirt of oil or a twirl of a spanner, and cost little or nothing to fix.
There are a couple of things we can't do though. First, we - like you, we suspect - don't have an MoT station brake testing rig, so all we can do is make sure our brakes are in good order (which should ensure an MoT pass). Secondly, bear in mind some test criteria are at the discretion of the tester. While one MoT station may pass a bike with, say, a slightly loose fairing, another may fail the same fault. All we can say is ensure everything is as secure as possible.
No special tools are needed for a pre-MoT inspection. Ideally you want the bike on paddock stands (if you have them) or on its centrestand with the front wheel clear of the ground. If not, an extra pair of hands will be handy. Clean it before you start, too. It makes checking stuff easier.
Starting at the front, check the tyre. To pass an MoT there needs to be visible tread over the whole tread area, and to a depth of at least 1mm across three-quarters of the width of the tread. The tyre also needs to be fitted correctly - check the rotation arrow on the sidewall, and check it's seated properly on the rim all the way round - and the tyre must be the correct speed rating for the bike and not marked 'Not for Road Use'. Check for cuts and damage to the sidewall and tread area, and make sure it's at the correct pressure.
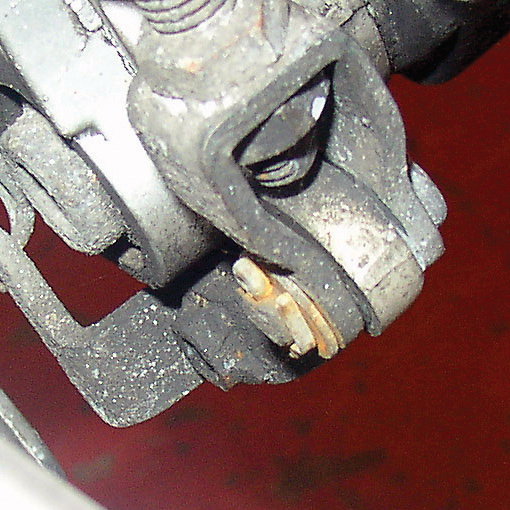
While we're down there, check the wheel. If it's got wire spokes make sure none are loose, damaged or missing. Otherwise check for cracks, buckles or signs of warping. Check the brake discs, again for warpage, cracks or excessive wear. Squeeze the brake lever, then release and turn the wheel to make sure the brakes aren't binding. Check the pads for thickness - there must be friction material visible. Make sure all the hose fittings are secure and there's no sign of fluid leakage.
With the front wheel clear of the ground, hold it securely top and bottom and check for wheel bearing play. None is good, some is bad. Moving up, check the fork stanchions for pitting and leaking seals. Some pitting is okay, but an excessive amount will mean a fail.
Make sure the handlebars turn from lock-to-lock smoothly and without the cables fouling or anything touching the tank or bodywork. Check the lockstops aren't cracked or broken. The throttle must close smoothly and not be affected by handlebar position. Levers must have ball ends.
Moving rearward, check the engine for excessive oil or coolant leaks, and check the frame for cracks. Make sure the footrests, gear lever, brake pedal and exhaust are all securely mounted. Is the exhaust legal? Start the engine and block the exhaust with your hand to check for leaks or blowing elsewhere in the system. Any leaks mean a fail.
At the back, check the tyre, wheel and wheel bearings as per the front, and make sure the brake torque arm (if there is one) is secure. Sitting at the very back of the machine, hold each end of the wheel spindle firmly and move from side-to-side to check for play in the swingarm pivot bushes. Check the rear shock(s) for signs of leakage. Make sure the chain isn't too tight or loose, and that the sprocket teeth aren't overly worn or broken. Check for excessive play in the cush drive. If the chain has a split link, the clip must be properly fitted and not worn or loose.
With the bike off the stand, hold the rear securely and bounce it to check shock damping. Holding the rear firmly, lift it to check for play in the suspension bushes. Now's also a good time to make sure both the sidestand and centrestand (if you have one) fold back into place without sticking.
Push down firmly on the bars to check fork action, and check the steering head bearings. Do this first by holding the bike upright with your left hand's fingertips against the steering head just under the top yoke. Roll the bike forward then jab the front brake on. Play in the bearings will be felt as a knock through your fingers. Next, ideally with a friend to help, lift the front wheel off the ground and turn the bars to check for over-tight bearings.
Now check the the electrics - the commonest cause of bike MoT failures. Check the high/low beams and that the headlights dip to the left (grey import owners take note). Indicators must flash correctly, check the horn and make sure front and rear brake lights work without sticking on. Indicator idiot lights must be working too. Ensure the operation of any one component doesn't affect another, eg indicators don't cause headlights to dim as they flash. Make sure the numberplate light is working and a rear reflector is fitted (it may be part of the rear light lens).
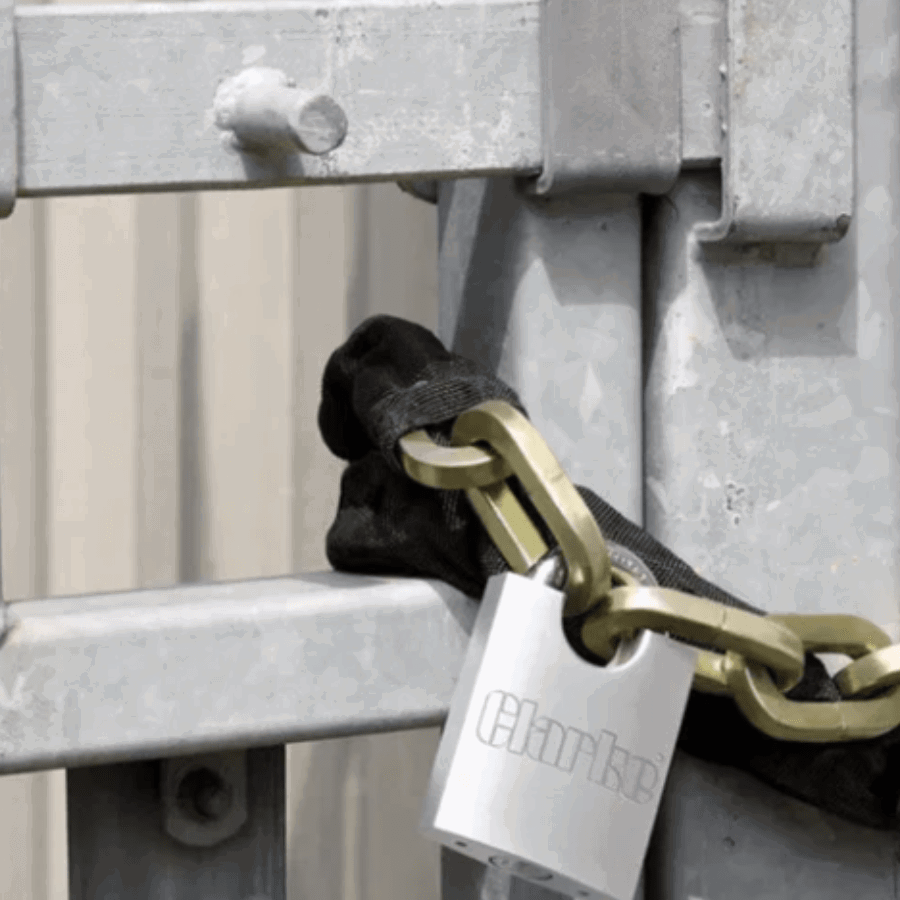
Finally give the whole bike a once-over to make sure everything is secure: bodywork, mudguards, indicators, grips, levers, switchgear, footrests, handlebars, bar-ends, headlight, seat, numberplate, exhaust, chainguard... Anything that fouls any moving part or looks like it's in danger of falling off could mean a fail.
A firm tug, shake or pull is enough, but also check nuts and bolts for any that are finger-tight. Wheel spindles, yoke, handlebar and spindle pinch bolts, caliper bolts and footrest hanger bolts are all worth checking.
That's about it. We can't guarantee a pass, but you shouldn't be far off.


Sponsored By

Britain's No.1 Specialist Tools and Machinery Superstores
When it comes to buying tools and machinery, you need to know you're buying from specialists who know what they're talking about.
Machine Mart eat, sleep and breathe tools and machinery, and are constantly updating their range to give you the very best choice and value for money - all backed by expert advice from their friendly and knowledgeable staff. With superstores nationwide, a dedicated mail order department and a 24 hour website offering quality branded items at fiercely competitive prices, they should be your first choice for quality tools and equipment.


