How to… winterise your electrics
Keeping you on the road as the nights close in

By Alan Dowds
WINTER is coming – and the dark, cold nights mean your bike electrics are under more stress. The problems come on several fronts: normal batteries work less well when the mercury plummets, cold engine oil is thicker and causes more drag for the starter motor to overcome, while add-on electrical loads like heated grips and auxiliary riding lights take more juice out of the bike's electrical system.
A bit of preparation can pay dividends though. These five steps below will make sure your battery and charging system are up to the long winter months ahead…

1. Inspect the battery
Lead-acid batteries were a wonderful technology a hundred years ago – and they still do a great job today. But they're not fool-proof, nor do they last forever. So the first thing to do is make sure your battery is in good order – and if it's more than a few years old, pay extra close attention.
If it's a conventional vented lead-acid type, look at the acid levels, and top up with distilled water if necessary. Look in the bottom of the cells for any sediment or flaking material – this is bad news, as is any distortion in the outer case or in the visible lead plates. Sealed batteries don’t lose any fluid so there's nothing to check there, but look for swollen casings.
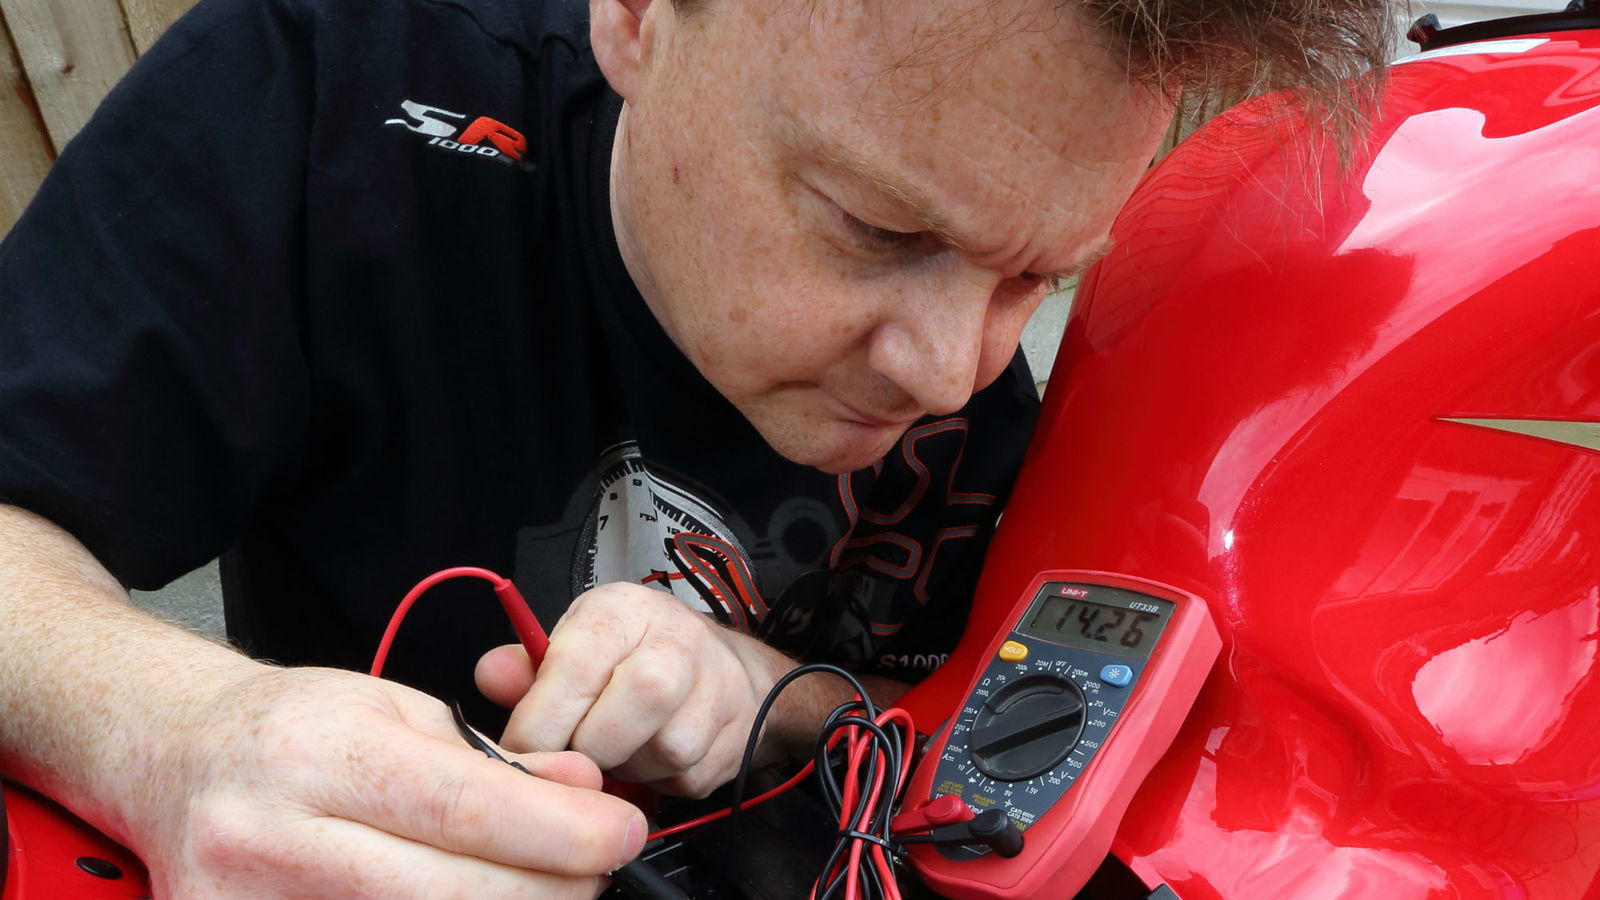
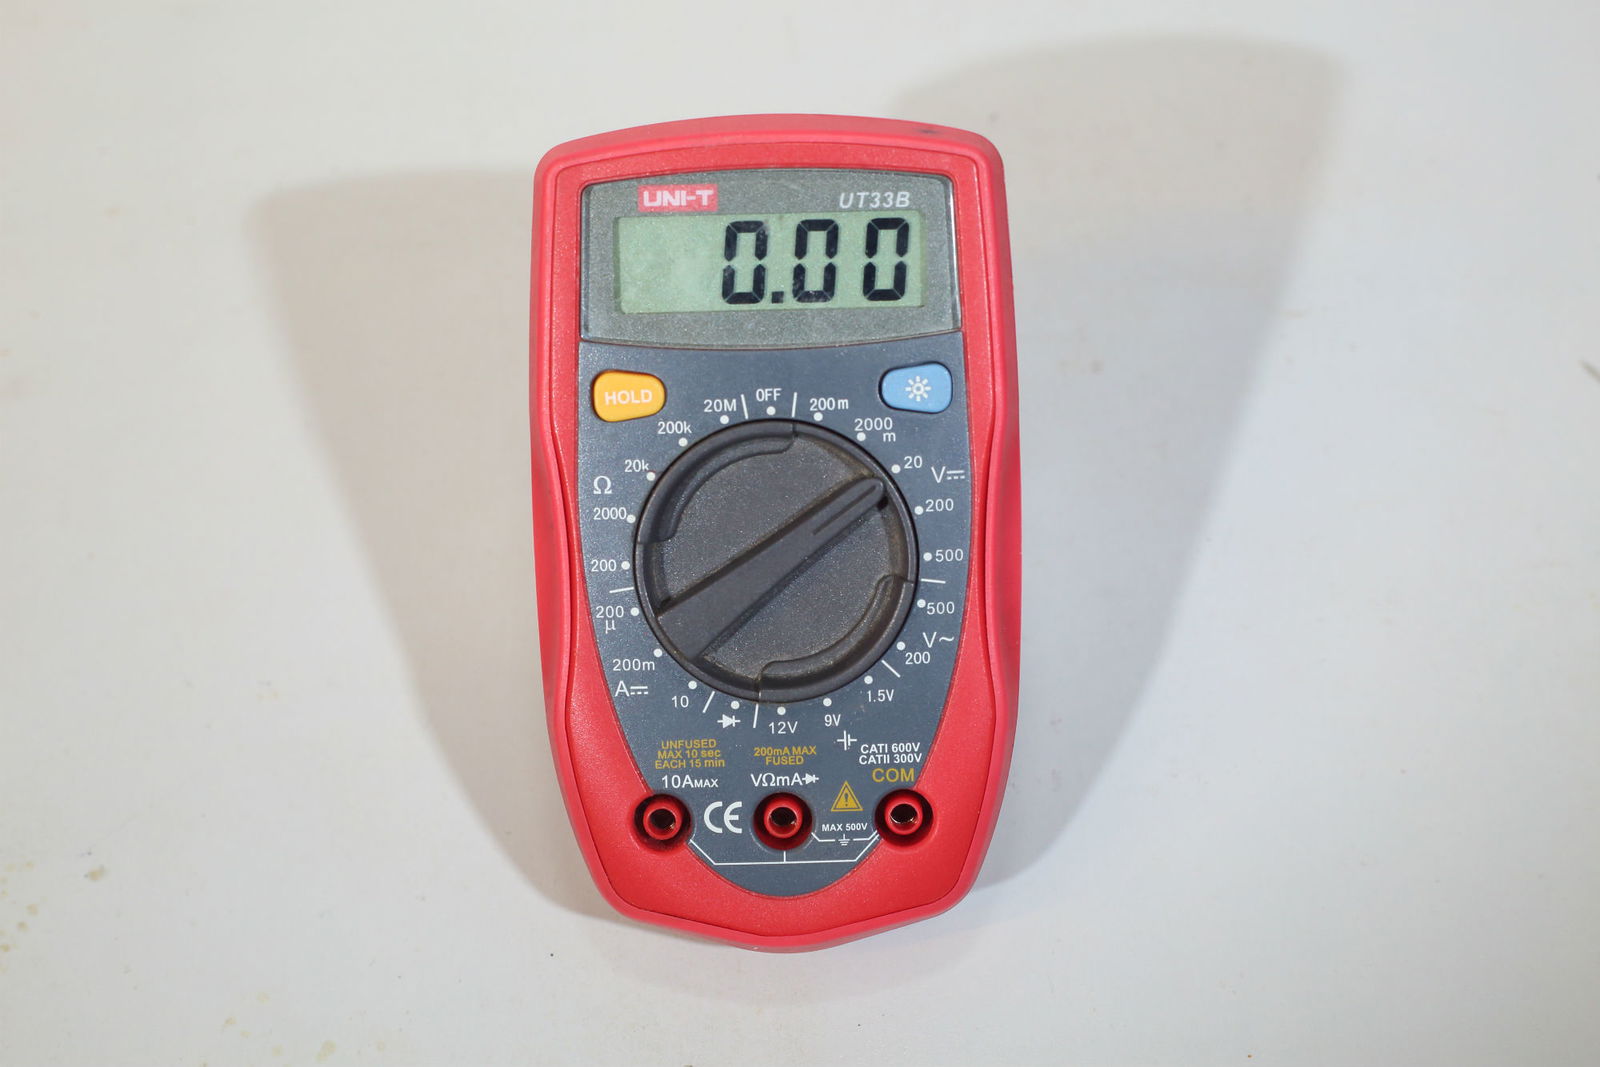
Buy a cheap multimeter if you don’t have one – and spend some time learning to use it. With even a basic meter, you can look at the voltage on the battery under various loads. A lead-acid battery, fully charged, should show around 12.6 volts when completely disconnected from the bike with no drain from alarms, clocks, trackers etc. If you turn on a large load like a 60w halogen headlight (with the engine stopped), the voltage will drop to about 11.8 volts. When you press the starter, the volts will drop again, but if your fully-charged battery drops much below about 10 volts when turning the engine over, then it might be on its way out.
Dirty or corroded battery cables will reduce the voltage available to the starter and reduce the charge going into the battery from the running engine – take them off and give them a good clean with some chain cleaner, and a wire brush. Do the same with the battery terminals – some fresh clean hot water will wash away any nasty green or white powdery deposits. Some petroleum jelly on the terminals will keep them sweet.
Another source of trouble can be the earth cables. The negative terminal of the battery will have a lead which runs to the engine crankcases, and might feed other 'earth' points on the frame. These act to 'return' circuits like the starter motor and coils back to the battery, and if the earth connections aren't sound, you'll get problems.
Ideally you'll need a multimeter here, but you can make a rudimentary check without one. We want to see if the bike is charging the battery when the engine is running – meaning, does the voltage at the battery increase as the engine revs increase? A simple check uses the headlamp – start the engine, and watch the headlight bulb. As you rev the engine, the lamp should get brighter (assuming you have an old-school halogen filament bulb – LED lights are more complex and may not do this).
If you have a multimeter, then put the positive and negative leads onto the battery terminals. When the engine starts, you want to see around 13-14 volts when idling, rising to 14.5 volts when the revs rise above idle. Much more or less than this points to problems with battery, alternator or regulator/rectifier.
Your phone, laptop, digital camera and cordless drill all use lithium batteries these days – and the technology is well established to use lithium batteries in your bike too. The main advantage is that they are much lighter – lithium is a far lighter element than lead. But they are also more reliable over time than lead-acid. Left on its own, a lead battery will self-discharge more quickly, and eventually die altogether. Good quality lithium batteries can be left without damage for far longer. They also maintain their voltage levels for longer, meaning they keep putting out 12v until they're almost flat, where a lead-acid unit drops the volts as the charge declines.
A big part of battery care is keeping it topped up with charge. A smart charger like the famous Optimate range is a no-brainer: buy one and it'll generally last you decades. A smart charger uses a microprocessor 'brain' to manage the charging process, making sure your battery is always in peak condition. Lights on the charger show if the battery is failing, and if you get in the habit of just plugging your bike in after every ride, you'll avoid many electrical faults. Fit a permanent connector lead to make the process even easier. If you have a lithium battery, you can get special chargers designed for the lightweight units.
Click here fore more Visordown how-to guides.

