D.I.Y - How to change your clutch plates and springs
Slipping clutch? Fitting new plates and springs might sound like a right old to-do, but actually it's dead easy. So do it yourself. Here's how

There's nothing to be scared of. Replacing worn clutch plates is well within the scope of a competent home mechanic with nothing more than basic, decent-quality tools.
Bear in mind, however, that this advice only applies to wet, multiplate clutches as found on most Japanese bikes (and some other ones too). What we're not covering here are those new-fangled slipper clutches. While some are easy to work on, others aren't. There are more parts involved and correctly setting-up the free play on the push rod when reassembling is crucial to their operation.
Now that's out of the way, the first thing you want to do is soak the new friction plates in clean, fresh engine oil for a few hours before fitting them. So do that. And while we're on the subject of oil, on many bikes it's possible to change the clutch without draining it - simply leaning the bike to the left is usually enough to drain the oil away from the clutch cover. Well, most of it. You may find some oil still left in the clutch cover when you remove it, but on many bikes the same is true even after draining the sump. Anyway, while we at TWO have, in the past, carried out a perfectly successful clutch change on a sickly GSX-R600 by leaning the bike against a wall in the Donington Park paddock and not draining the oil, this time we chose the path of true professionalism and took all the oil out of this Fazer 600 first.
To that end, we got a new oil filter and a few litres of clean, fresh oil to hand before warming the engine, draining the old stuff out and whipping the manky filter off. With all the oil out we then fitted the new filter so we didn't forget about it later. As if we would.
Next step is to remove the clutch cover. This will usually be held in place with allen bolts or, on some older bikes, 8mm bolts. If they're allen bolts use a hex-handle T-bar or hex bit and a socket rather than allen keys. You get a much better purchase with either of those tools and you're far less likely to round off stubborn bolts.
With them all undone pull the cover clear. If the clutch is cable operated and the actuating mechanism is built into the clutch cover itself you will also need to release the clutch cable (easily done if you're also lubing the cable at this point - see below). The Fazer 600 we're working on here has its push-rod actuated from the sprocket side, so no need to do that here. Also bear in mind there may be some errant oil in the clutch cover, so be prepared for a bit of spillage.
With the cover clear remove the gasket. If it doesn't pull free cleanly use a proper gasket scraping tool to remove any stuck to the cover. A bit of brake cleaner may help too. Don't scrape away with a screwdriver or anything pointed or you may damage the face of the cover where it seals. When it's gasket-free, clean it with brake cleaner, dry it off and put to one side.
Now undo the bolts holding the pressure plate. They shouldn't be too tight, but bear in mind the bolts are spring-loaded from behind by the clutch springs themselves. If the clutch assembly rotates while undoing the bolts put the bike in first gear to hold the clutch still. Undo each a little at a time to evenly release the pressure on all the springs. With them all undone, put the bolts and springs to one side (or put the springs in the bin if you're replacing them too) and remove the pressure plate. Give that a good clean too and put it to one side.
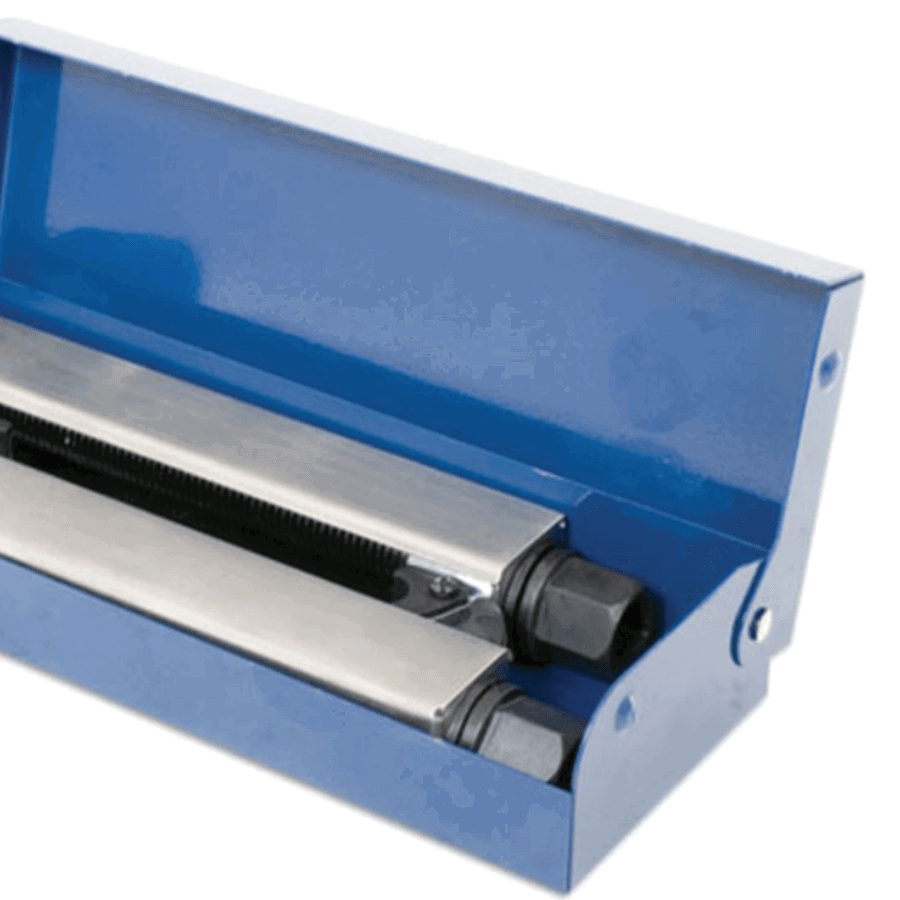
Have a look at the standard plates as they sit in the clutch basket so you're familiar with how it all should look and how it fits together, then pull all the plates out as one and put them down somewhere clean, but keeping them in a stack. Some clutches may have large O-rings between the plates too. Make sure they all stay together.
Examine the clutch basket. If the bike is reasonably high mileage or has had a hard life, check for cracks and look at the dark marks or indentations where the friction plates' locating lugs hit the basket itself. In extreme cases these indents can cause the clutch to drag - the friction plates get caught in them as the clutch lever is pulled in. They can be carefully filed down, but the basket needs to be removed to do that properly or else you'll get unwelcome, damaging swarf in the engine.
Back to what we're doing. Get the tray of new friction plates close to hand, along with the stack of old plates. Fit the first new friction plate (in the case of the Fazer, the first plate is a different size to all the rest so we made sure we picked the correct one), followed by the first plain metal plate from the stack of old plates. Chuck away the old friction plate, then fit the next new friction plate, and repeat until done. If there are O-rings involved, make sure you put those back in too. Bear in mind that when putting plates back you should always start and finish with a friction plate - if not, something's wrong. When finished, do a quick count to ensure you put in as many friction plates as came out. Don't worry if there are any new friction plates left over; some aftermarket kits are designed to fit more than one bike, and some bikes use more plates than others. We had a spare plate left over.
With all the plates in place refit the pressure plate - the Fazer's only went on in one position - then fit the new springs, washers and bolts. Tighten the bolts first with a cross-head screwdriver so you can push against the spring tension - new springs offer more resistance than old, worn ones - then torque them up in a diagonal order to the specified setting.
Clean up the crankcase and fit the new gasket, then put the clutch cover back in place. Make sure the bolts' threads are clean, then refit and nip them all up using the hex-handle T-bar or allen bits before tightening them in a diagonal order.
If you drained the oil refill the motor and check the level carefully. Even if you didn't drain the oil out some may have been lost when the clutch cover was removed, so check the level anyway. Re-connect the clutch cable and check the adjstment, then start the motor up and hold the clutch in for a few seconds before selecting first gear and making sure everything's working as it should be. That's about it. Happy clutching.
12 STEPS TO CLUTCH HEAVEN
1 First up, soak the new clutch plates in clean engine oil for a few hours. While you're waiting, warm your engine, drain your old oil out and fit a new oil filter
2 Using a T-handle hex-driver or hex bit undo and remove the clutch cover. Even if you've drained the oil there may be some left inside the cover, so expect spillage
3 The old gasket should come off in one piece. If not, use a gasket scraping tool. Don't hack away with a screwdriver or you might damage the casing and it won't be oil tight
4 Undo the bolts holding the clutch together. They shouldn't be very tight. Be careful though - they're spring-loaded from behind. Once undone, put them to one side...
5 ... and remove the pressure plate. Clean it up with brake cleaner then put it safely aside. Have a look at the clutch plates so you've got an idea of how it goes back together
6 Pull the old plates out in one go. Remember, each friction plate is separated by a plain plate. Keep the stack together and put them within easy reach
7 Those dark grey indents are where the friction plates' location lugs whack into the clutch basket. If they're deep enough they can cause clutch drag, but can be carefully filed off
8 Get the new and old plates to hand. Discard the first old friction plate, put in a new one, fit the plain plate, chuck the next old friction plate, fit a new one, fit the plain plate...
9 ... and repeat until it looks like this. Ensure you put in as many friction plates as came out, but don't worry if there are new friction plates left over - some kits provide more than needed
10 Refit the pressure plate - it may only go on in one position - and fit the new springs. Do up the bolts to the specified torque setting
11 Clean up the crankcase then fit the new gasket. Put the cover in place and secure it, making sure not to overtighten any of the bolts
12 Finally, refill with oil - assuming you drained it out. If you didn't, you may still need to top it up as some may have been spilled. Job done
Jump to our 12 step guide to changing your clutch
There's nothing to be scared of. Replacing worn clutch plates is well within the scope of a competent home mechanic with nothing more than basic, decent-quality tools.
Things you'll need:
Simply, this: new clutch plates, springs and a clutch cover gasket or O-ring. Ideally you'll be changing the oil and filter at the same time, although it isn't strictly necessary. EBC have a huge range of clutch kits to fit most bikes. Have a look at www.ebcbrakes.com or ask your dealer.
Bear in mind, however, that this advice only applies to wet, multiplate clutches as found on most Japanese bikes (and some other ones too). What we're not covering here are those new-fangled slipper clutches. While some are easy to work on, others aren't. There are more parts involved and correctly setting-up the free play on the push rod when reassembling is crucial to their operation.
Now that's out of the way, the first thing you want to do is soak the new friction plates in clean, fresh engine oil for a few hours before fitting them. So do that. And while we're on the subject of oil, on many bikes it's possible to change the clutch without draining it - simply leaning the bike to the left is usually enough to drain the oil away from the clutch cover. Well, most of it. You may find some oil still left in the clutch cover when you remove it, but on many bikes the same is true even after draining the sump. Anyway, while we have in the past carried out a perfectly successful clutch change on a sickly GSX-R600 by leaning the bike against a wall in the Donington Park paddock and not draining the oil, this time we chose the path of true professionalism and took all the oil out of this Fazer 600 first.
To that end, we got a new oil filter and a few litres of clean, fresh oil to hand before warming the engine,
draining the old stuff out and whipping the manky filter off. With all the oil out we then fitted the new filter so we didn't forget about it later. As if we would.
Next step is to remove the clutch cover. This will usually be held in place with allen bolts or, on some older bikes, 8mm bolts. If they're allen bolts use a hex-handle T-bar or hex bit and a socket rather than allen keys. You get a much better purchase with either of those tools and you're far less likely to round off stubborn bolts.
With them all undone pull the cover clear. If the clutch is cable operated and the actuating mechanism is built into the clutch cover itself you will also need to release the clutch cable (easily done if you're also lubing the cable at this point - see below). The Fazer 600 we're working on here has its push-rod actuated from the sprocket side, so no need to do that here. Also bear in mind there may be some errant oil in the clutch cover, so be prepared for a bit of spillage.
With the cover clear remove the gasket. If it doesn't pull free cleanly use a proper gasket scraping tool to remove any stuck to the cover. A bit of brake cleaner may help too. Don't scrape away with a screwdriver or anything pointed or you may damage the face of the cover where it seals. When it's gasket-free, clean it with brake cleaner, dry it off and put to one side.
Now undo the bolts holding the pressure plate. They shouldn't be too tight, but bear in mind the bolts are spring-loaded from behind by the clutch springs themselves. If the clutch assembly rotates while undoing the bolts put the bike in first gear to hold the clutch still. Undo each a little at a time to evenly release the pressure on all the springs. With them all undone, put the bolts and springs to one side (or put the springs in the bin if you're replacing them too) and remove the pressure plate. Give that a good clean too and put it to one side.
Have a look at the standard plates as they sit in the clutch basket so you're familiar with how it all should look and how it fits together, then pull all the plates out as one and put them down somewhere clean, but keeping them in a stack. Some clutches may have large O-rings between the plates too. Make sure they all stay together
Examine the clutch basket. If the bike is reasonably high mileage or has had a hard life, check for cracks and look at the dark marks or indentations where the friction plates' locating lugs hit the basket itself. In extreme cases these indents can cause the clutch to drag - the friction plates get caught in them as the clutch lever is pulled in. They can be carefully filed down, but the basket needs to be removed to do that properly or else you'll get unwelcome, damaging swarf in the engine.
Back to what we're doing. Get the tray of new friction plates close to hand, along with the stack of old plates. Fit the first new friction plate (in the case of the Fazer, the first plate is a different size to all the rest so we made sure we picked the correct one), followed by the first plain metal plate from the stack of old plates. Chuck away the old friction plate, then fit the next new friction plate, and repeat until done. If there are O-rings involved, make sure you put those back in too. Bear in mind that when putting plates back you should always start and finish with a friction plate - if not, something's wrong. When finished, do a quick count to ensure you put in as many friction plates as came out. Don't worry if there are any new friction plates left over; some aftermarket kits are designed to fit more than one bike, and some bikes use more plates than others. We had a spare plate left over.
With all the plates in place refit the pressure plate - the Fazer's only went on in one position - then fit the new springs, washers and bolts. Tighten the bolts first with a cross-head screwdriver so you can push against the spring tension - new springs offer more resistance than old, worn ones - then torque them up in a diagonal order to the specified setting.
Clean up the crankcase and fit the new gasket, then put the clutch cover back in place. Make sure the bolts' threads are clean, then refit and nip them all up using the hex-handle T-bar or allen bits before tightening them in a diagonal order.
If you drained the oil refill the motor and check the level carefully. Even if you didn't drain the oil out some may have been lost when the clutch cover was removed, so check the level anyway. Re-connect the clutch cable and check the adjstment, then start the motor up and hold the clutch in for a few seconds before selecting first gear and making sure everything's working as it should be. That's about it. Happy clutching.


Sponsored By

Britain's No.1 Specialist Tools and Machinery Superstores
When it comes to buying tools and machinery, you need to know you're buying from specialists who know what they're talking about.
Machine Mart eat, sleep and breathe tools and machinery, and are constantly updating their range to give you the very best choice and value for money - all backed by expert advice from their friendly and knowledgeable staff. With superstores nationwide, a dedicated mail order department and a 24 hour website offering quality branded items at fiercely competitive prices, they should be your first choice for quality tools and equipment.


