How to use trail braking on a motorcycle and why you should learn
Trail braking may seem like some dark art only practised by the MotoGP elite but used properly it could potentially save your skin...

TRAIL BRAKING is the act of slowing a bike down right into the heart of a corner. One of the reasons people find the technique counter-intuitive is that for the most part, your motorcycle licence training teaches you to get the majority of your braking done in a straight line.
For the most part, this is to help prevent an inexperienced riding grabbing a fist-full of front disc while negotiating a greasy roundabout!
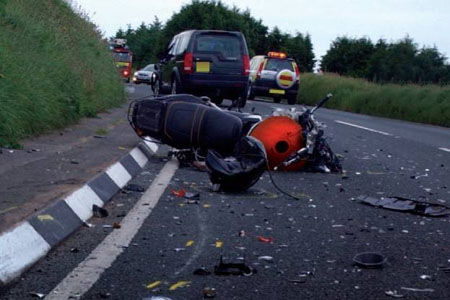
Before we get into the technicalities of it all, there a couple of things to remember about trail braking. Firstly, there is a time and a place for doing it. Sunny days when your tyres and the road surface are warm are perfect conditions exploring the world of trail braking. A diesel strewn roundabout on a December morning probably less so. Next, be mindful that some corners will be better suited to trail braking than others.
How to trail brake on a motorcycle
Let’s split the act of trail braking down into three sections. The first part is the corner entry. Don’t confuse this with the moment you tip the bike into the turn, it’s the moment you spot the corner and begin to move the bike into the correct part of the road to negotiate the corner safely.
As normal, for left-handers move the bike off-centre to the right a little and for right-handers move over to the left kerb a little. This will open up the corner, allowing you to see further around it than before.
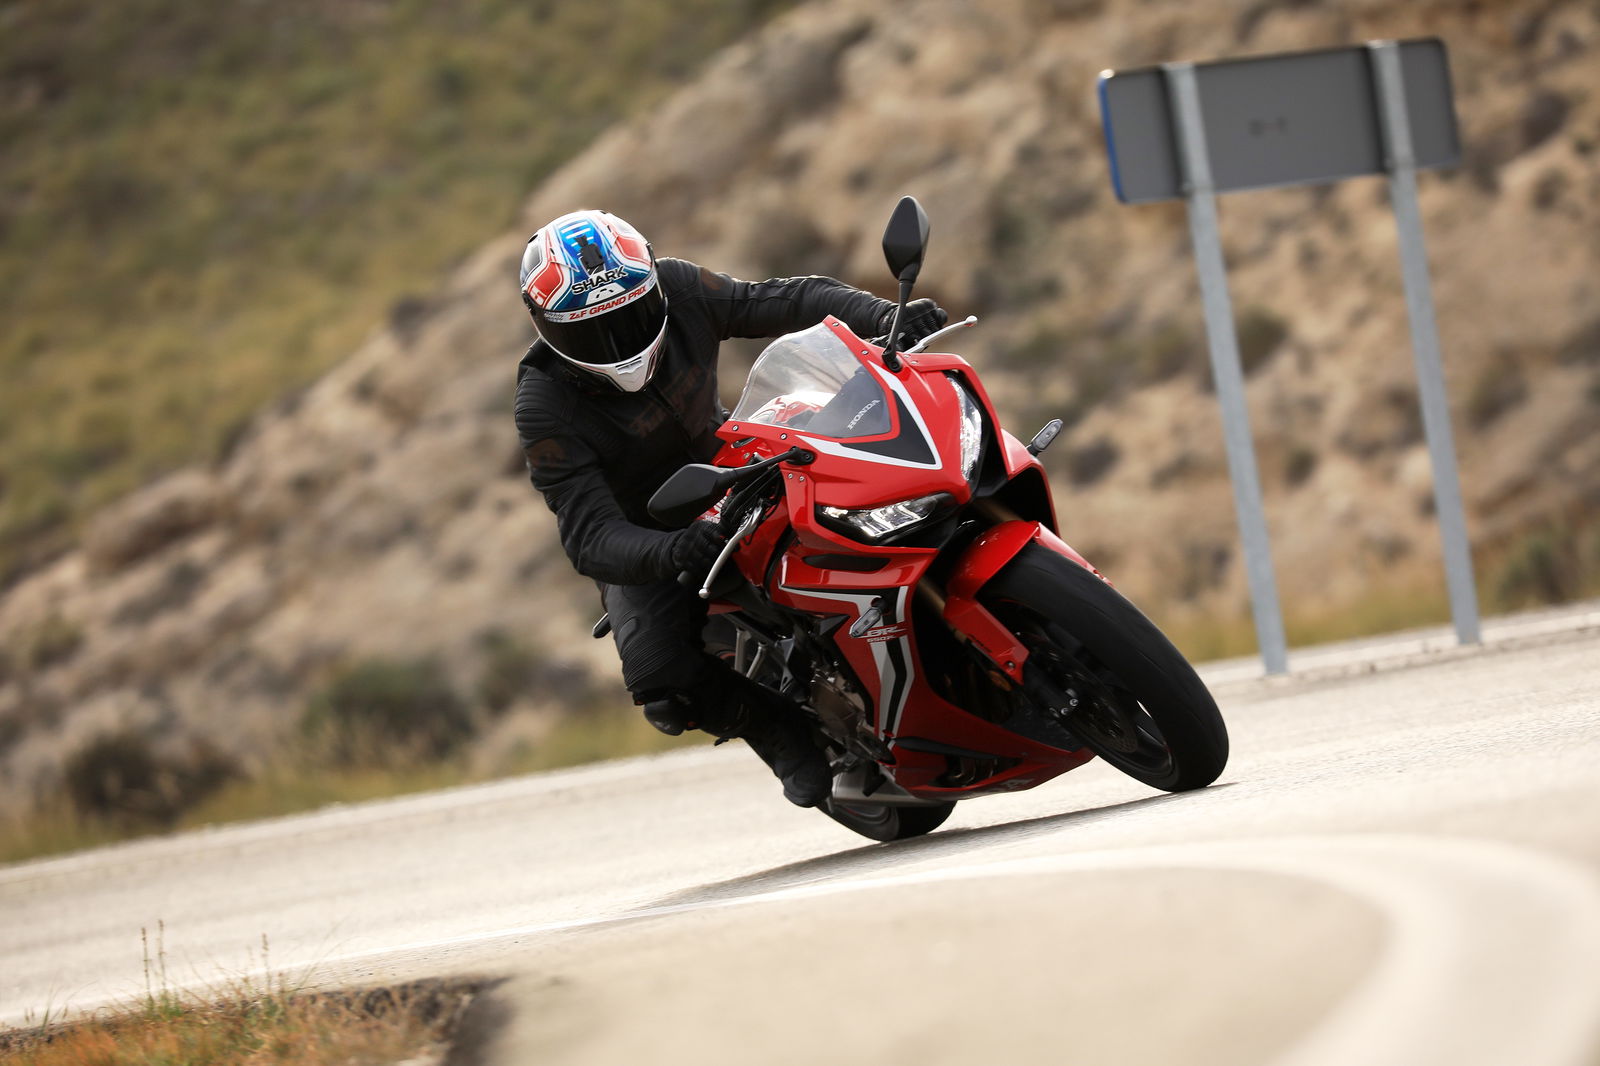
To start with, begin braking at the point that you normally would for a corner of this angle, camber and surface condition. Now before you push the bike into the turn – this is the point that you’d normally be releasing the brakes – you should start releasing some pressure out of the braking system gradually.
Instead of just letting go of the brake altogether. This should be done in a smooth and controlled manner, until such a point where you have released the brake all together – ideally, this will be at the apex of the corner. As you release more brake you should increase your lean angle.
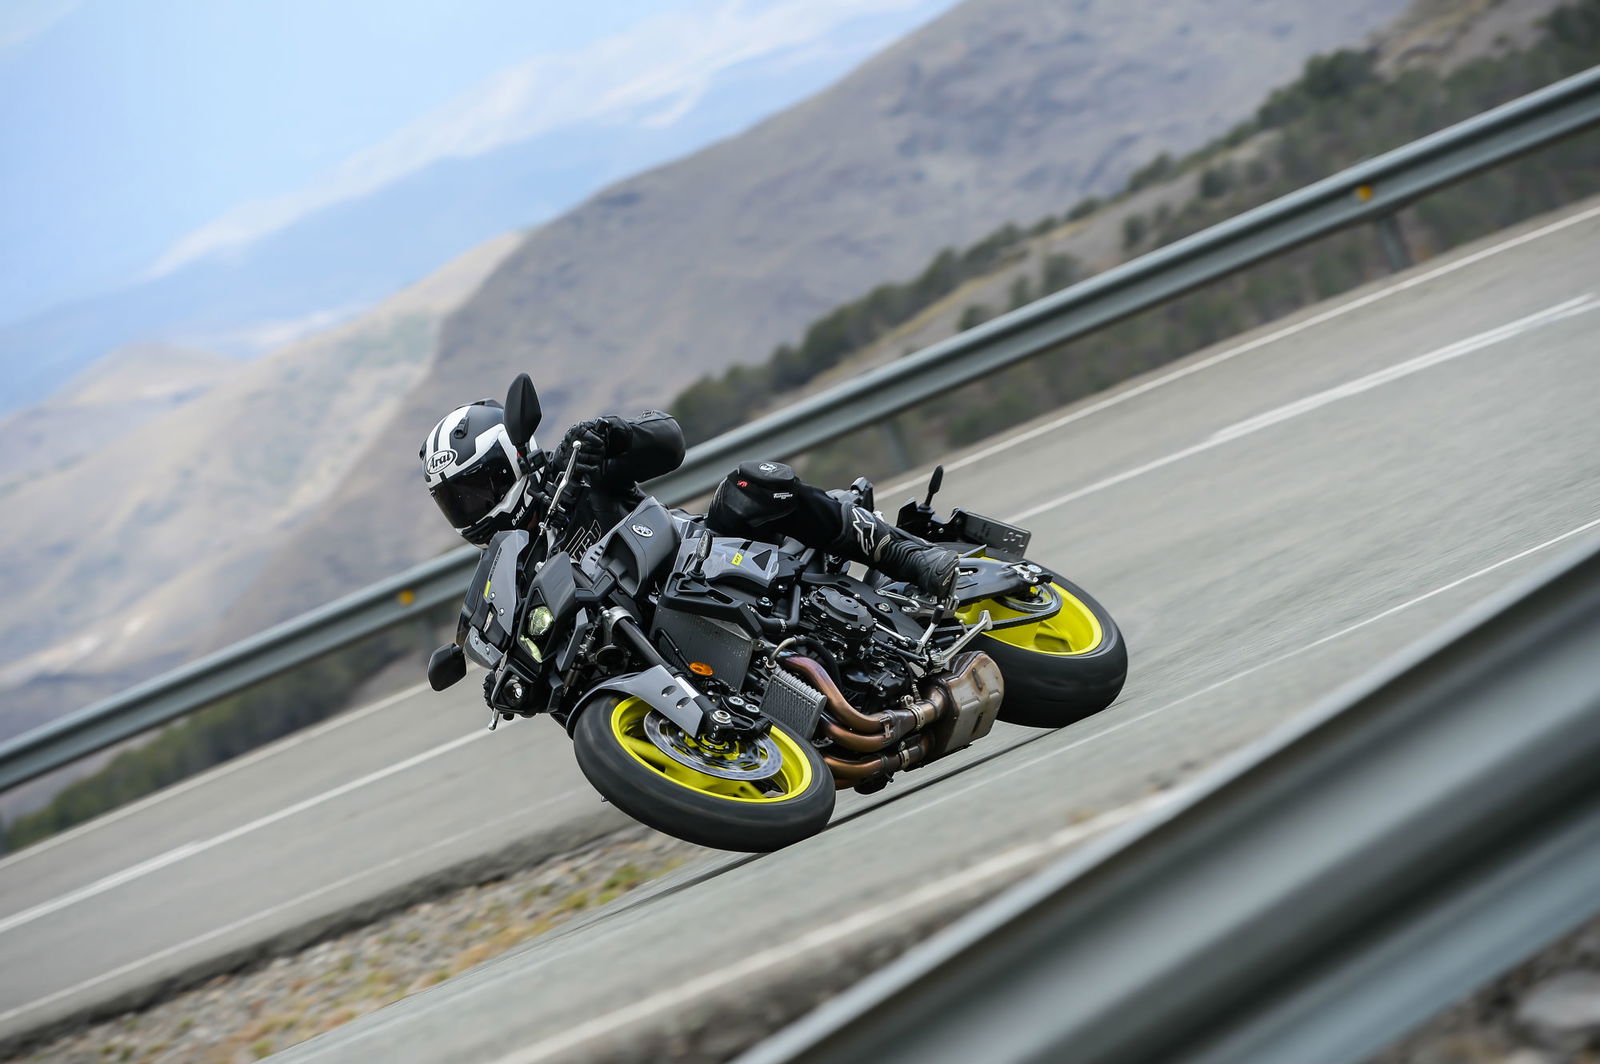
Now you have slowed the bike and are now leaning the bike it’s time to get on the throttle. Not enough that the bike immediately begins to accelerate, just enough to maintain the apex speed that you have reached. Now as the apex is passed you and out of your peripheral vision, begin to smoothly accelerate the bike, biking it up out of the corner as you go. Racers will be off the brakes and on the throttle with no gap between each event. The transition from slowing to acceleration is almost seamless.
The first time you do this it’ll probably not go quite as smoothly as you’d hoped, but you’ll be amazed by how quickly the technique is committed to memory, fast becoming second nature and something to use on every ride.
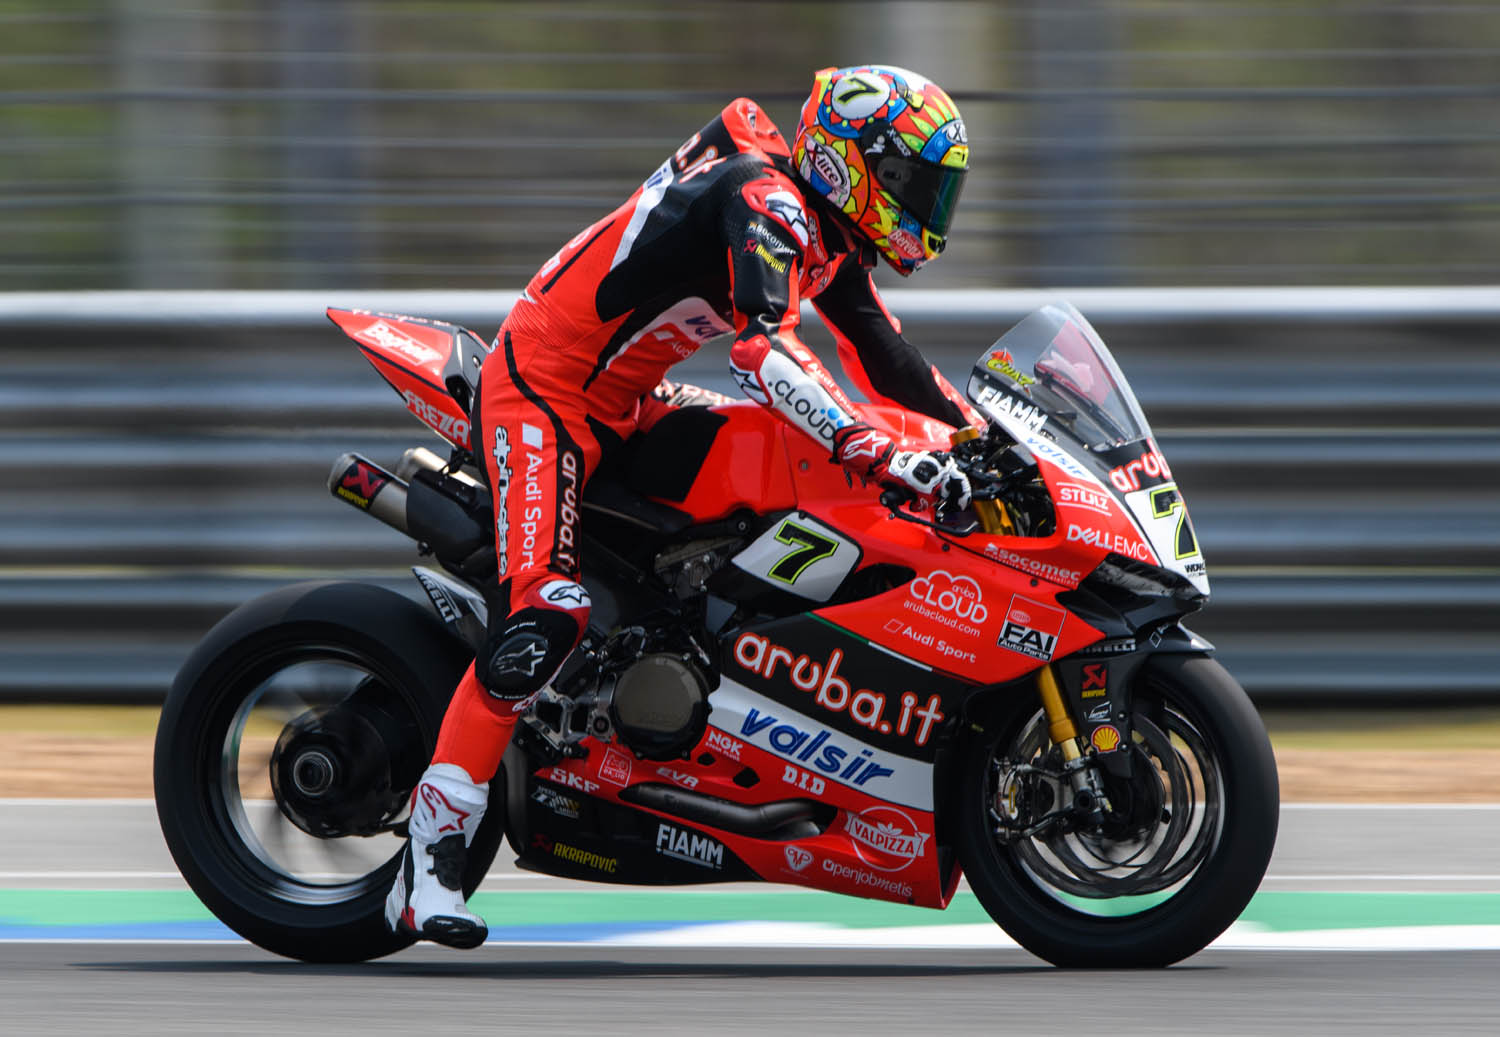
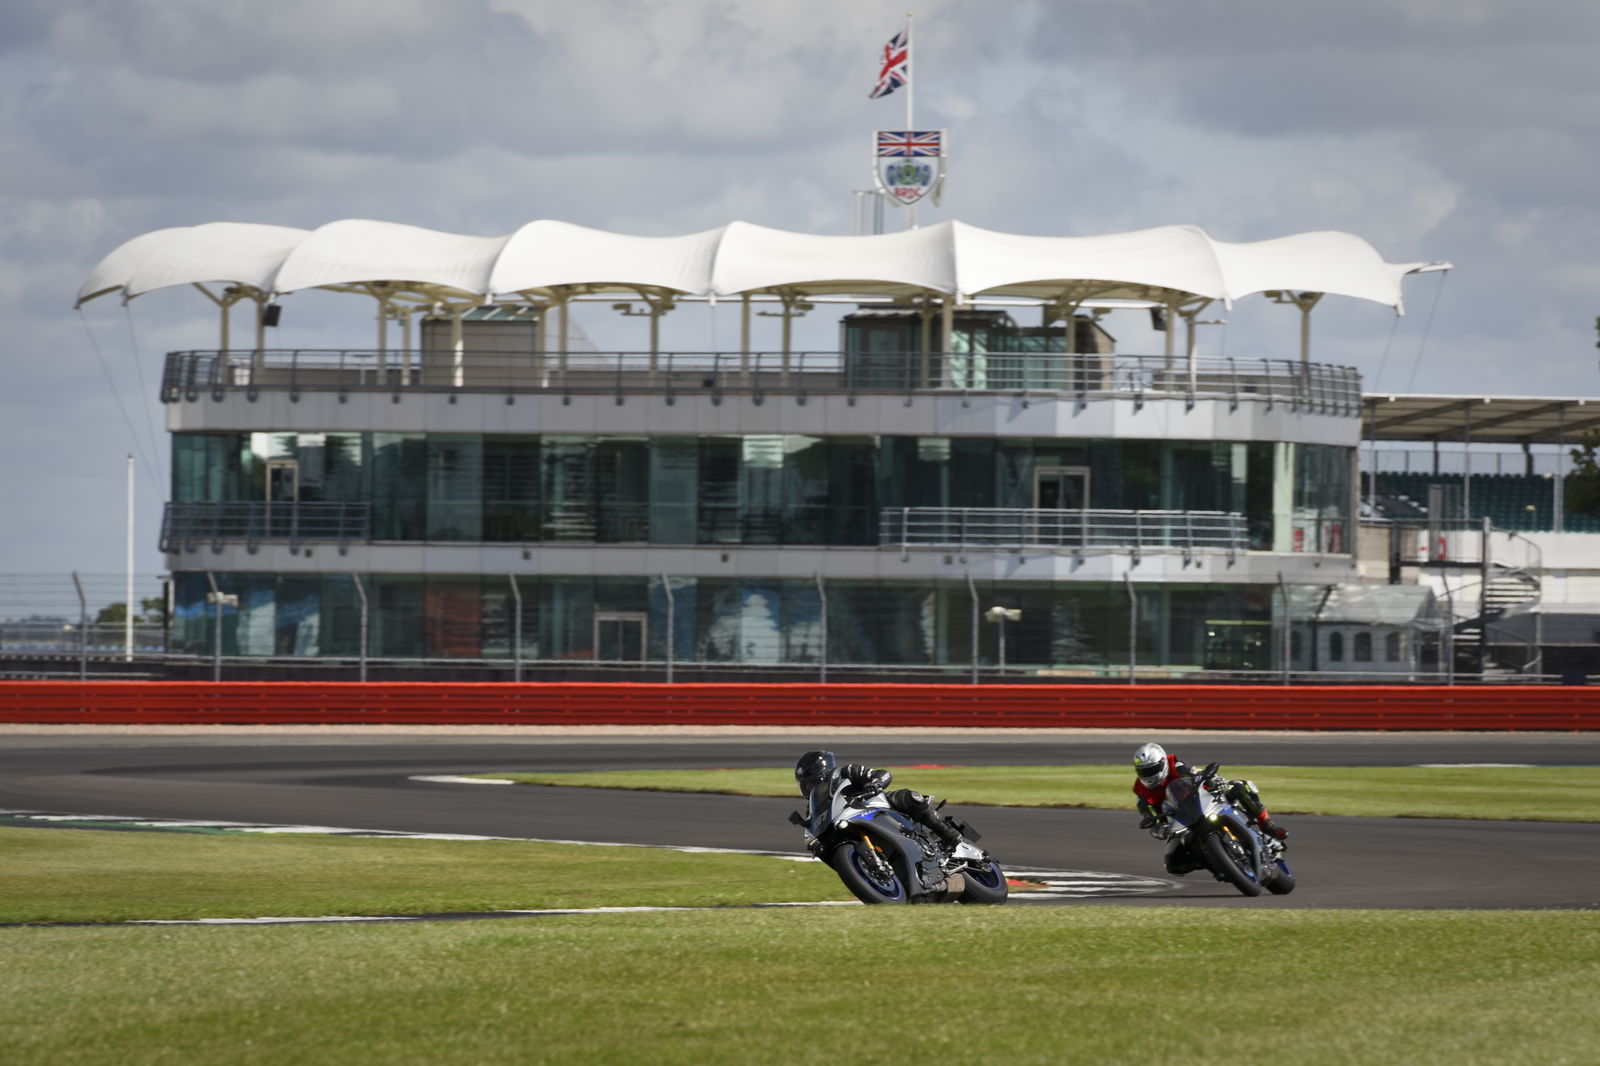
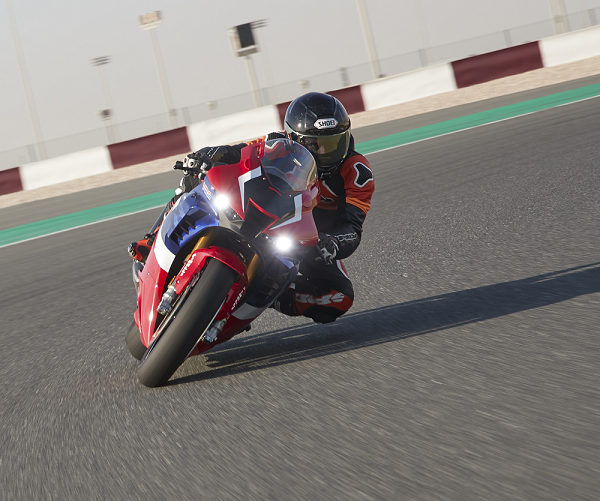
Racers are the master of trail braking. But that doesn't mean you shouldn't give it a go too.
Why trail brake on a motorcycle?
Trail braking was born on the racetrack. Its use became popular as it meant riders could brake later into a corner, keeping you ahead of your rivals on track. It means a racer can brake later into a turn. On the road, good for more than just getting into and out of corners faster.
Because we are braking all the way to the apex, we have more time to slow the bike. This helps us to better ascertain how tight the corner is, whether there is any danger and what speed we can safely make the turn at.
Trail braking also loads the front tyre slightly, putting extra pressure on the tyre squishes it slightly, increasing the contact patch and providing you with more grip as you begin to lean. The suspension will also be tensed slightly, making it less prone to becoming unsettled is you have to change your speed, approach angle or hit a bump mid-corner.
The other big plus with trail braking is that already being on the brakes means you can slow some more if needed, without upsetting the bike like you would if you are coasting and applied some front brake. Releasing the brake and then tipping the bike in means you have committed to whatever speed you were doing when the brake was released.
Grabbing a handful of it now, if you saw an obstacle or hazard ahead, would seriously unsettle the bike and potentially cause you to lock the front and crash. With more load on the front end and the fork compressed, the bike’s geometry has now altered, making the bike turn in faster.
Trail braking can also help to eliminate that bouncy rebound you get when you just release all the pressure out of the front brake in one go. As you have loaded the front and started to lean, the amount of lever pressure should be proportionate to the amount of lean. The more lean, the less pressure. Because leaning the bike will load the fork slightly, the act of leaning and releasing the brake will cancel each other out, keeping the front rebound at bay and aiding smoother cornering.
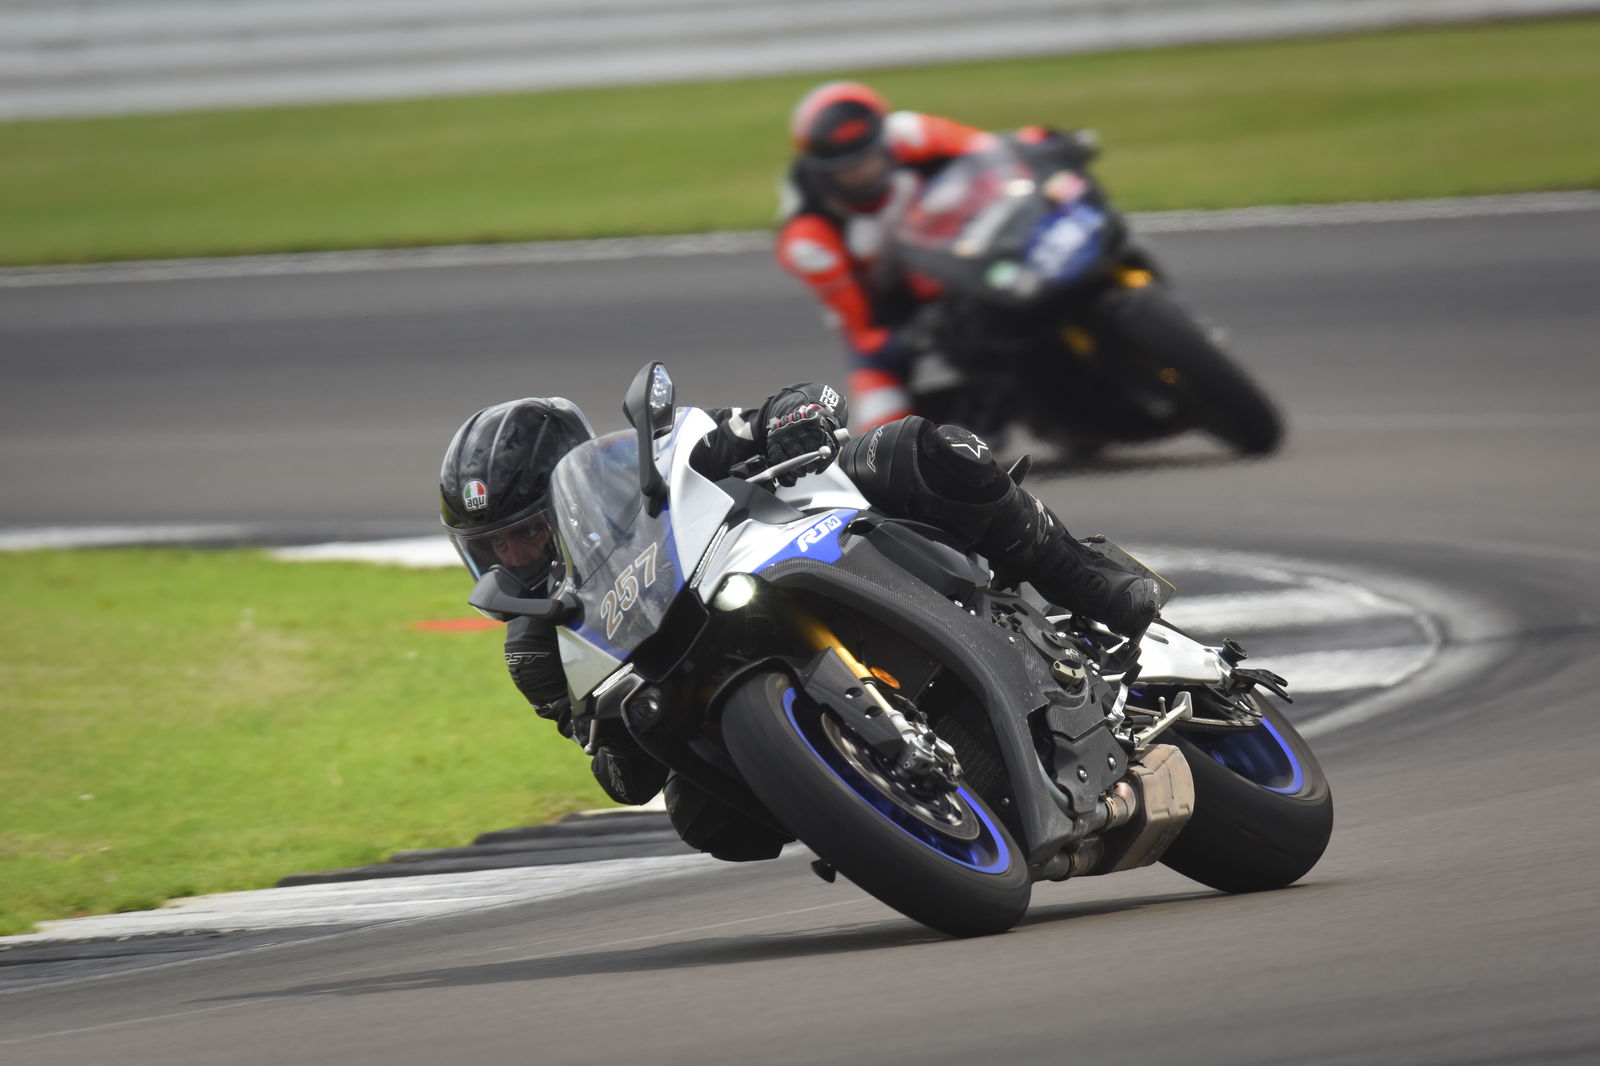
Top tips for trail braking on a motorcycle:
- Practice at a safe speed on a corner you know
- Don’t push your boundaries too quickly
- Judge the corner before trail braking
- Judge the weather/surface grip – if either is sub-optimal avoid it
- Be smooth – on the brakes and the throttle
- Try and keep the transition from brake to throttle as small and smooth as you can
- Book some advance training if you feel you need some extra help
