Cardo Freecom 1+ Review
We’ve been spending a few weeks getting to know the Cardo Freecom 1+ motorcycle intercom and Bluetooth set. Here’s how we got on.

BIKE journos generally have to do a lot of riding as part of the gig. Press launches, conferences, trackdays and road tests. All of these generally mean riding off somewhere on a bike, not being totally sure where you’re going. That's where the Cardo Freecom 1+ comes in.
Available from: http://www.pama.com/cardo/
Another issue we face is the sheer number of bikes we ride, not all have satnavs or even the ability to clip one on the handlebar – it’s even worse for me as I have a sense of direction on a par with a drunk kitten.
With that in mind, and with a load of jobs over summer in far-flung corners of the UK, I spoke to the nice people at Cardo about getting one of their Bluetooth intercoms to help me on my way.
The set they sent is the Cardo Freecom 1+, which is a helmet-mounted self-powered unit that has wired speakers you mount inside your lid. It works well as a Bluetooth controller and can link up to most satnavs, either integral bike units or standalone items. The Freecom1+ has rider to passenger connectivity meaning it’ll also work as a rider to passenger pillion, allowing the missus to now nag me even with her lid on – great!
Along side the kit, Cardo also sent over their slinky looking [and sounding] JBL speaker pods to try out. The JBL Audio Set is an optional extra for the Freecom 1+, 2+, and 3+. The Freecom 4+ and Packtalk range have 40mm JBL speakers fitted as standard. It's supposed to offer 'The Ultimate Sound Experience' giving better sound quality for speech and music, with improved top-end and bass performance.
How to install the Cardo Freecom 1+ motorcycle intercom
Before you can start using the intercom, first you have to install the unit on your lid. To begin with, strip the interior out of your helmet to the point that you have all the soft stuff removed as much as possible. Next, get the speakers mounted, they’ll be marked left and right and it’s important to check before sticking them in. For one thing, it could affect the sound quality, but one lead will also be shorter than the other and is designed to be placed nearer to the intercom unit.
Once the speakers are stuck in place with the supplied Velcro sticky pads, route the wires that link them to the unit, so they are tucked out of the way as much possible. Some people secure them with little tabs of tape although I’m not sure I trust that against the delicate EPS lining material.
Now it’s time to fit the control unit, probably on the left side of your lid. The Freecom can either be secured with a clip system that tucks up and under the bottom edge of the helmet, or you can stick a mounting plate to the outer shell and fix it to that. I opted for the clip method and find it sits nicely in reach and doesn’t affect the comfort of the helmet in any way.
The final task is to fix the microphone to the interior of your lid, so it sits somewhere near your mouth. On the Arai Chaser X I have this was the trickiest part. I opted to run the flexible microphone lead in between the EPS cheek pad and the main EPS liner of the lid – as shown.
Setting up an intercom system
The Cardo Freecom 1+ comes with an easy to follow quickstart guide in the box. It tells you how to get going like linking the unit to your phone and another intercom. It’s fairly basic and doesn’t go through the full features of the unit and sadly, the full instructions are only available online. I know it’s good for the environment and all that but, I just prefer tech stuff like this to come with full and thorough paper instructions. It does look like most tech firms – inside and outside of the motorcycle industry - are leaning towards these online tutorials and PDF files. Not so cool for us oldies who don’t like change.
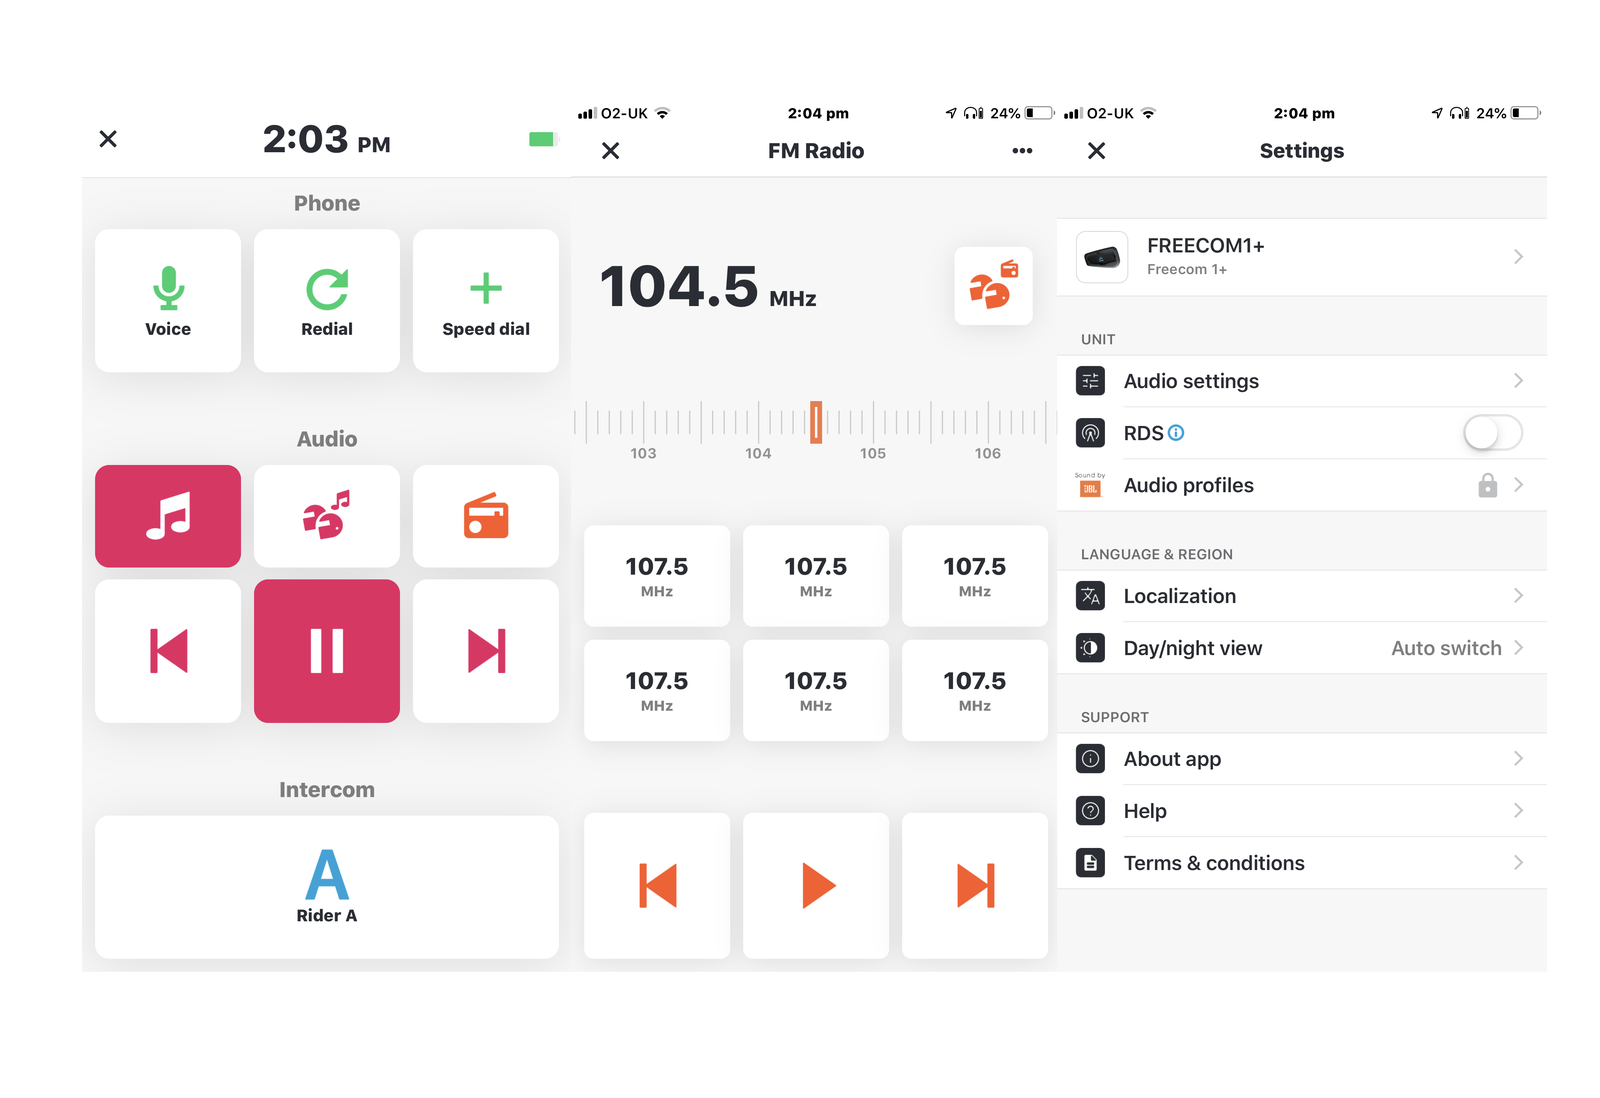
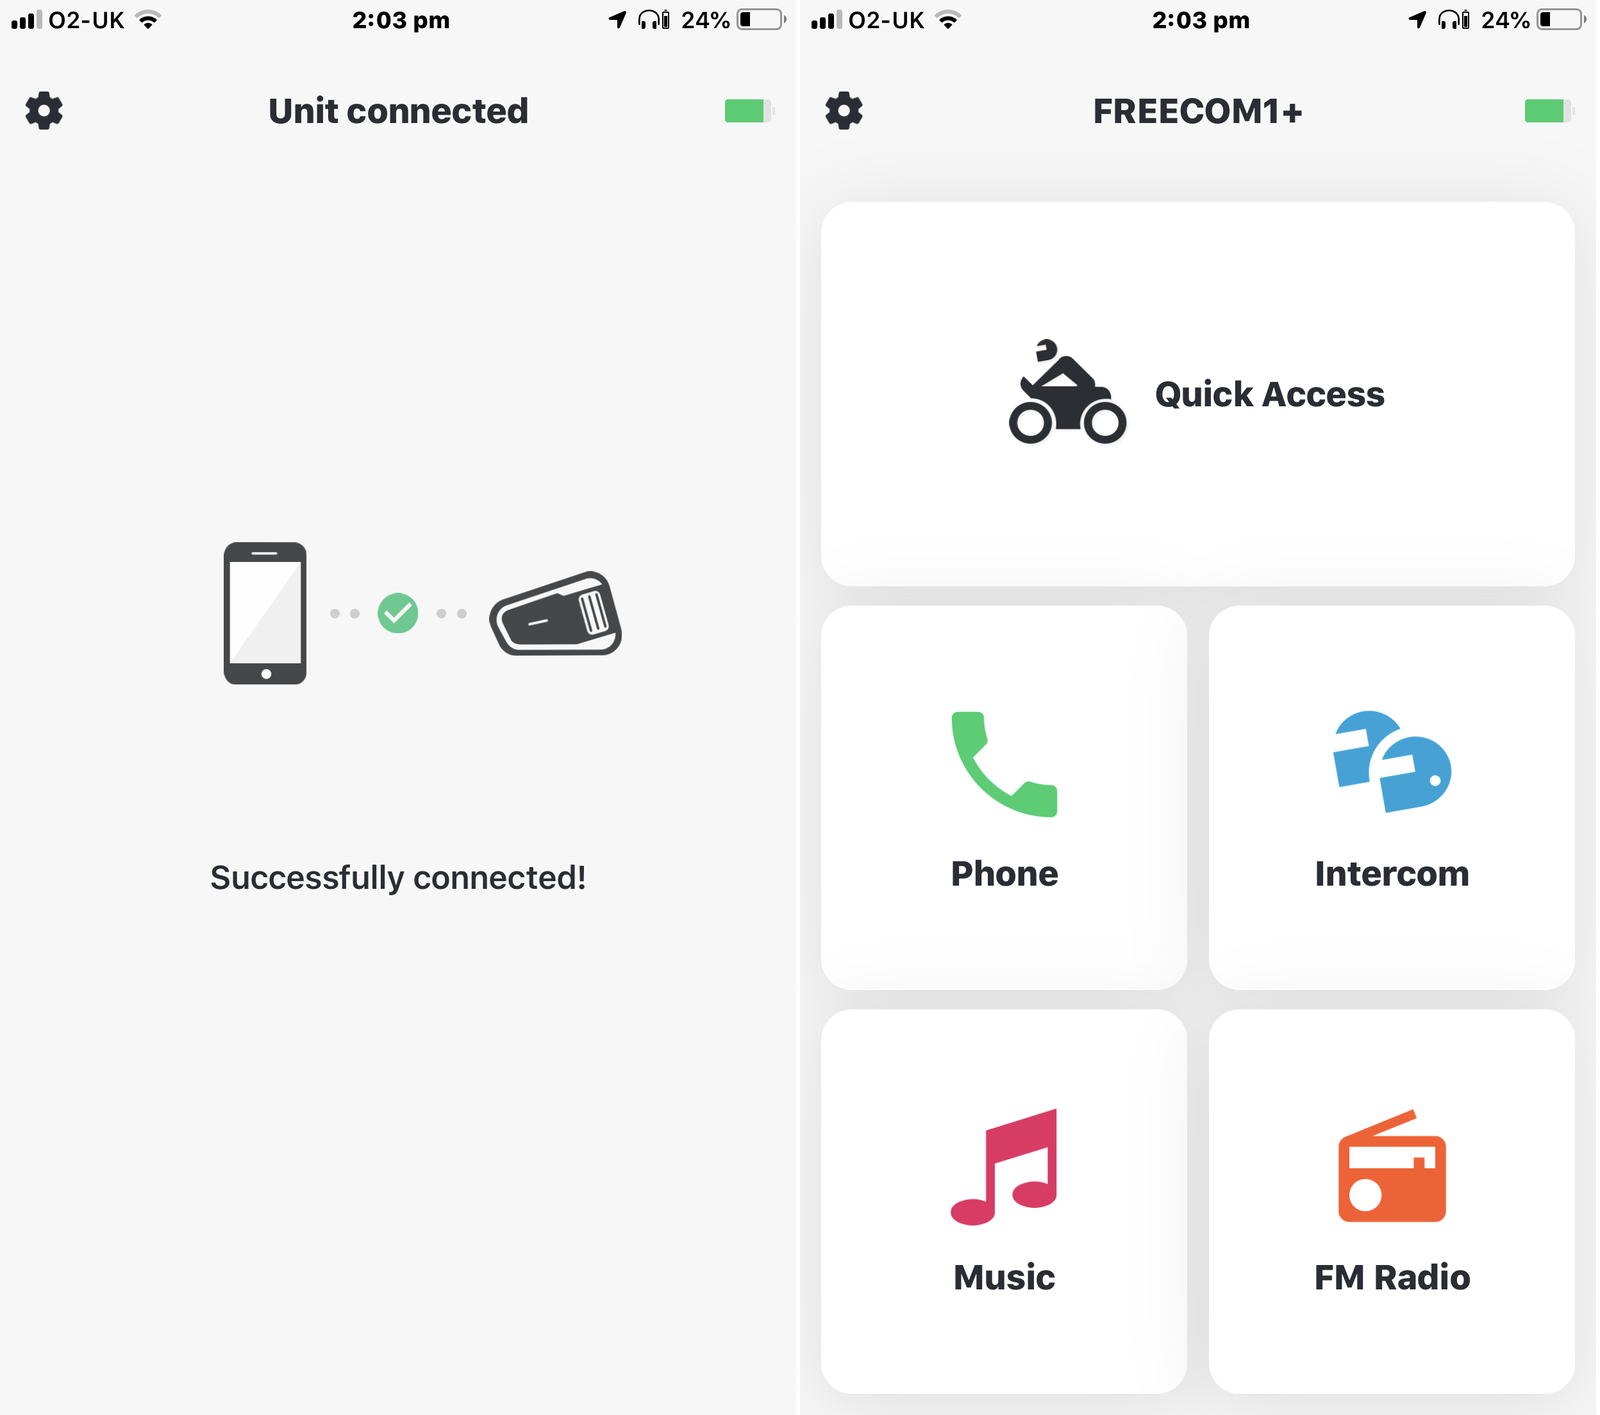
Now you’re all set you can start playing with the Cardo Connect app which you can use to change the settings without having to scroll through the buttons on the unit. The app works well, although it dropped the connection to my iPhone 7+ a few times and needed reconnecting. I couldn’t figure out if it was the phone or the unit as it seemed intermittent and tricky to replicate.
As with most Bluetooth units, the buttons on the Cardo are quite small, I’ve tried using them in winter gloves as well as my slimline summer jobbies and they work okay, but you have to practise to figure out where they all are.
Once the geography of the buttons is remembered, you then have to remember which combinations of presses and clicks do what. With only four buttons on the controller and a ton of functions available, it’s really the only way to make the most of all the functions on the move. The easiest thing to remember is that the Cardo (when turned on and linked to your phone) is always listening. Shouting ‘hey’ in your lid will awaken the Siri function of my phone, allowing me to bark orders to my digital assistant like Gunnery Sergeant Hartman.
You can ask it to play a tune from your library, call your wife or send a text. It’s invaluable and means your focus is on the road and not on the buttons on the side of your helmet.
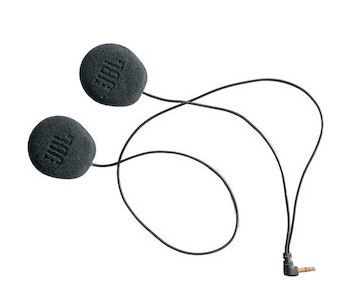
Standard speakers vs JBL bass bins
Having the two units and meant I was well placed to check out the upgraded speakers created by noise maestros JBL. To find out how they perform I rode the same road, at the same speed and listened to the same song at the same volume. I also made a call to the missus to see how that sounded too. I did this back to back, once using my the good lady’s helmet and standard speakers and then swapped to my JBL upgraded items.
First thing to say is that the standard speakers are not bad at all. In fact, they’re pretty damn good. The only time they start to complain is when the volume goes up to maximum or I start delving into the Deftones back catalogue. Making a phone call at 80mph and I could easily hear what the other half was saying, even conversations with my six-year-old daughter were clear as a bell.
Swapping lids to the JBL equipped units immediately gave a much clearer bottom end of the frequency spectrum. They also don’t distort when the volume goes up or the music gets heavy. The top end is also much crisper like somebody’s unlocked a symphonic EQ in your phone settings. While calling the missus it was also obvious that her speech was much clearer, and the plosives of words were much easier to hear. Background noise, like the TV on where she was, didn’t muddy the conversation quite as much as before. All in all, they were very impressive, although it’ll personal preference as to whether they are worth the extra £84.98.
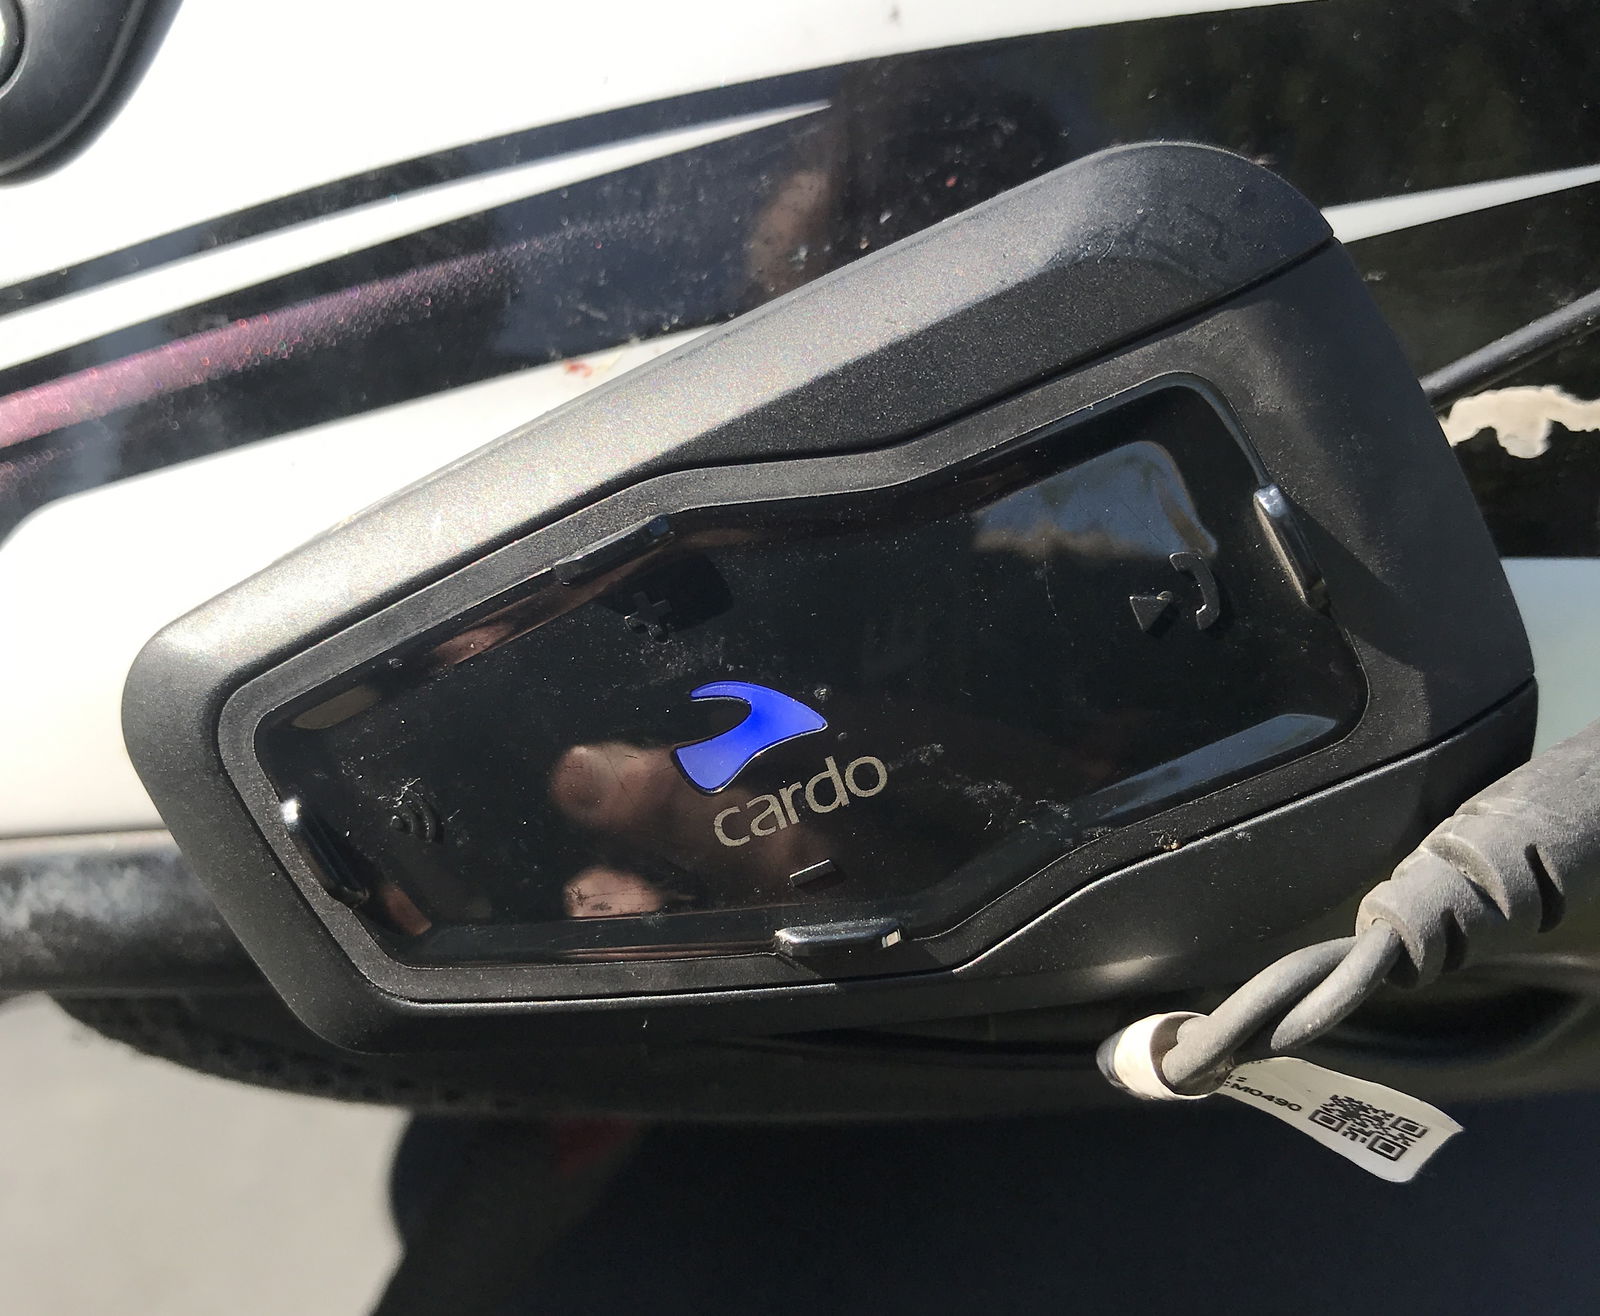
Cardo Freecom 1+ Verdict
Let’s face it, Bluetooth headsets aren’t for everyone. They are a bit of a Marmite piece of tech, you either get it, or you don’t. I’m in the middle ground I don’t wear the unit on every road ride as sometimes it just isn’t required. But when the ride, route or bike I’m riding means I need some extra assistance (directions or the need to take a call on the bike), the Cardo is an invaluable bit of kit to have.
It’ll easily last 10-hours in normal use – some music, calls and directions – and the app makes adjusting the settings and checking the battery level much easier than fiddling with buttons on the unit.
The biggest plus I found from using the kit was the intercom feature when riding with my other half on the back of the bike. There are no more raised visors and twisting my head while screaming at my pillion, simply start chatting and the message is clearly conveyed to the person on the back.
At £240.99 for the dual units the Cardo is a sizable investment and probably one that you will need to justify, with long two-up trips or lengthy commutes, any ride when missing a phone call is not an option. If that sounds like an answer to your questions, give the Freecom 1+ a go, it’s probably the neatest looking and best-equipped option available.
Find out more: http://www.pama.com/cardo/

