Fitted – Galfer wave discs for Yamaha Tracer 900
Lighter wave discs promise better braking, handling and performance

WHAT DO you need better brakes for? They only slow you down after all. So goes the old joke, but we’re very big fans of good brakes here at the Visordown online motorcycle facts nexus. If you’re as old as us (Laura excepted) you’ll remember when bike brakes generally only carried out the most perfunctory of deceleration duties, needing a massive panicky wrist-busting tug to stop in anything like a hurry.
Modern bikes almost all have very good stoppers though, and the days of drum brakes, single discs that didn’t work in the wet, and seized-up sliding calipers up front are mostly gone. That’s not to say you can’t make improvements though. Bikes are still made to a budget, and on less-than-flagship models, you might have a lower spec of disc, caliper or pad. Some bikes also have less-sharp brakes on purpose – a soft novice-friendly tourer or commuter might not be the place for aggressive, hard-biting pads and disc materials.
Our Tracer 900 long term test bike does very well in braking terms. It uses Yamaha’s trademark monobloc four piston calipers up front, which have their foundations in the excellent blue-spot calipers first seen on the 90s Thunderace and Thundercat models. The discs are a little on the small side, at 298mm (full-on superbikes use 320 or even 330mm rotors), but for a sporty adventure tourer, they’re a very good setup, with ample power and plenty of feel.
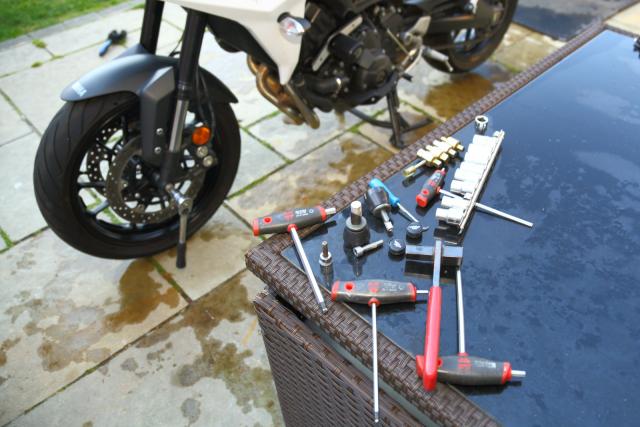
Can we improve them though? Enter the good folks at Galfer. The Spanish firm was the first to widely sell ‘wave-type’ discs, back in the early 2000s, when anything other than a perfectly circular disc was likely to have you burned as a witch at your local bike meet. And rightly so. But over time, the advantages became clear – the cut-outs mean less mass, while the constantly changing working surface also helps clear the pads, reducing the chance of glazing, and giving a sharper edge to the bite of the brakes.
That reduced weight is a double advantage – on the move, your discs are spinning, and bouncing up and down as unsprung weight. Both of those things impose performance penalties – heavy discs take more work to accelerate and decelerate, and also give the suspension more work to do controlling wheel movement. Finally, the gyroscopic effect of spinning discs is also considerable. Cutting any mass here is a good thing in all these areas.
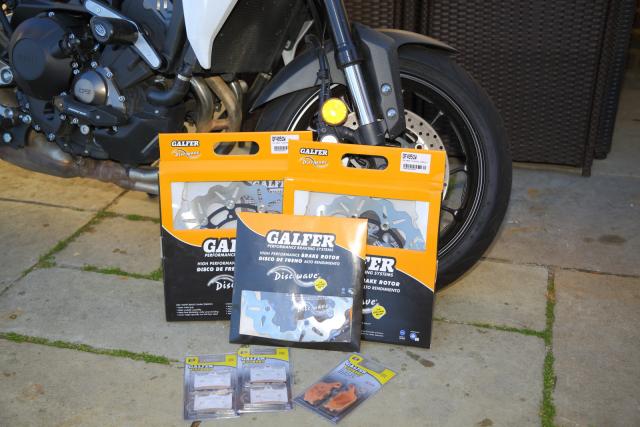
So, Galfer has sent us a triple-pack of discs for the Tracer, which we fitted last night. It’s a fairly simple job, made easier by the Tracer’s useful stock centrestand. Essentially, you just need to remove the wheels, unbolt the old discs and bolt the new ’uns on.
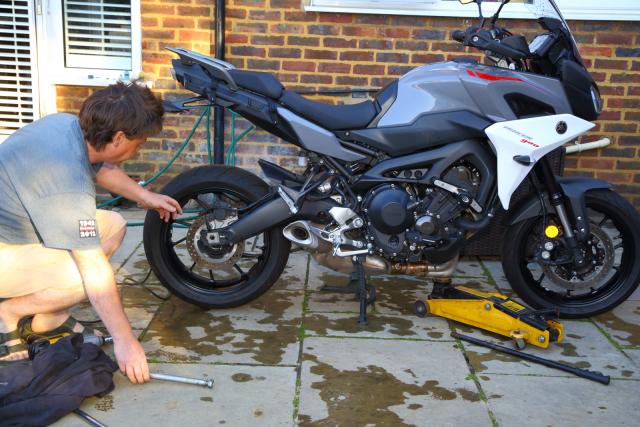
Step one is to get the bike on the centre stand, and remove the back wheel. We had some Gilles Tooling protectors on, which simple attach with a central bolted clamp, and are off in seconds. Next, loose the chain adjusters and remove the rear axle nut. Slide the wheel forward and unhook the chain from the rear sprocket, laying it over the swingarm out of the way.
Next, gently tap the axle through, and remove from the other side, supporting the rear wheel as you do. Pull the wheel back, unhook the rear caliper carrier from the swingarm locating flange, lift it clear, and the wheel will come right out. Watch for the spacers falling out, and keep all the bits safe in order.
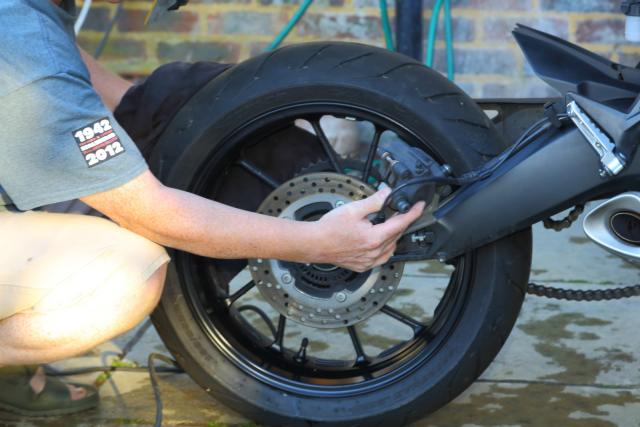
Pull out the rear sprocket carrier, and you can now unbolt the rear disc. Sit the wheel on a shop towel or old T-shirt with the disc face up. Loosen the disc bolts carefully – they are tight and Loctited in place, and you don’t want to round-off the Allen heads, or you’ll be in a world of pain. Use a good quality, well-fitting Allen bit and make sure it’s all the way in.
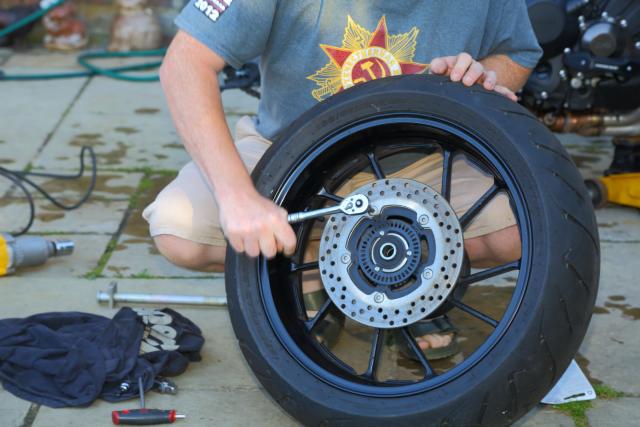
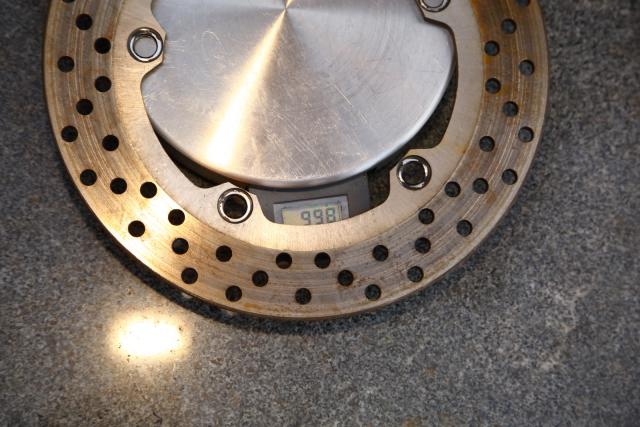
Once the bolts are all off, remove the old disc. Now, we could compare weights! The stock disc weighs 998 grammes – not bad at all. But the Galfer part is just 822 grammes – nearly 18 per cent lighter, thanks to the extensive cut-outs and wavy edge.
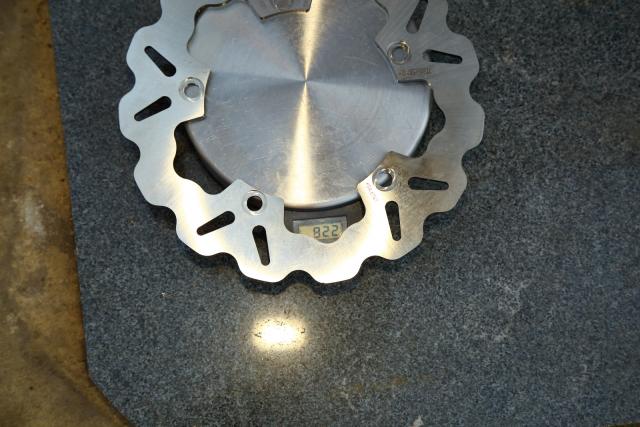
Refitting is the reverse of the disassembly of course, but remember to use a locking compound on the bolts. We spent the cash on the proper Loctite stuff, since brakes are important things… Check the bolts and wheel threads before refitting, any damage or wear here could spell trouble, especially if you have to take them off again in future. New bolts aren’t expensive, and you can also fit stainless or even titanium aftermarket replacements if you’re keeping the bike for a while.
Torque settings for the disc bolts are vital too – these ones tighten up to 30Nm (22ft lb), while the front ones are 18Nm (13ft lb). Front axle is 65Nm (48ft lb) and calipers are 35Nm (26ft lb). Fork pinch bolt is 23Nm (17ft lb). Rear axle is 150Nm (111ft lb) - a tight one!
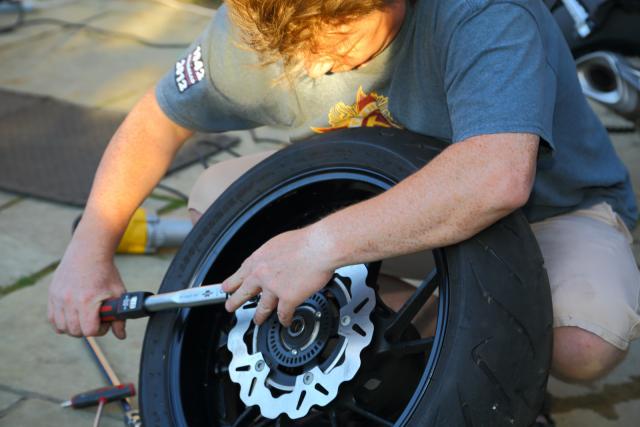
Refitting the wheel is, obvs, a reversal of the removal process! A block of wood underneath will help support the wheel as you lift it into place, carefully locate the rear caliper carrier, and watch for the wheel speed sensor getting in the way – you don’t want to damage it. I can sometimes help to remove the caliper and sensor from the carrier, and refit them once the wheel is in. We’re fitting new Galfer pads to match the discs so will be taking the caliper off anyway.
NOW FOR the front! We need some extra help here to lift the front wheel off the ground, so my trusty Halfords trolley jack comes into play. I’ve had it for about 15 years and it’s done great service – recommended.
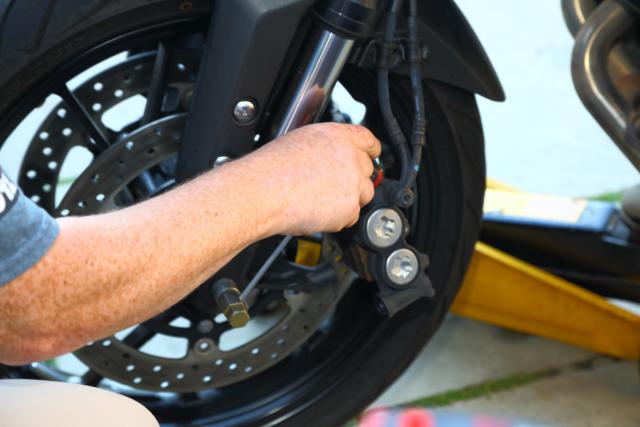
Before we lift the front wheel though, crack off the front axle pinch bolt, main axle, and caliper bolts, so you’re not heaving against tight bolts with the bike in the air – you can risk toppling the bike over. The front axle pinch bolt is a 6mm Allen bolt, calipers are 12mm hex-heads and the axle itself needs a 14mm Allen bit, or suitable front wheel tool. We removed the front wheel speed sensor here too – it’s just one small Allen bolt and it gives more clearance for the wheel to come out while removing the chance of any damage to the little sensor body.
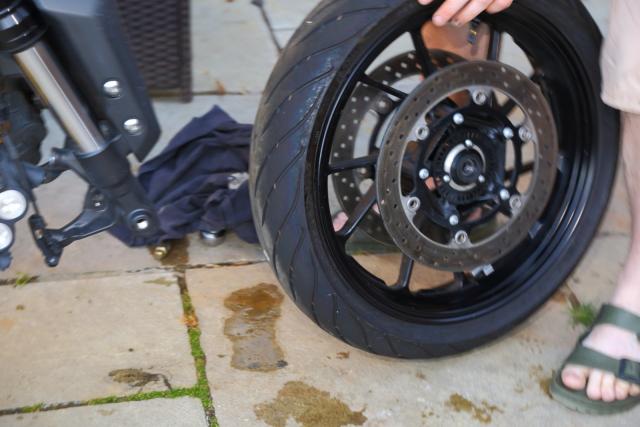
Once the axle and calipers are loosened, carefully lift the front with the jack, just enough to get the wheel up. Remove the calipers, hanging them carefully to one side (ideally with a bungee or similar) so you don’t stress the hoses, and unscrew the axle. This was a bit tight, and I had to tap it through with a mallet and drift to get it moving. Lift the wheel down and out – you might need to loosen the front mudguard depending on how much clearance you have.
Again, loosen the disc bolts carefully and evenly, using a good Allen bit. When the discs came off, we again weighed them, and the stock discs weighed 1,350 grammes each, with the Galfers weighing 1,218 grammes. That’s less of a difference than the rear – just about ten per cent. But there are two of them of course, so we’re saving a total of 264 grammes on the front end, around half a pound of spinning bouncing mass. Good work.
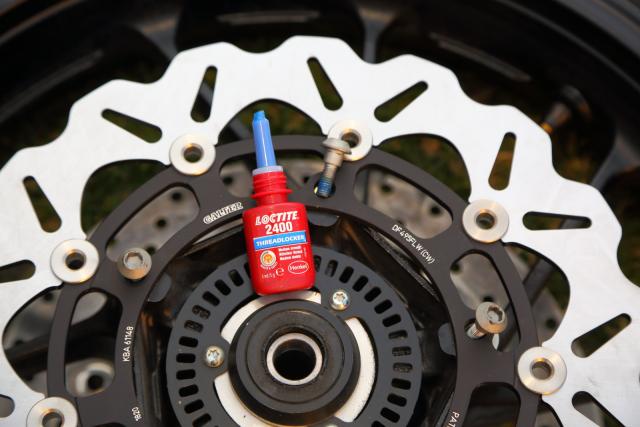
Remember the Loctite on the bolts, and check for any damage, replacing where necessary. Torque the bolts up to 18Nm (13ft lb), repeat on the other side, and you’re done. Refit the wheel, calipers (after changing pads to match the new discs), and torque everything up (all the settings are on the first page). Not with a hammer.
We’ll report back on how the new brakes feel once we’ve done a few miles…
More info on Galfer discs here, and the UK importer is Performance Parts Ltd.
NEXT - FITTING THE FRONT DISCS!!
