We've done the discs - so we need to do the pads too...
THERE ARE some things which go together when it comes to bike maintenance, to a greater or lesser degree. Changing the oil and not doing the filter seems a bit remiss – though it's not the end of the world, and some manufacturers have recommended doing the filter every other oil change in the past. At the other end of the scale, changing a chain and not swapping the sprockets is the act of a madman. Worn sprockets will give the new chain a really hard time, and cause accelerated wear as the mis-shapen teeth engage roughly in the new, properly-sized chain links.
When it comes to pads and discs, the situation is probably somewhere inbetween those two cases though. Old pads will have bedded into the old disc surfaces obviously, but if they're not badly worn, they'll be able to cope with bedding into new discs fine, after you've done a decent amount of miles on them. Ditto new pads on old discs - which is the usual situation.

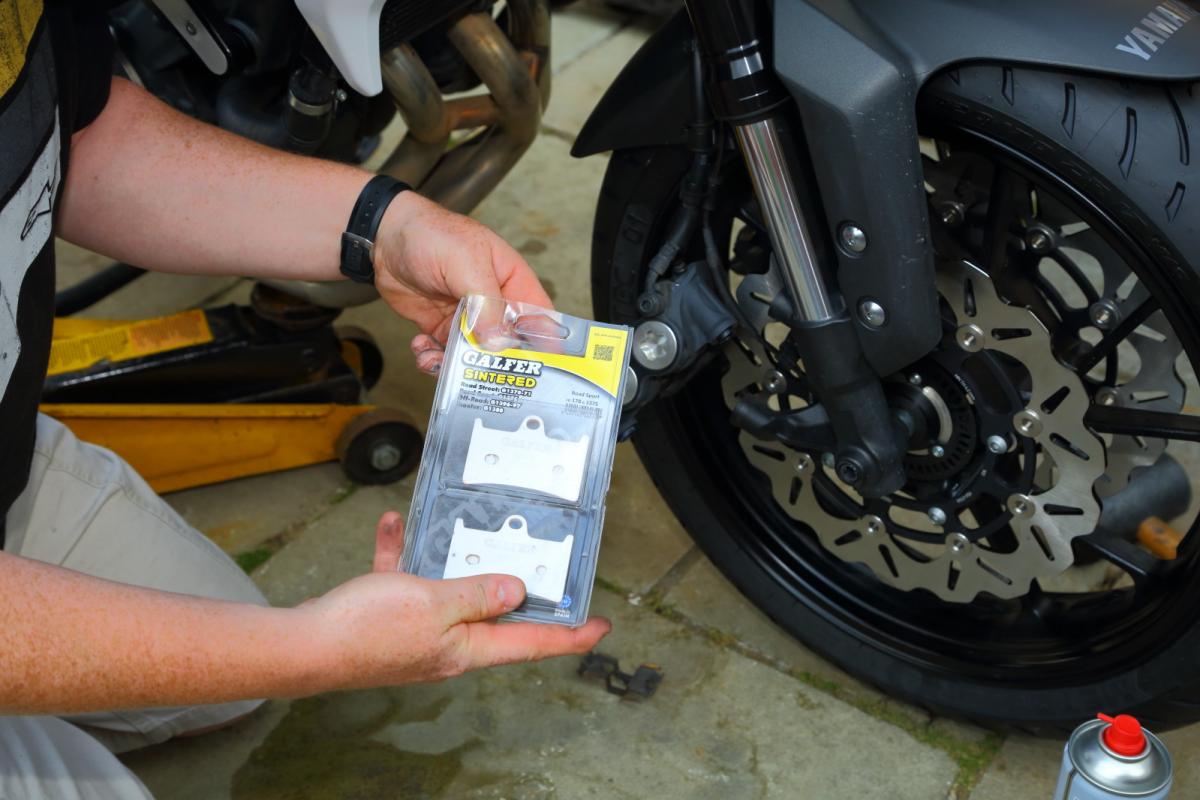
We wanted to fit new pads with the new Galfer discs on our Tracer though. Not because the old OE pads were badly worn, but since we were changing the disc material altogether. Galfer will be using a stainless steel of their own spec, and together with the large cutouts and wave-edge on the discs, they'll have a very different overall effect on the pad surface, you'd think. So to go with the Galfer discs, we have Galfer pads - sintered road-sport chappies, which look like just the job.

Fitting new pads on the Tracer is a breeze, especially at the front. Unbolt the caliper with a 12mm socket or spanner, and lift the caliper off the disc. Pull out the two little 'R' clips on the pad retaining pin and keep them safe. We used some long-nosed pliers here. Slide out the central pad pin, and the pads will just drop out of the caliper.

A good spray of brake cleaner and a wipe with an old rag will get rid of brake dust and grime. Spend some time here if they're very dirty, and pay close attention to the piston surfaces looking for corrosion or damage. Once the pistons are all shiny you can push them back into the caliper. With new calipers like this, you can often push them in just by hand, or if they're a bit tight, you can refit the old pads and push a large flat screwdriver in between and lever the pads and pistons back.

Before fiting the new pads, I like to put a tiny smear of anti-seize compound or copper grease on the pad edges where they slide in the caliper, and also on the pin locating holes, and on the pin itself. Just to keep the pads free and moving easily where they meet the caliper body.

Fit the anti-rattle spring plate, and slip the retaining pin through to hold it all in place. Replace the 'R' clips, slide the caliper over the disc, and bolt it back onto the fork leg. Repeat the other side, and you're done!
More info on Galfer discs and pads here.