D.I.Y: Tyre Change
Does your bike eat tyres for breakfast, lunch and afternoon tea? Save time and money by fitting them yourself. Here's how to do it

Click here for 12 step guide to fitting new tyres
Running a modern motorcycle isn't cheap and one of the biggest running expenses is replacing tyres. The best way to save a bob or two is to buy tyres by mail order. Once delivered though you need to get them fitted. Many local dealers are, understandably, reluctant to fit tyres that weren't bought from them, and if he is willing he's likely to charge somewhere in the region of £30 per wheel to do it. So after saving cash buying mail order you can end up handing it all back in fitting charges.
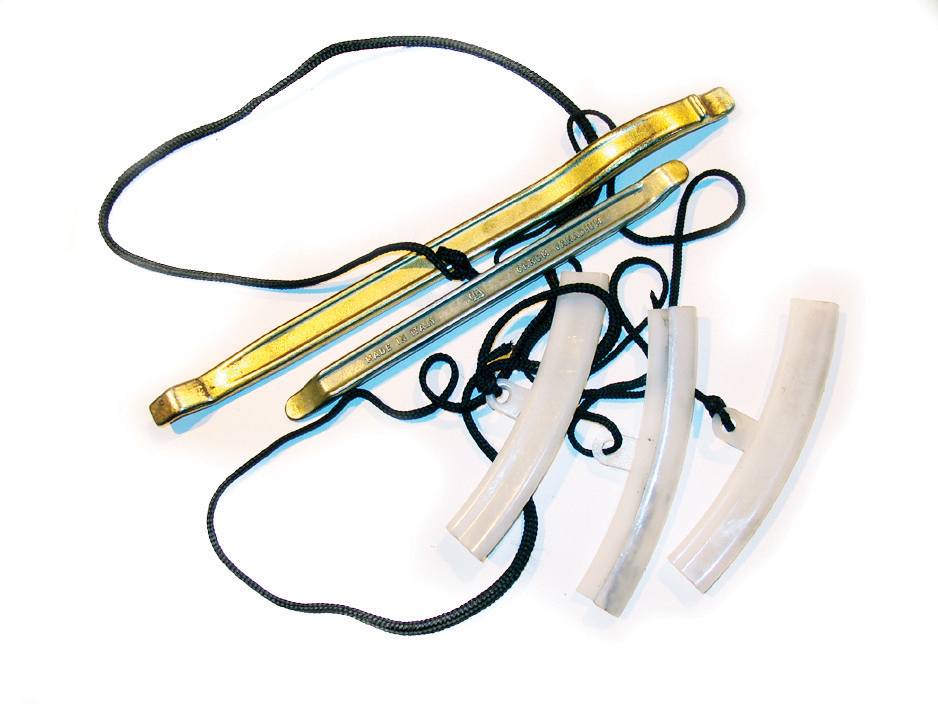
There is an alternative: shop around for cheap tyres and fit them yourself. The equipment needed isn't anywhere near as hi-tech as you might think. Your dealer will have a hydraulically operated fitting machine and an all-singing, all-dancing wheel balancer, but the only tools you need are a bead breaker, some tyre levers and a basic static wheel balancer; abba offer a Tyre Change Package that includes all the relevant tools for £168.85.
Once you have removed the wheels, note their direction of rotation. Almost all tyres will have a direction arrow stamped on the sidewall. In some cases the wheel will also have an arrow cast onto one of the spokes. If not, stick a piece of tape to the rim with an arrow noting the direction of rotation.
Deflate the tyre by removing the valve with a valve key. Some valve caps have a built-in key, although metal ones are far better than the plastic variety. If you don't have a valve key release the air by pressing the top of the valve in until all the air is released.
Time to break the tyre bead. Whether it's a tubed or tubeless tyre, the tyre will have 'seated' tightly on the rim - tubeless tyres especially so. Dealers use hydraulic bead breakers; our abba breaker is a manual one, so we have the added bonus of getting fit while using it.
Rest the wheel on the floor with its rim on the base of the breaker. Wind in the handle to compress the tyre away from the rim, breaking the bead. Sometimes the rest of the tyre can then be pushed clear by hand. If not, rotate the wheel and use the breaker further round the rim. Once the bead has been broken all the way round, turn the wheel over and repeat the process.
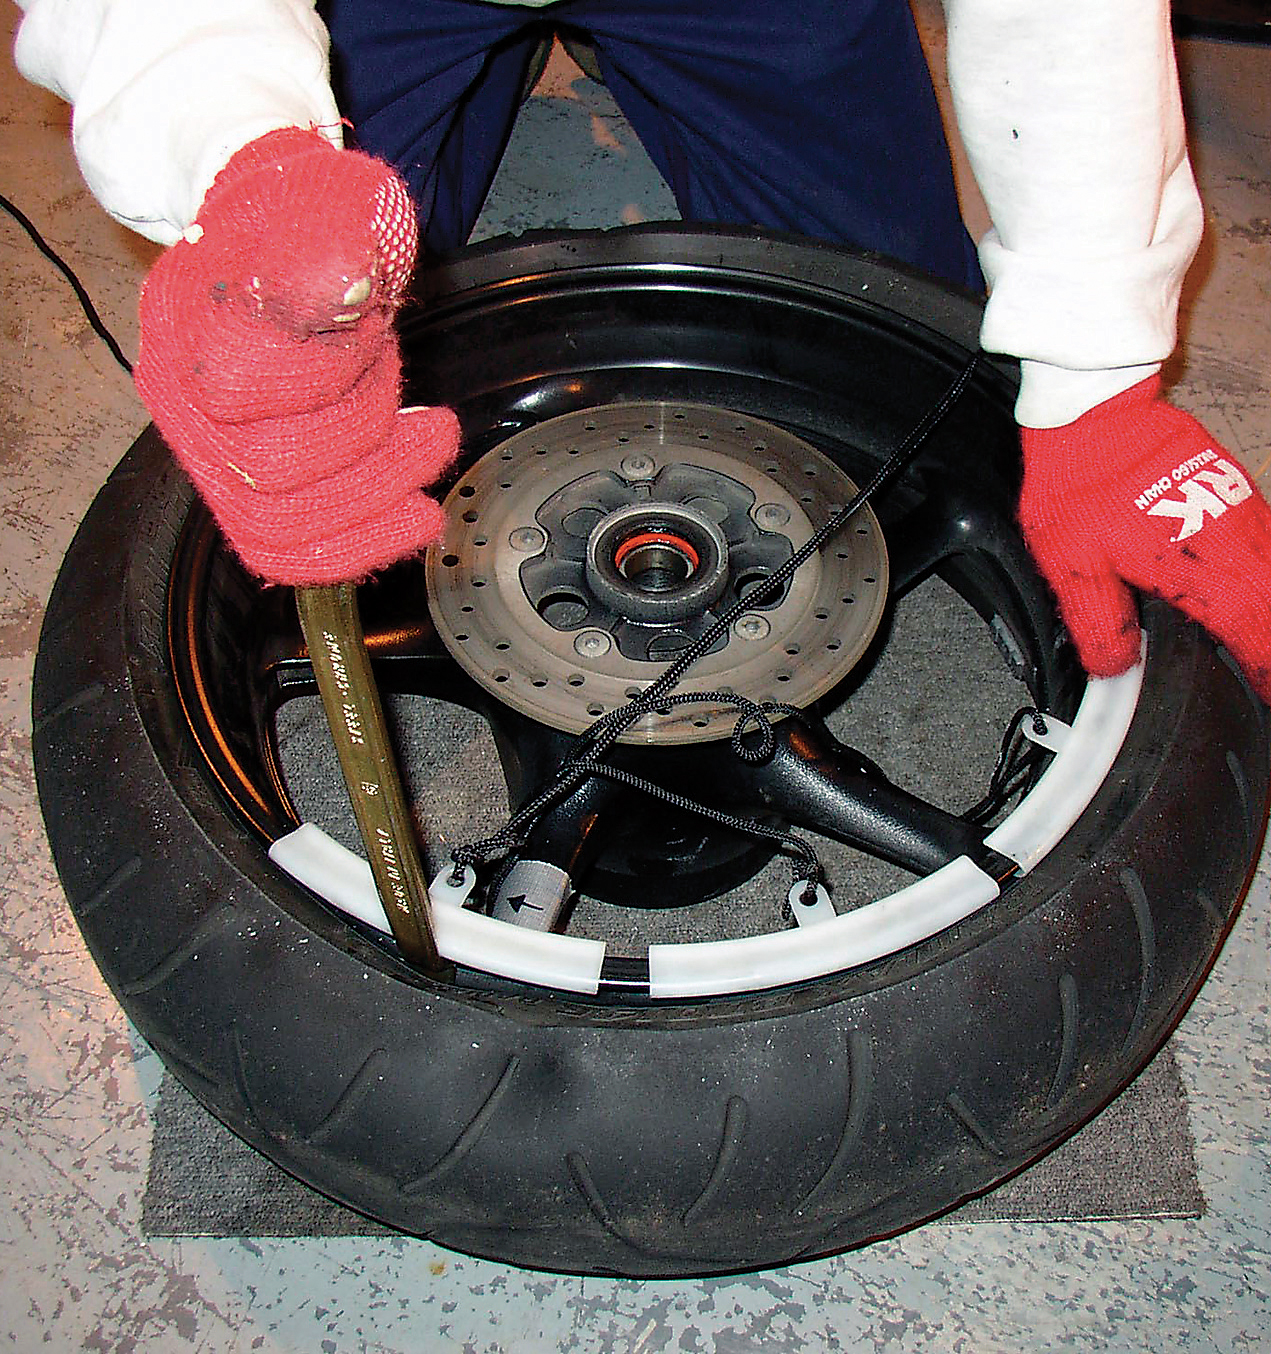
With the bead broken it is important to protect the rim before attacking it with tyre levers. The plastic protectors we used came as part of the kit from abba. Before proceeding, we tied the connectors together with a length of string to help retrieve them from the tyre if they fall inside. Now fit the protectors on the rim and use one of the levers to prise the tyre off - sounds easy, but a bit of effort may be required at this point so make sure the tyre lever has a secure purchase. Once the tyre has been hooked off the rim initially, hold the first lever in place and use a second one to lift the tyre off the rim a few inches from the first lever, repeating the process while moving the protectors around until one side of the tyre is completely free. With a protector in place prise the lower part of the tyre off the same side of the rim. The rim can now be pulled clear of the tyre. (Temperature can make quite a difference to how easy this all is. If in doubt, whack up the central heating and do it in the living room.)
With the tyre removed inspect the inside of the rim. If umpteen tyres have been fitted a build up of tyre fitting soap can occur. Clean it off or the tyre will not seat properly and can leak air.
Making sure the tyre's rotation is correct, apply a bit of washing-up liquid or tyre fitting soap to the edge of the tyre. Holding the tyre upright, push the rim into the tyre. Cold tyres can be tough to fit, so if it's the middle of winter keep them indoors for at least 24 hours beforehand.
Most tyres will have a paint spot on the tyre wall. This is the balance mark, and it needs to be lined up with the valve. Lay the rim flat on the floor and, using the rim protectors and levers, work your way round the tyre, kneeling on one side while working on the opposite side to keep the tyre down in the rim's well. This will help get the last part of the tyre on. In a reversal of the removal process, the job gets harder as more of the tyre is in place.
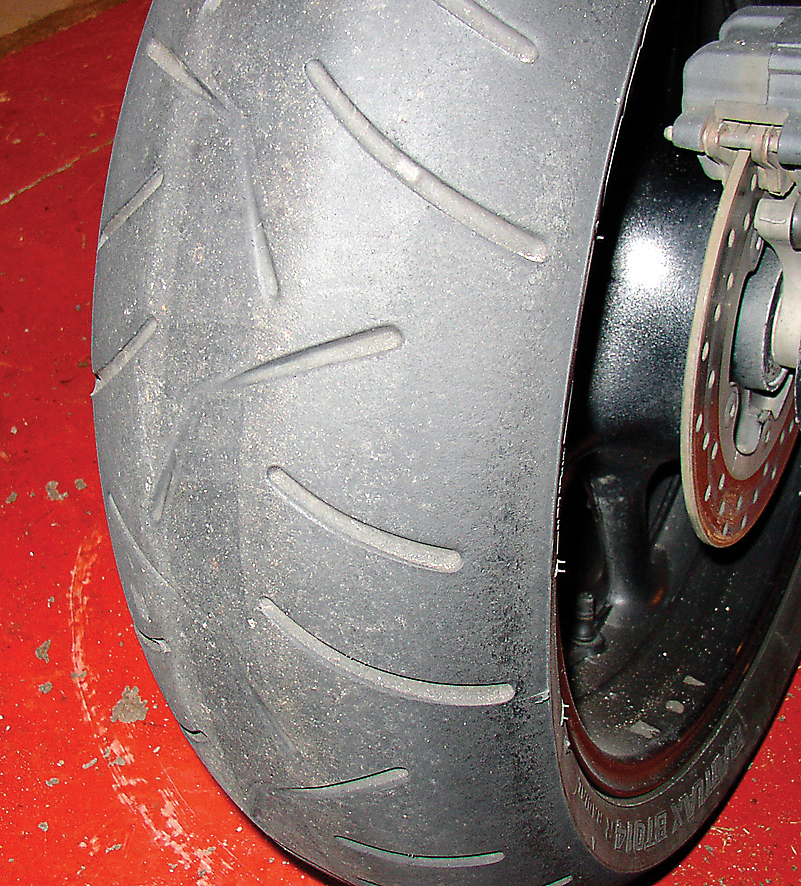
Once on it will need to be inflated. If you don't have a compressor, visit your nearest fuel station. With the valve still out inflate the tyre until both tyre walls pop onto the rims. You may need to inflate it up to 50 or 60psi to get the wall to seat. As soon as it has, remove the inflator and allow the tyre to deflate. Re-fit the tyre valve and re-inflate to the recommended pressure. Check all the way round the rim where the tyre meets it, making sure it is evenly seated, that the balance marks are in the correct place and the tyre is on the right way round. If you used washing-up liquid to lubricate the tyre during fitting, rinse off all trace of it.
Finally, balancing. Proper balancing is a must, and if not done properly - or at all - can cause unpleasant and dangerous handling problems.
Using abba's static balancer, the wheel is placed on the spindle and left to settle. Make a chalk mark on the tyre at the 12 O'clock position. This is the lightest point of the wheel. Turn the wheel until the lightest point is at a quarter past. If it stays exactly where it is, the wheel is already perfectly balanced; if it rotates so the chalk mark is back at 12 0'clock, it needs weight adding. How quickly the wheel turns back to its original position dictates how much weight is needed. Usually 10-30 grams should be sufficient.
Split the weights up and apply them evenly to both sides of the rim. The process can be a bit trial-and-error to begin with, but with a little experience is simple enough. However, if you can't get the wheel balanced properly, take it to a pro - your safety is at stake. Also, note that the abba equipment used here is for static balancing only. If, once properly static balanced, the wheel still wobbles at speed, then professional dynamic balancing may also be required.


Sponsored By

Britain's No.1 Specialist Tools and Machinery Superstores
When it comes to buying tools and machinery, you need to know you're buying from specialists who know what they're talking about.
Machine Mart eat, sleep and breathe tools and machinery, and are constantly updating their range to give you the very best choice and value for money - all backed by expert advice from their friendly and knowledgeable staff. With superstores nationwide, a dedicated mail order department and a 24 hour website offering quality branded items at fiercely competitive prices, they should be your first choice for quality tools and equipment.


