
HOW many times have you been scouring your favourite magazines, websites, forums, Facebook groups and Instagram accountS and seen an awesome photograph of a bike and realised you haven’t got a sweet photo of your own machine?
If you’ve ever been inspired to go out a get a that’s inspired you to capture your pride and joy in a way that does justice to your pride of ownership?
With high-level photography equipment becoming ever more affordable and accessible, it’s easier than ever to lay your hands on cameras and lenses that can provide the sharpness, clarity, detail and performance once reserved for professional snappers.
But getting a peach of a pic doesn’t require you to spend thousands of pounds on camera kit. You can still capture a keeper with even the most entry level digital SLR camera and a basic lens (costing just a few hundred pounds). If a complex looking camera like that doesn’t appeal to you, then a half decent camera that’ll give you control over your shutter speed and aperture settings will help do the job.
Taking a sweet shot of your bike doesn’t have to be difficult and with this simple guide you’ll be on the way to getting a great shot of your bike – the kind of photo that have you replacing the family portrait in the lounge with the beauty of your bike.
1. Location, location, location
Location is paramount.
There’s no hard and fast rule when it comes to choosing a location for your bike photo but picking the right one will help the overall result.
Don’t whip out the camera and start snapping your gorgeous Ducati Panigale as you fill up at a busy petrol station – do it justice by finding a nice backdrop in the countryside, or try capturing some shots of it in the pit garages at your next track day.
Different backgrounds will suit different bikes and can make or break the style of photo you hope to achieve. An urban setting can really suit a modern retro bike, but some brutal, blocky and ominous council estate architecture could also prove just the thing to get a mean and moody shot of a super bike.
Generally, an uncluttered backdrop works well because it means the bike is competing for the viewer’s attention - it could be a field, a wall, some metal shutters or an empty road.
2. Framing
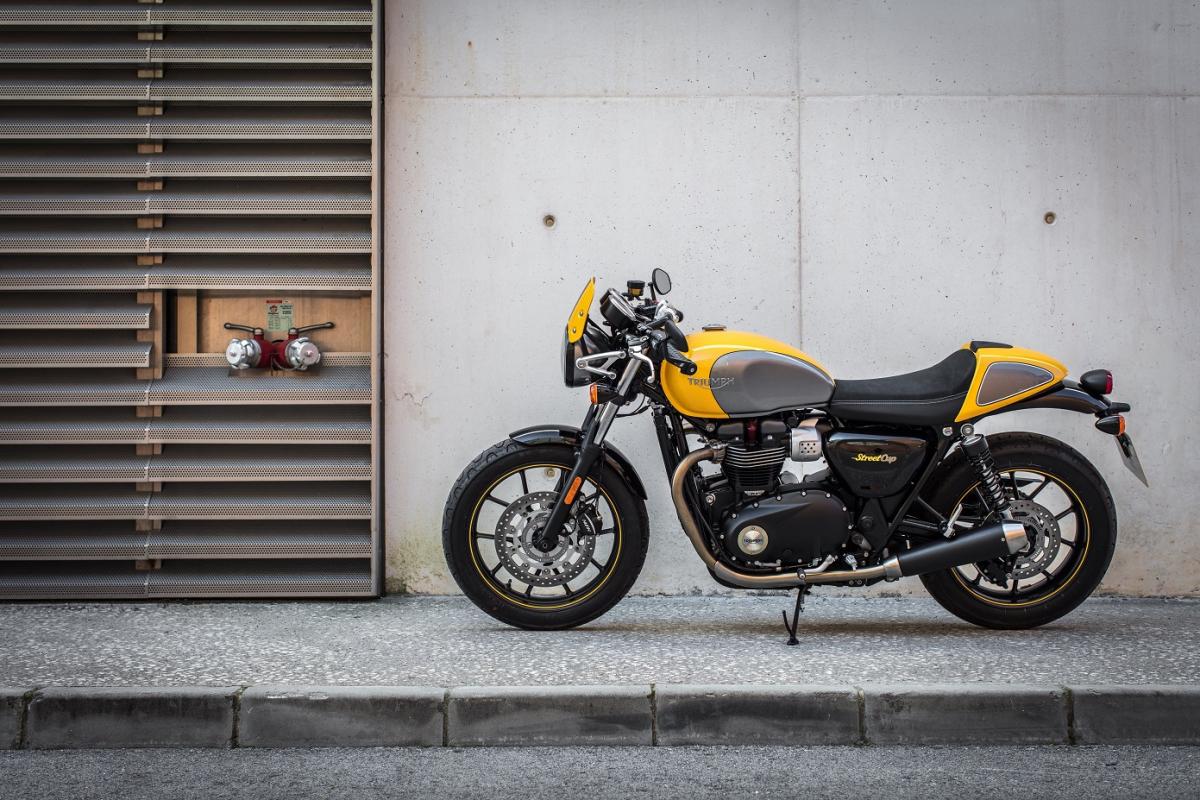
Think about what part of your bike you want to photograph. You could take a side-on shot, a front-on photo or a picture that focuses on one particular detail or area you like.
Play around with angles and experiment to get something you like – try getting low to the ground and pointing your camera up towards the bike, stand over it and shooting downwards, or focus on particular details like the welding on the exhaust, or the way front fairing comes to a point. With a bit of experimenting you’ll find out what you like and what works for you bike and the type of photo you want.
3. Aperture
We don't want to turn this into a lesson on the technical aspects of photography but playing about with your camera’s aperture settings will allow you to shoot with a shallow depth of field.
For the purpose of this guide, that basically means that the area outside of what you’re focusing on will be out of focus, meaning the part of the scene you are focusing on will stand out and look sharp against the backdrop.
Achieving a shallow depth of field is easy enough, you just need to put your camera into aperture priority mode (look for an A or Av on a dial or in the menu) and select a low aperture number (f1.8 or lower) to get the most striking depth of field effect.
4. Shutter speed
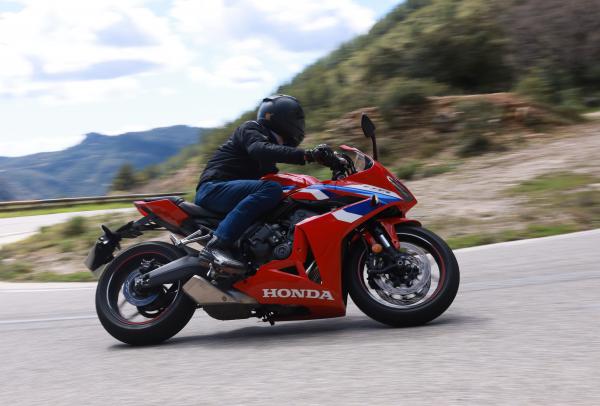
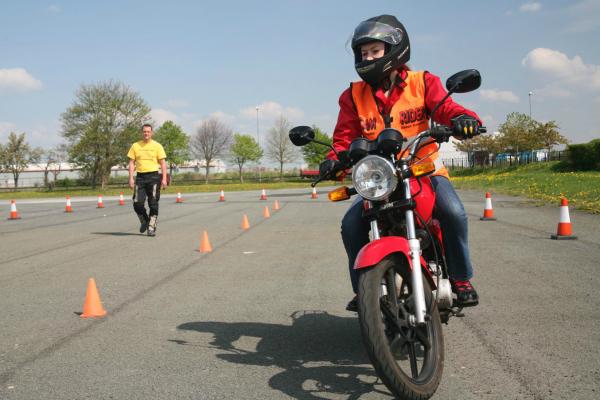
You're most likely to need to play with different shutter speeds if you’re photographing a moving bike.
If that’s what you’re after, put your camera into shutter priority mode (Tv or S on the dial or in the menu). Try starting with a shutter speed of 1/500 or 1/1000 (of a second) – which should be fast enough to freeze a moving object like a bike (depending on how fast it’s going and how far away you are).
The higher the number, the faster the shutter speed and the faster the shutter speed, the brighter light you’ll need – shoot in low light with a fast shutter speed and your image will be too dark.
If you’re photographing a moving bike, you can either freeze it by keeping your camera still as you take the shot, or blur the background by tracking it through the viewfinder. Again, you’ll find out what works for you with a bit of experimentation.
5. Light
You'll need to give some thought to lighting.
If shooting using natural light, the best times of day are in the morning and evening, when the sunlight is softer, and when its red glow will light your bike in a more interesting way. Shooting in the middle of the day is fine, but the sunlight will be brighter and harsher – which could mean a flatter, less dynamic looking image and lots of shadows.
Don’t be afraid to use a flash, just be aware that it could reflect off metal parts and shiny plastic, which won’t look good. Pointing your flash upwards could help here and using a diffuser will help soften it.
And don’t be afraid of the dark – shooting in low light can create a moody, cinematic effect that draws attention to specific areas of the bike.
Shooting at night isn’t off the cards either – just put your camera on a tripod and select a long shutter speed so lots of light gets in.