
Words and pictures: Alan Dowds
OKAY, they're not the most stylish of items. But if you use your bike for practical, day-to-day duties, a top box is one of the handiest accessories around. Fill it with beer and microwave curries on the way back home from work, put your lid and jacket inside when you go to Brands BSB, use it as a backrest for reluctant pillions, carry a massive lock inside so that you can secure your bike in town, the possibilities are almost endless.
It doesn't add any width so you can still filter, and although too much weight in there might give your bike a gentle speed wobble, it will also make wheelies easier, so, every cloud and all that.
Fitting one is a bit bike specific, but generally pretty easy. Here's how to do it...
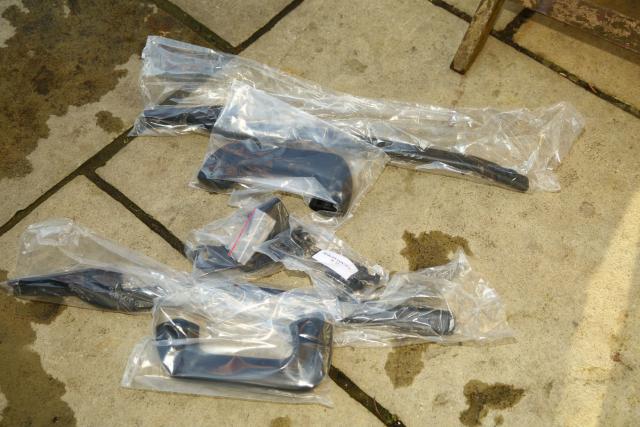
1. Find a fitting kit
Firms like Krauser, Hepco & Becker, SW-Motech and Givi all do great top boxes and excellent fitting kits. We’ve tried all these brands, and their latest set-ups are good quality, high performance offerings. Their websites generally make it easy for you to find a rack for your bike model, including brackets. You'll then be able to choose a mounting plate that attaches to the rack and a box that locks onto the mounting plate.
2. Brackets on
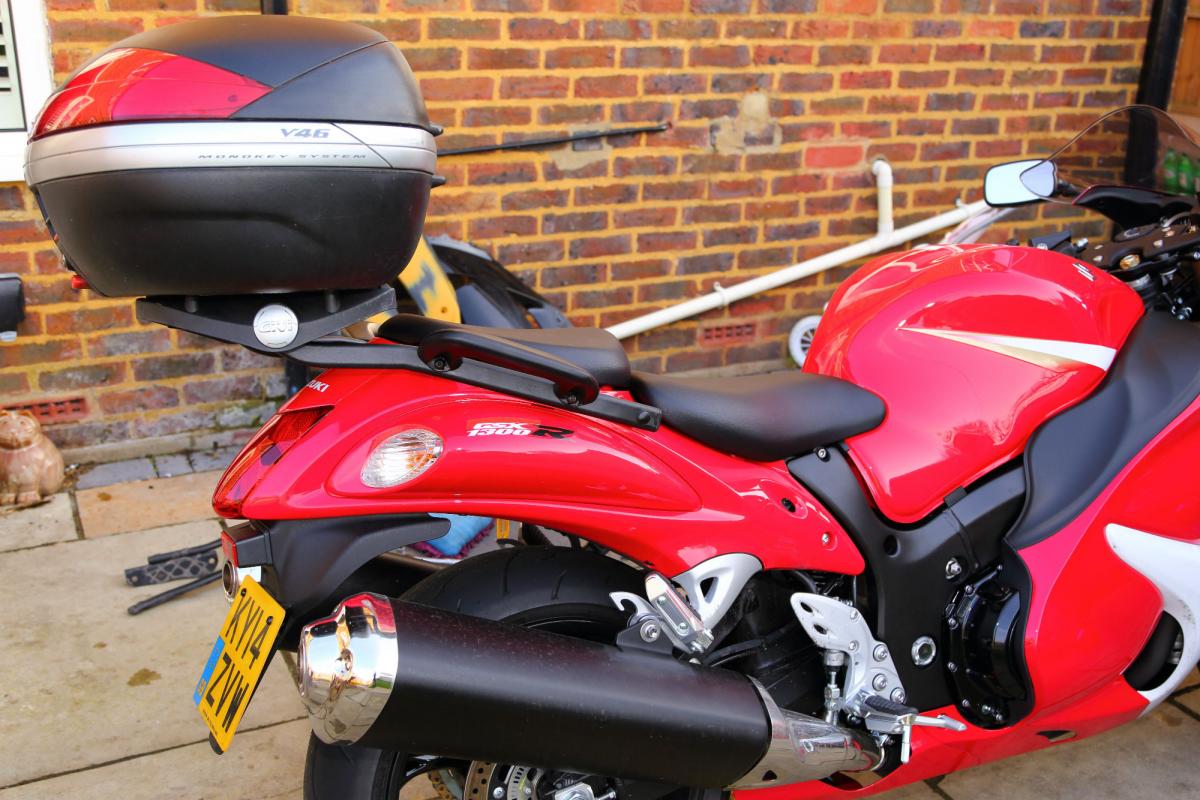
The mounting brackets usually use some standard mounting points on your bike – the grab-rail is a favourite one to use, since it's already pretty sturdy (like on this Hayabusa). Other options include top shock mount points on twin-shock bikes, or the standard rack on adventure type bikes.
Unbolt the stock parts, put them to one side and loosely attach the brackets. Store the removed parts with their bolts carefully, in case you want to return the bike to stock for sale in future.
3. Righty tighty
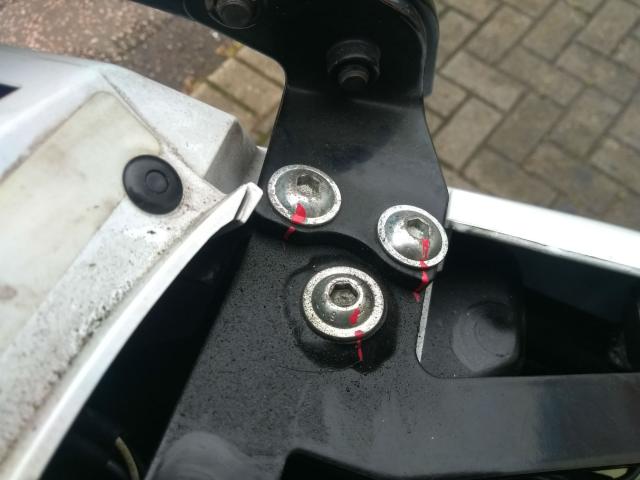
Make sure everything lines up, and loosely fit the mounting plate. These sometimes have more than one set of mounting holes, so make sure you're using the recommended ones. Once you're sure everything is in the right place, you can tighten up the bracket mounting bolts.
Take care to use any lock washers, thread lock or nyloc nuts: stuff coming loose here can be dangerous. Nothing will spoil your day more than a Givi top box jamming in your back wheel. It's worth using a torque wrench too, especially on any big bolts going into alloy subframes.
Another idea is to put a single brush-stroke of bright paint on each bolt head and the bracket surrounding it, especially where they're going to be hidden under the pillion seat, as on our SV650 fitted with an SW-Motech rack. That way, if any of the bolts start to loosen, you'll be able to see the movement the next time you've got the seat off.
As you can see, these one's haven't.
4. Nearly there
Tighten the mounting plate bolts, making sure it's sitting square, with clearance round the tail unit. Fit any finishing grommets or plugs. A quick squirt of corrosion protection spray on the heads of bolts and nuts will keep everything rust-free for longer.
5. Boxing day
Clip your box on, and you're done! We've used Givi's latest V47 case here on our Burgman 650, which has a new one-touch locking setup with a high-security key and is also a bit bigger than the old V46 on the Hayabusa.
Now, it's your bounden duty to beat up every smug sportsbike rider you see on your way to work, to show them that top box owners can boogie too.
Thanks to www.givi.co.uk.
Read our review of SW-Motech's rack and top box for the Suzuki SV650 S.
Click here for more Visordown how-to guides.