
WE did an overhaul of the seals in a brake master cylinder the other week – so here's how to do the same job down the other end. Caliper seals get a much harder time than the master cylinder though, and need changing much more regularly.
Grit, dirt, corrosion, and water are all constantly attacking the small rubber rings which keep the brake fluid inside the caliper. As the pistons move in and out, they wear special sealing rubber, and any corrosion on the surface of the piston can tear the seals. Winter grime, road salt, and grit only compound the problem.
How to change your motorcycle caliper seals after winter
1: Prep
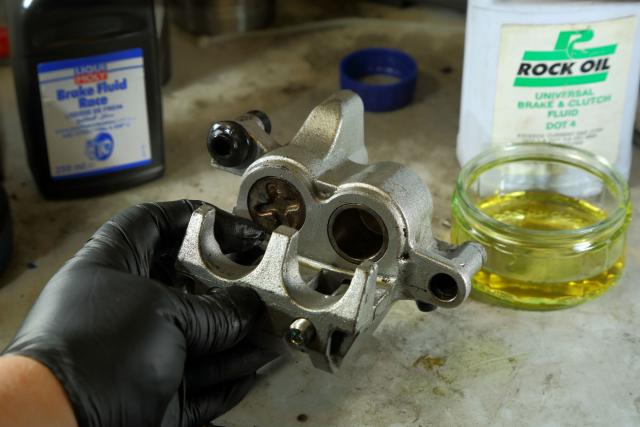
We're working on a sliding, two-piston caliper here, but the principles are similar for most calipers. The first tricky part is to get the pistons out. Remove the caliper from the bike, but leave it connected to the hose. Take out the pads and any sliding mounts, then carefully pump the brake lever to push the pistons out. If one comes out more, then use a piece of wood (or the pads) to hold it in place, and pump the others out evenly. Take care to get them all to the same point – once they are nearly out, you can manoeuvre them out the rest of the way. Once one comes out, you obviously lose pressure, and can't push the other(s) out any further.
Four- and six-piston calipers are trickier of course. Go steady and you'll get there. You can buy brake piston pliers which lock inside the piston and help you pull it out if you get really stuck. With some two-part calipers, you sometimes need to unbolt the halves – make sure you have new seals for the passages between the two parts for the rebuild.
There are two seals on each piston: an inner fluid seal, and an outer dust seal. The outer is to try and keep dirt out, and the inner one has two jobs: it holds the fluid inside, obviously, but it also keeps the piston in the right place. When you pull the brake lever, the fluid pushes the piston out and clamps the pads onto the disc. When you release it though, you need the piston to come back a little bit so the brakes let off. The rubber seal does this job: it distorts a little bit under pressure as the piston moves out, then pulls it back again a small amount when the pressure is released. As the pads wear, the seals let the pistons gradually move out further and further, taking up the extra clearance.
If your brakes are binding or sticking on, it could be down to the seals getting old, dirty, or losing their flexibility. The pistons don't get pulled back properly, and the brake pads stay on the discs.
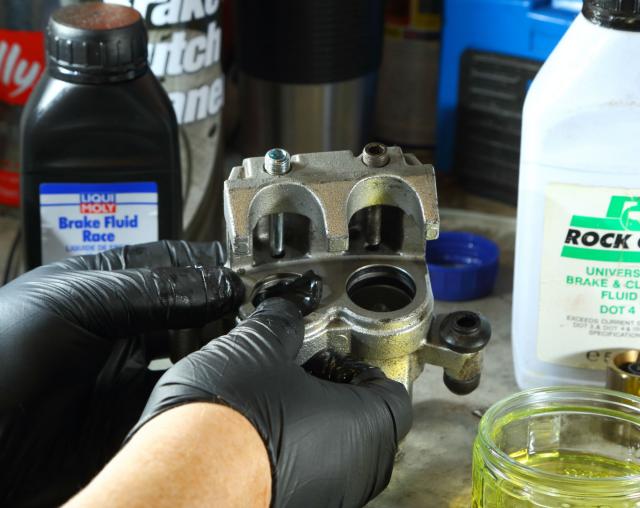
With the pistons out, you can clearly see the seals, sitting inside two little recesses. A small screwdriver or pick will hook them out in no time. Now, with plenty of brake cleaner and your little pick, give the seal slots a proper cleaning out. Get all the grime, dirt and corrosion out till they sparkle.
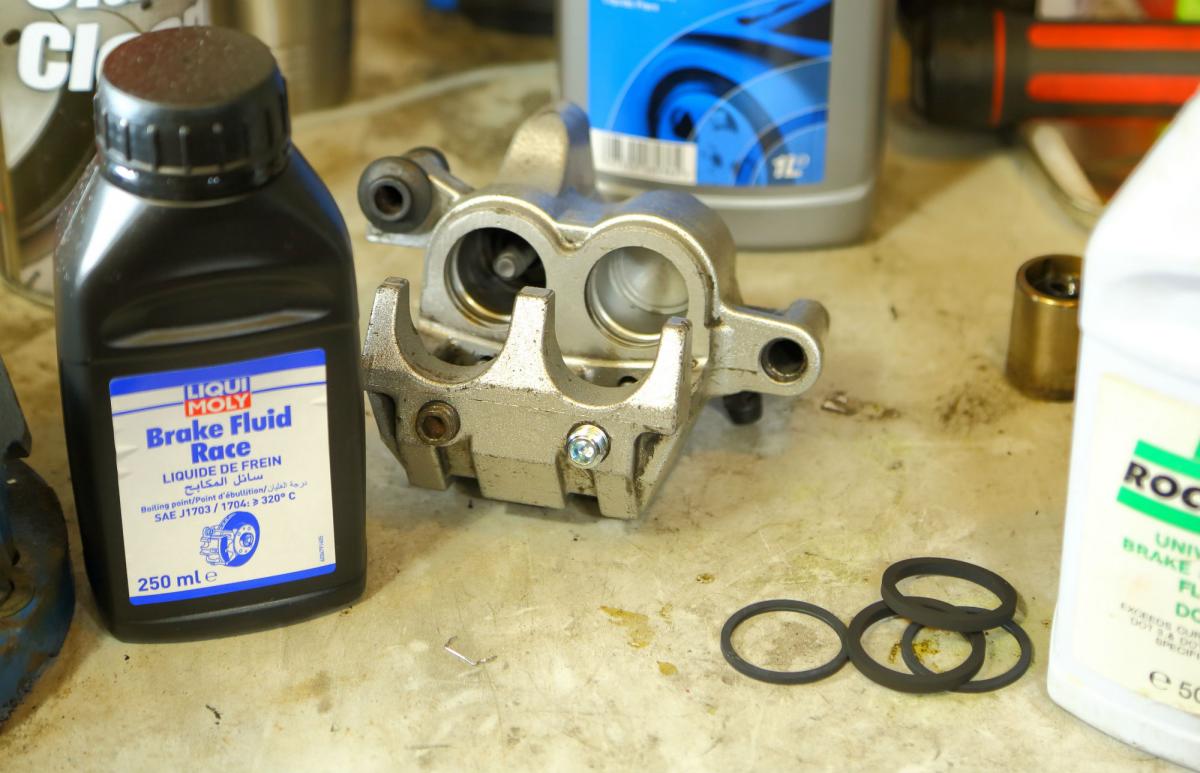
Here’s the old and new seals; note the deposits, gunk and general nastiness on the old seal, and the nice new rubber ready to go. These are genuine Suzuki seals – you can get cheaper pattern parts for most fitments. We prefer genuine on things like brakes though.
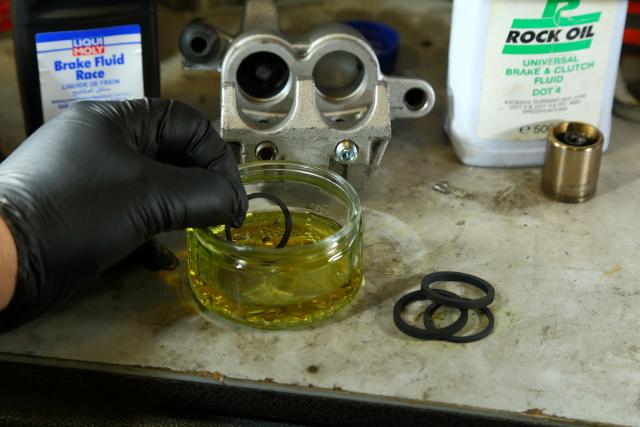
Moisten the new seals with some fresh brake fluid, and pop them into place. It seems more fiddly than it is, just push one side in, then guide the rest of the seal round and into place. They pop in themselves once lined up pretty much.
Check the pistons are clean and not full of corrosion. These ones aren’t in perfect condition, but a quick buff with a Scotchbrite pad cleaned them up enough to use. If there's bad rust or wear, get new pistons – they're not a fortune, and will pay dividends over time. A dab of fresh brake fluid on the piston, and slide them into the caliper (closed side facing into the cavity…) This caliper has a one-way screw on one piston (it's for the parking brake on a Burgman 650), so you need to screw the piston in. This is pretty unusual on bikes, though common on car rear brakes.
Refit the caliper with new pads and freshly-greased moving parts, bleed the brakes, and you're done.
Words and pictures by Alan Dowds