

By Alan Dowds
YOU'RE religious about your engine oil, aren't you? But when did you last change the oil in your forks? Most of us put it off, and to be fair, it's unlikely to cause the sort of damage caused by not changing engine oil.
But the damping fluid in forks does gradually wear out. Every time the oil molecules get squeezed through the damping valves and orifices, some of the long chains of carbon and hydrogen can get broken, reducing the viscosity. Additives put there to protect the seals and other internals from wear and corrosion will also break down over time. And it will also start to smell a bit yucky…
Changing the oil on a set of conventional forks is fairly easy, with no special tools needed. USD forks are a little trickier and will need a spring compressor tool and maybe a pin spanner to remove the top plug depending on the model. Check your service manual for specifics.
And follow our step-by-step guide over the next seven pages…
1. Remove the front wheel
This is a little bit fiddly if you don’t have a centre-stand, because you can't use a paddock stand that goes under the forks. You'll need one that goes in the steering stem, or use a jack or similar to lift the front end off the deck. Loosen the front axle and brake caliper bolts before lifting. Once the wheel is in the air, remove wheel, brake calipers and front mudguard.
2. Remove forks
Before you loosen the pinch bolts in the top and bottom yokes, crack off the top plugs in the fork legs – this will be easier now, before you take the legs out. Then unbolt the pinch bolts, release the fork legs and gradually slide them out, careful not to drop them…
3. Remove internals
Remove the top plug carefully – there might be some spring tension in there to release. Once the plug is out, take out any spacers and washers, being careful not to lose anything. Put them to one side for cleaning. Now, slowly lift out the fork spring, letting the oil drain off before taking it right out.
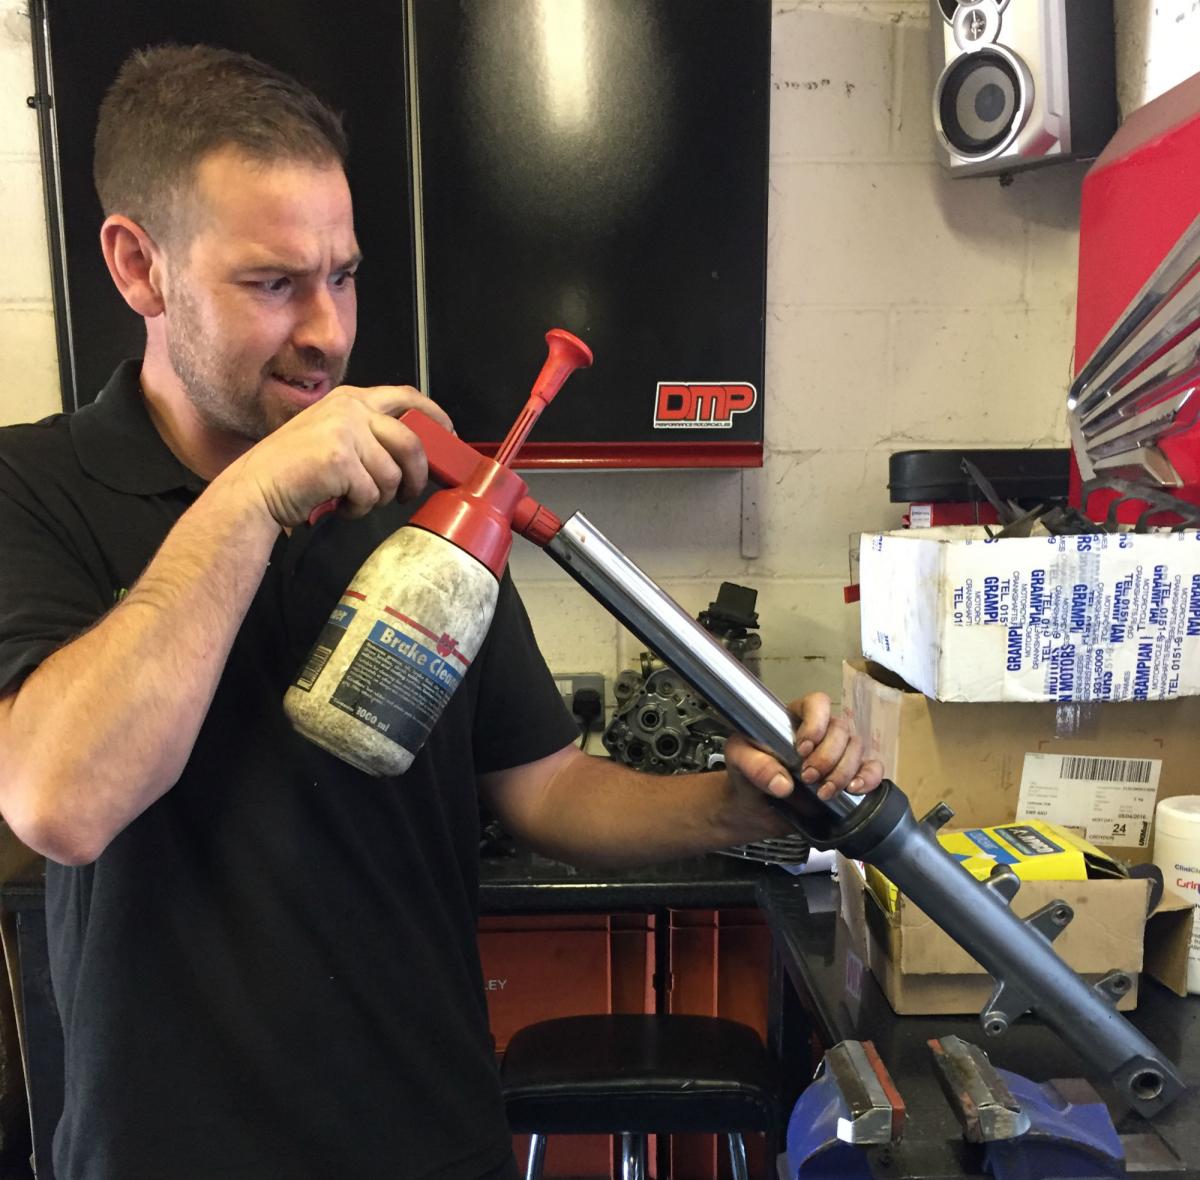
4. Drain oil and clean
Let the spring and spacer drip into a tray, then give them a clean down with some brake cleaner. Tip the fork leg upside-down over an oil drain pan to get as much old oil out as you can, working the fork up and down will help here. Once it's stopped dripping, spray some brake cleaner in and swirl it round to clean the fork inners. Tip it out, and repeat until it looks clean when it comes out. Hang the fork upside down to dry off, and go for a cuppa.
5. Replace oil
The fork leg should be dry and clean inside now, so it’s oil time. Make sure you have the correct grade or 'weight' of oil as specified for your bike. They normally come in 5, 7.5, 10, 12.5, 15 weights, and you can experiment with heavier oil for more damping, or lighter oil for less, if you fancy. You can also blend different grades for finer control: one part 15-weight mixed with one part 12.5-weight will give you 13.75-weight, approximately…
Now, you need to accurately measure out the specified amount of fork oil for the leg. A graduated measuring cylinder is the tool for this – like you had in school chemistry. Tip the fork oil into the leg, and work the stanchion up and down to get it right round the damper mechanism and get rid of any air bubbles.
6. Check oil height
The service manual will give you an oil height level setting inside the fork leg, for super accuracy. This tool – a syringe with a measuring suction pipe – lets you do this easily. Set the pipe to the right length (180mm from the top of the extended fork leg, or whatever the spec is), stick the suction pipe in and use the syringe to suck out any excess.
7. Reassemble
Put the spring, spacer and washer back in the fork leg, and screw the top plug back in. Repeat with the other leg, then refit them, remembering to tighten the top plug fully once the yoke pinch bolts are tight. Wheel on, mudguard on, brakes on, and you're done!
* THANKS TO BIKE-IT FOR THE FORK OIL LEVEL TOOL AND THE LIQUI-MOLY FORK OIL.
* Thanks also to Dan Miles at DMP Performance Motorcycles in Wallington for help.
Find more how-to articles here.