
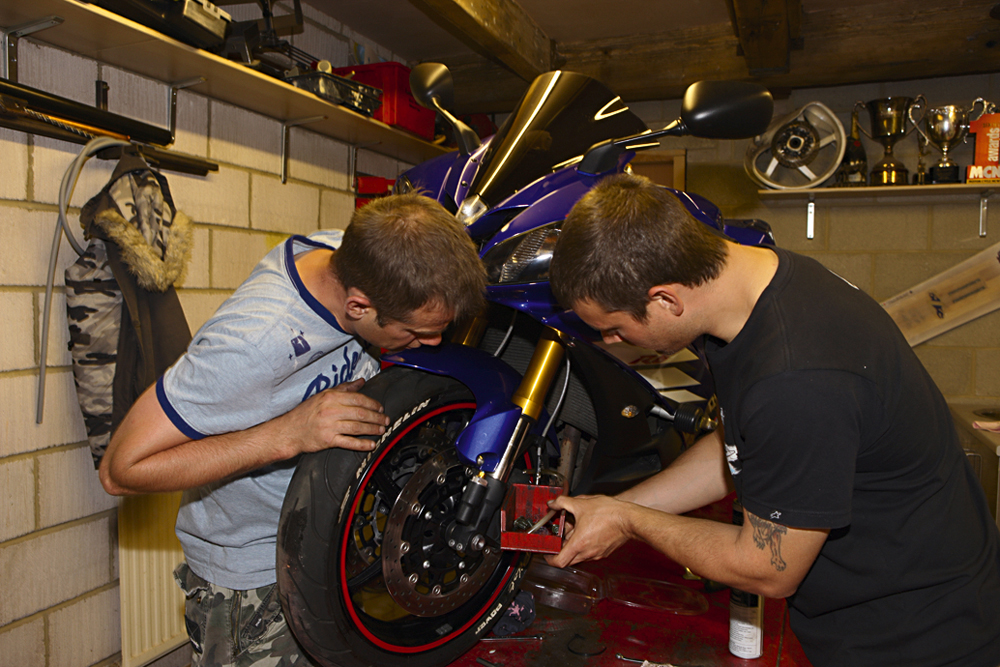
If you’re into hard riding or track days then it’s highly likely that you and your bike would benefit from a decent set of braided brake lines. Admittedly, modern brake lines have improved, but if you’re after a proper racer feel at the lever and brakes that take longer to fade, then this simple and cheap modification is an absolute must. This is a safety-related job that requires patience though so whatever you do, don’t rush it!
��
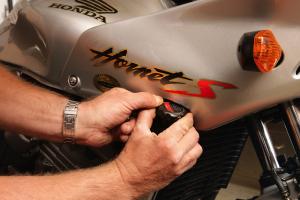
Step 1
Unless you are very careful, this job can turn messy, very quickly. Before you do anything, arm yourself with plenty of rags. Also make sure that you’ve got a parts tray and a glass of water to hand – I’ll tell you why soon... stuff plenty of rag under the brake banjo unions at the master cylinder as well as the caliper, cover up any paintwork. Once you’re happy it’s virtually impossible to spill any fluid on your paint, put the kettle on.

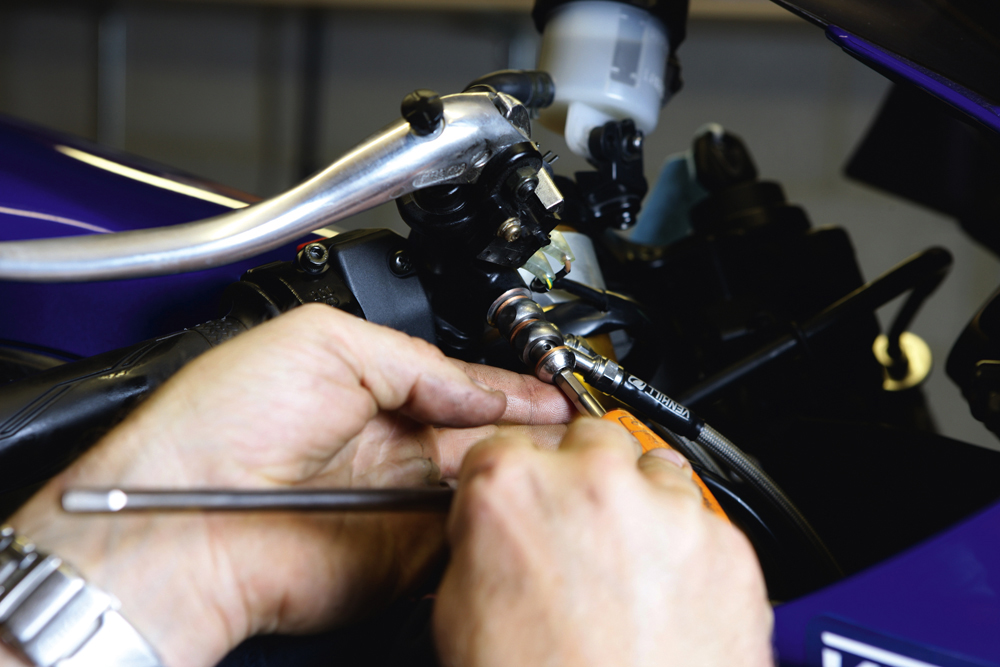
Step 2
Remove the hoses from any guides, leaving the banjo joints as the last thing to be undone. Undo the banjo joints one at a time and allow the brake fluid to seep into the rag before removing the hose.. be careful not to lose the banjo bolt and copper sealing washers. Withdraw the hose from the master cylinder towards the front wheel and put it into the parts tray. If you spill any fluid on the paint, rinse it off with the glass of water – don’t rub it with the rag, it’ll make it worse!

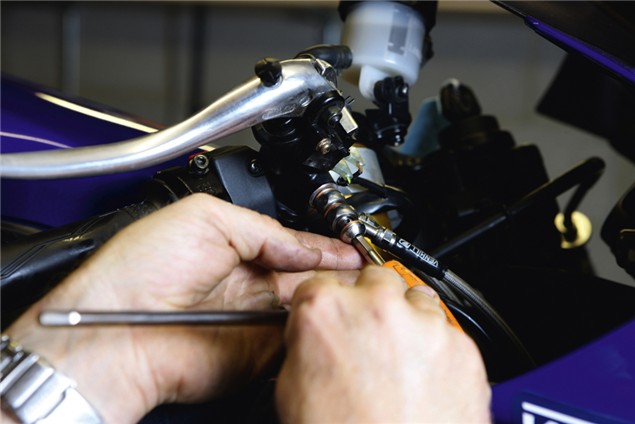
Step 3
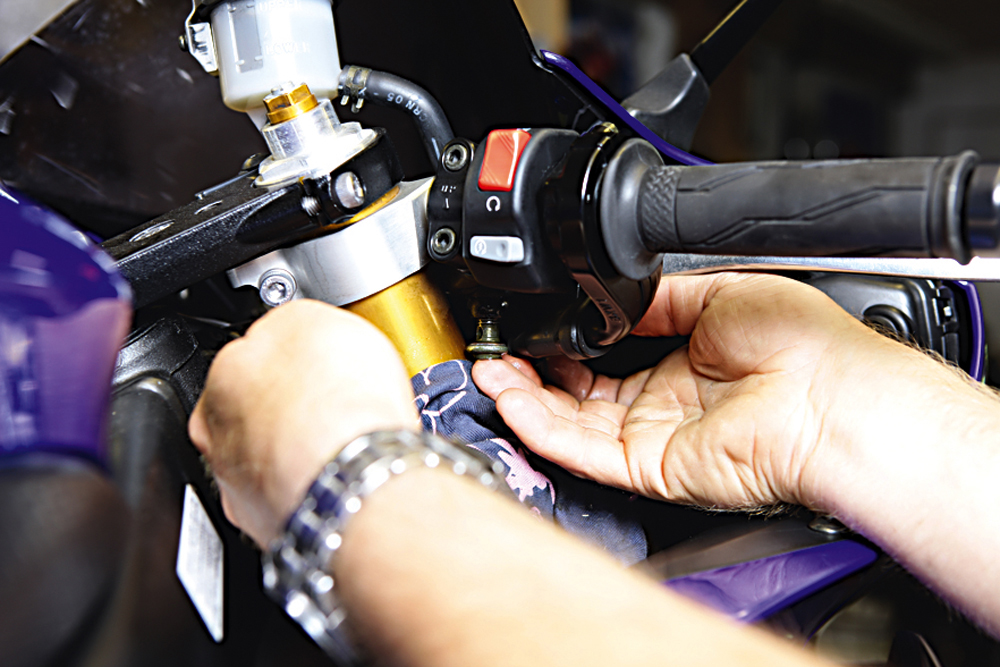
compare the length of the two new hoses – one should be notably longer than the other. The longer one should be fitted to the left hand caliper and routed neatly to the master cylinder, with the shorter hose going to the right hand caliper. Be careful when fitting the banjo connectors not to over tighten the pinch bolt.
Also make sure that you use the correct copper washers with one either side of the bolt sandwiching the banjo to form an airtight seal. We’ve chosen Venhill hoses as they are very easy to fit thanks to the separate bolt-on banjos – make sure these joints are tight once you’re happy with the angle of the hose on the calipers.
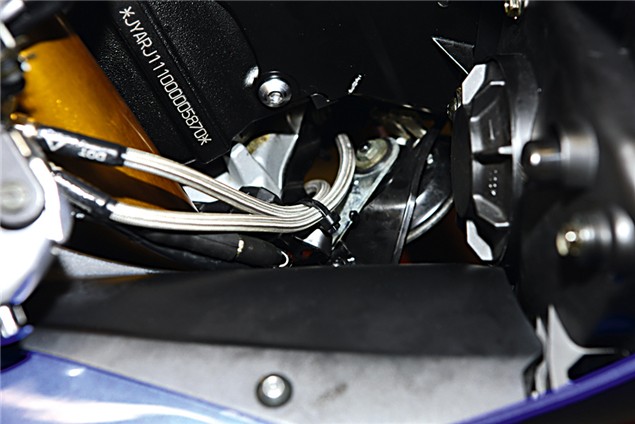
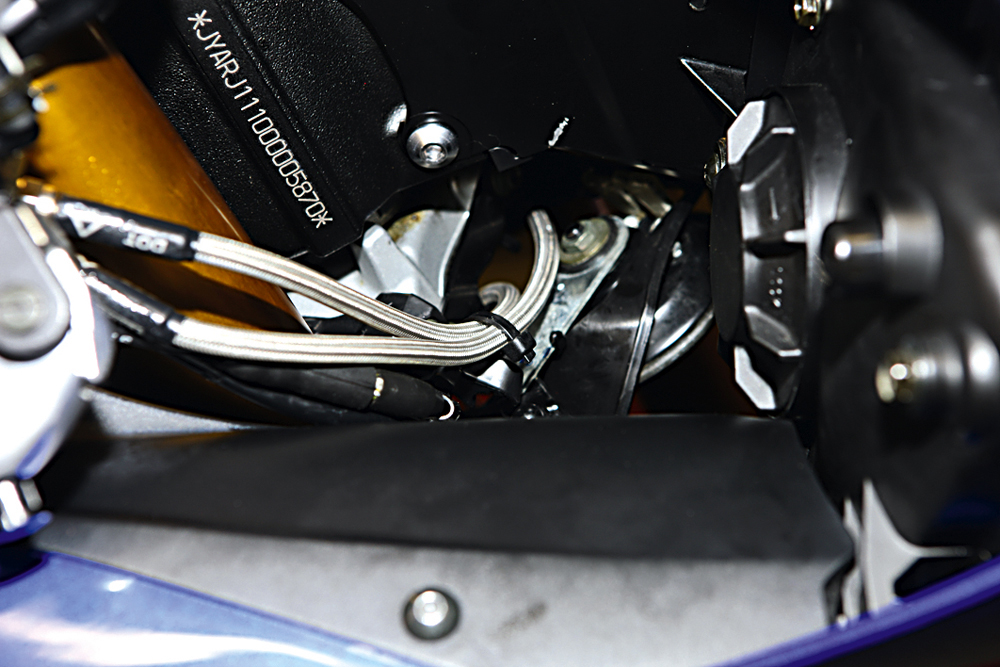
Step 4
Route the two hoses up to the master cylinder and, using the longer banjo bolt with copper washers on either side of both ban- jos, Insert the bolt through both hoses and carefully tighten making sure that nothing is trapped. Check the routing of the hoses from the master cylinder all the way down to the calipers.
Turn the bars from lock to lock to make sure that they don’t foul or chafe on anything or interfere with any of the other controls. Make sure that the hoses are long enough when the forks are fully extended and that they can’t snag when the forks are fully compressed. you can’t be too careful.
Step 5
As the braking circuit has been apart, air will have been introduced to the system so the brakes will need to be bled. The first stage is to remove the brake fluid reservoir cap and squeeze the brake pads back against the pistons in the caliper – this will push a lot of the air back to the master cylinder and make bleeding easier. Take your time with this until the pistons in both calipers are fully pushed in – you should be able to see the fluid level rising in the reservoir along with air bubbles.

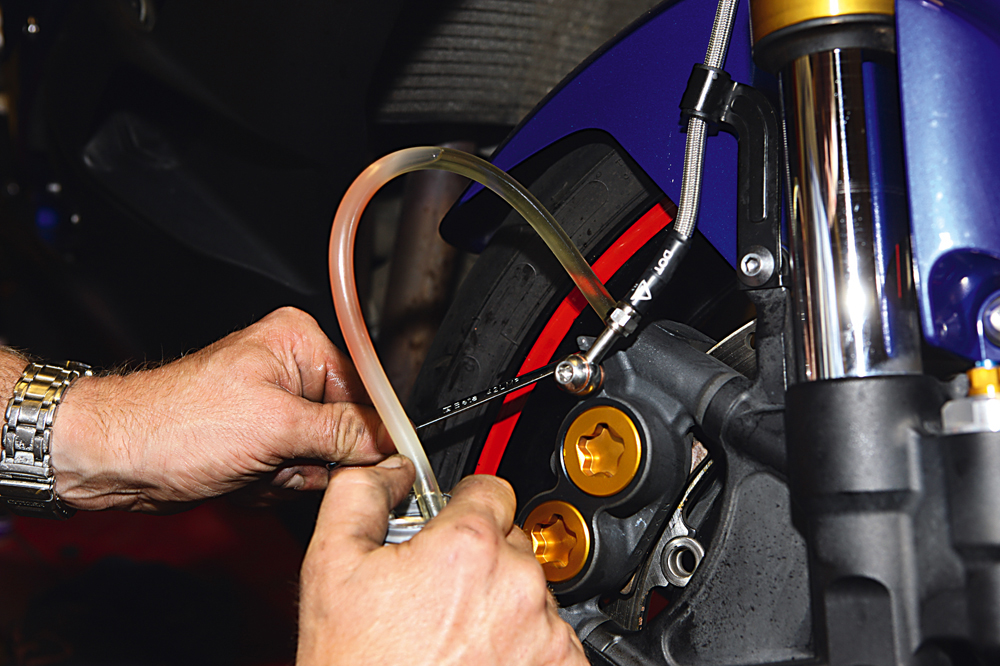
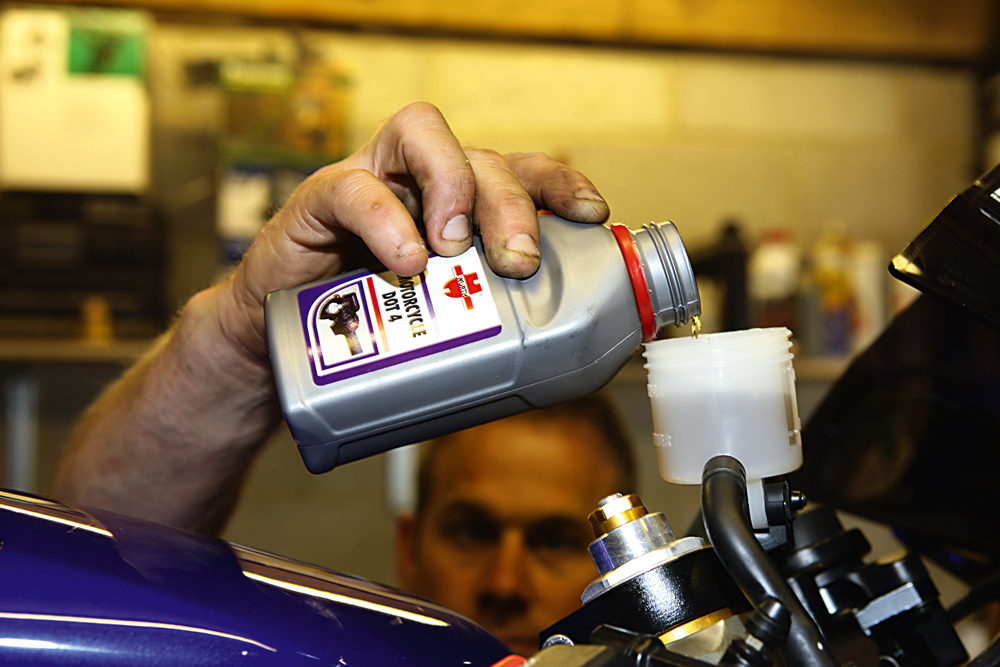
Step 6
Once the flow of air bubbles has slowed down, top up the brake fluid in the reservoir and bleed the air from the calipers, starting with the left hand side as that’s the one furthest away from the master cylinder. Take your time to make sure that you get all the air out and that the fluid runs along the bleed tube with no bubbles in it.
Squeeze the lever fully in while the bleed nipple is open, then close it before releasing the lever. This can take quite some time but it’s worth being patient with as the result should be an airtight system with a nice firm lever. You may need to bleed the final bit of air out through the master cylinder to finish. And that’s it, time for a cuppa!


